How to Sew an Invisible Binding on your Quilt
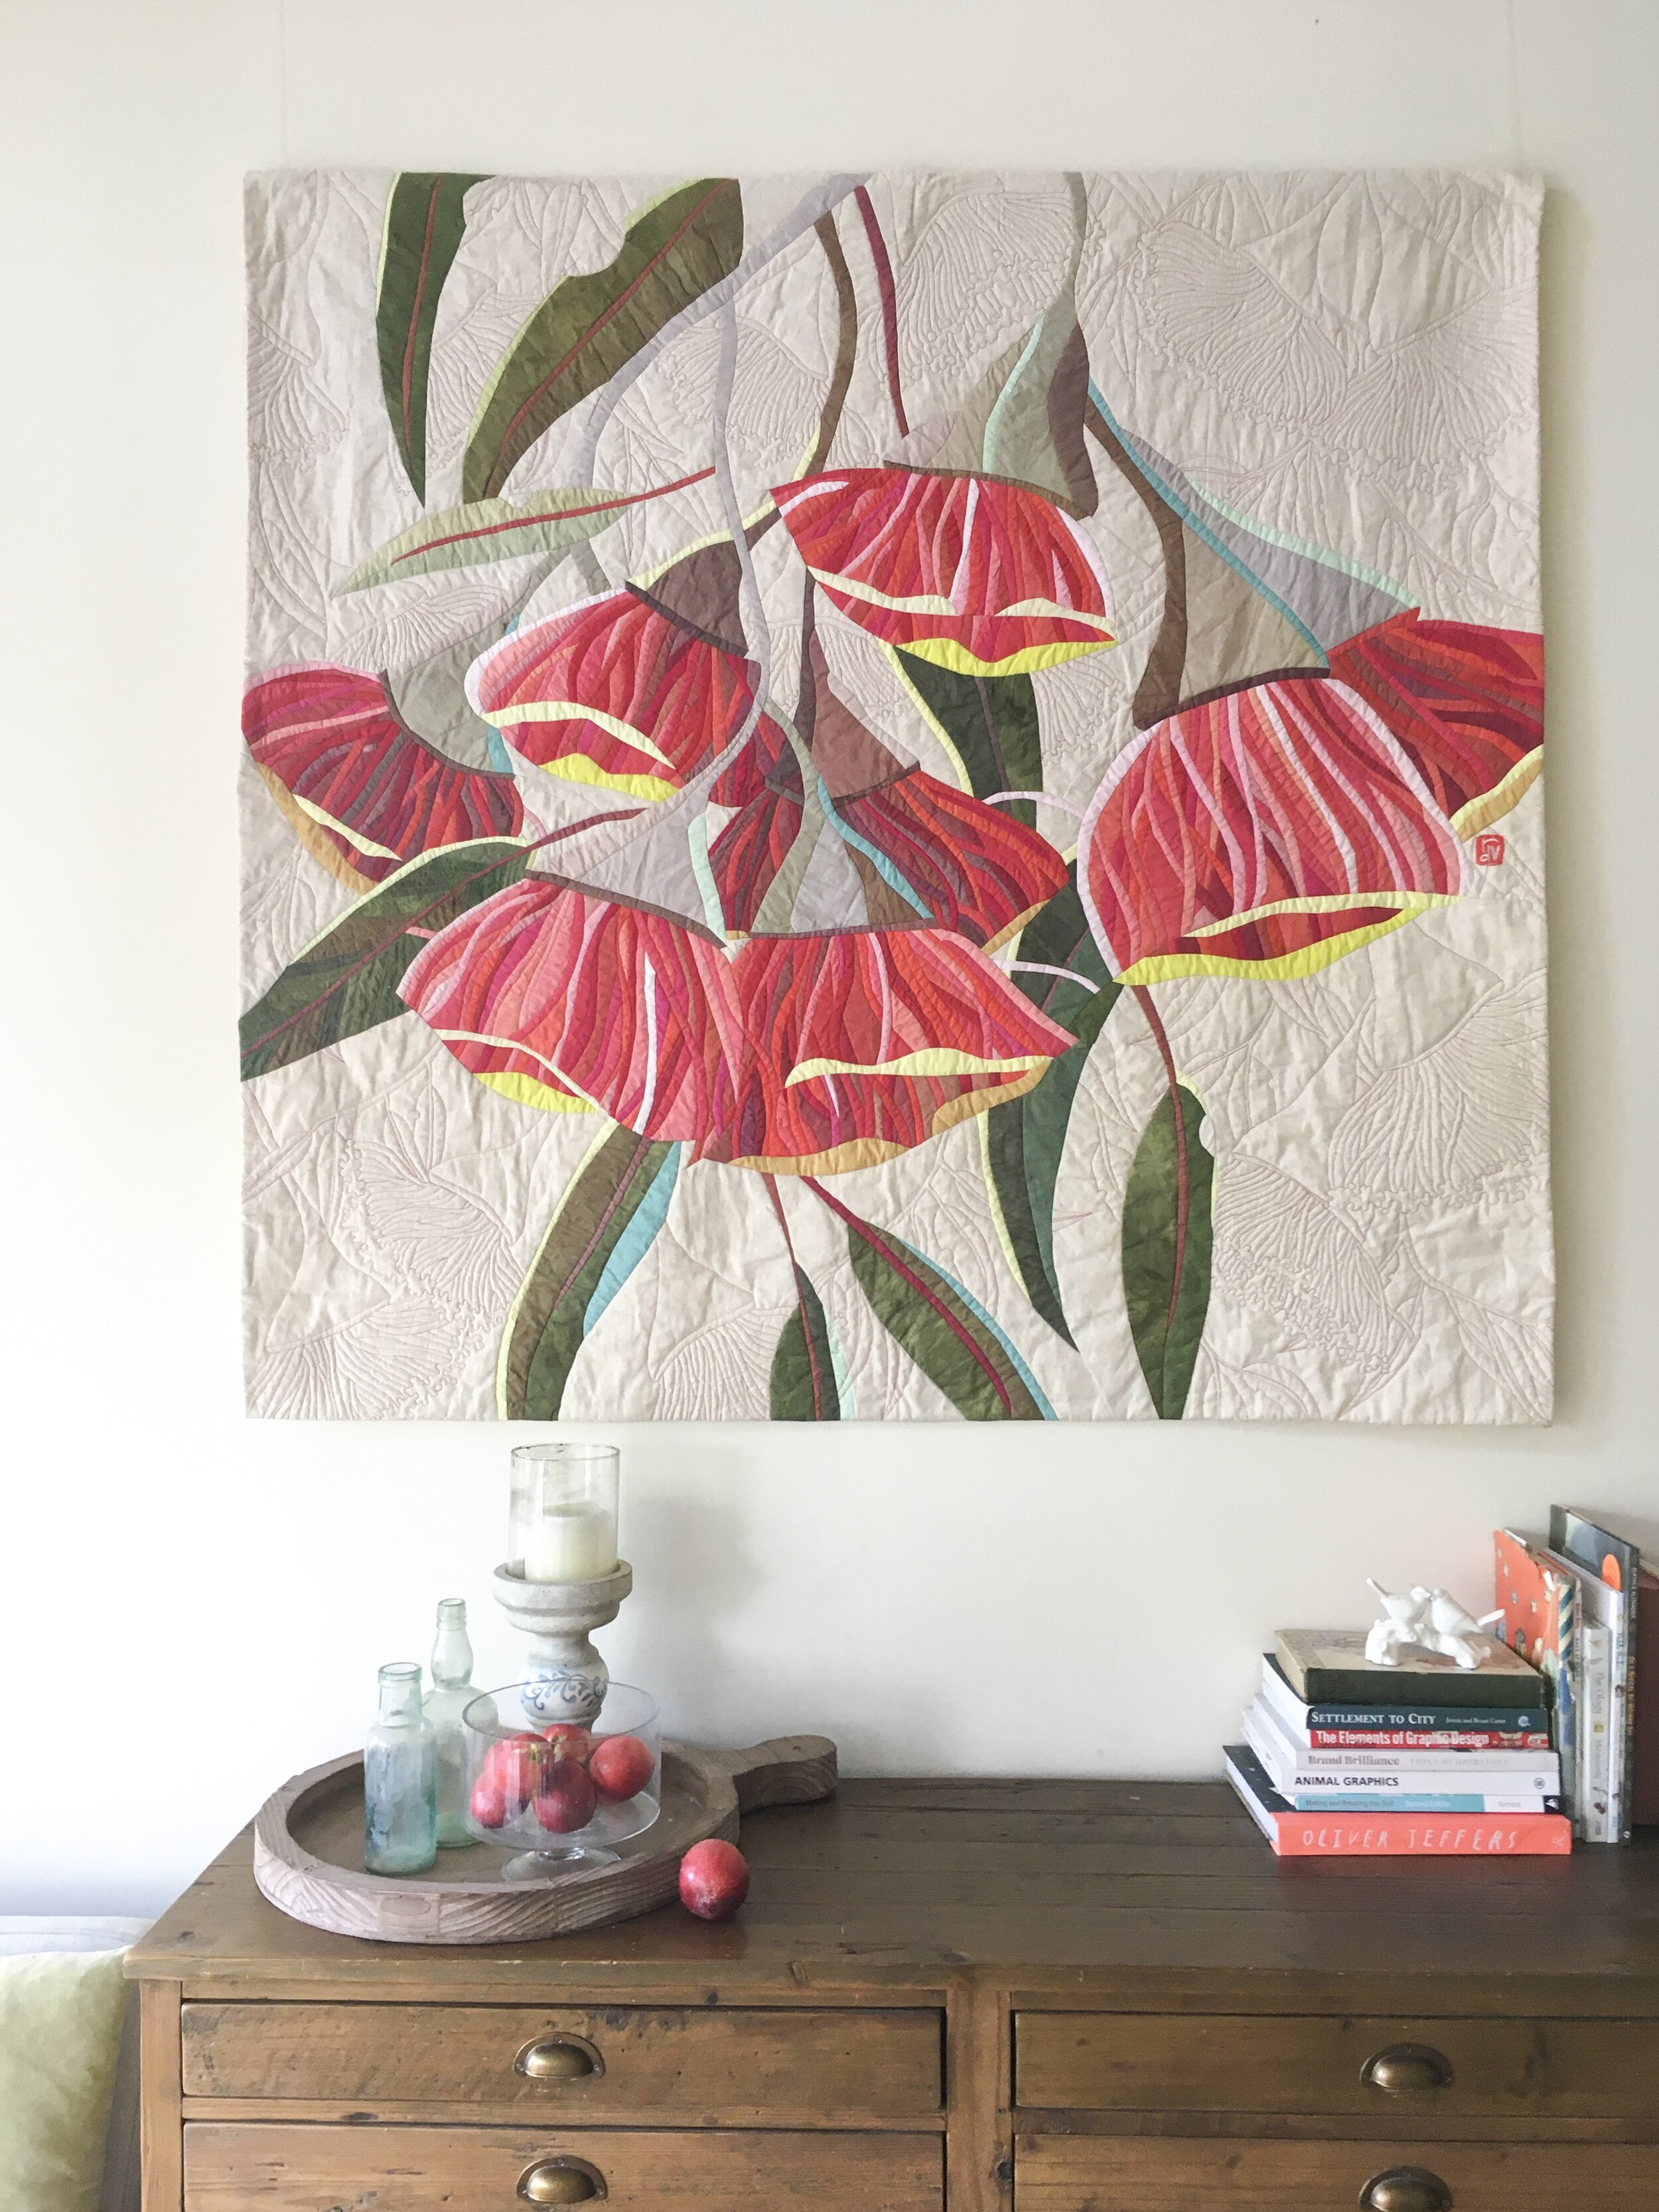
How you finish the edges of your quilt can have a huge impact on the final look. There are various options, including adding borders and bindings. I usually go for an invisible finish for mine which I call a 'hidden binding'. Some people know it as facing.
How to Make an Invisible Binding
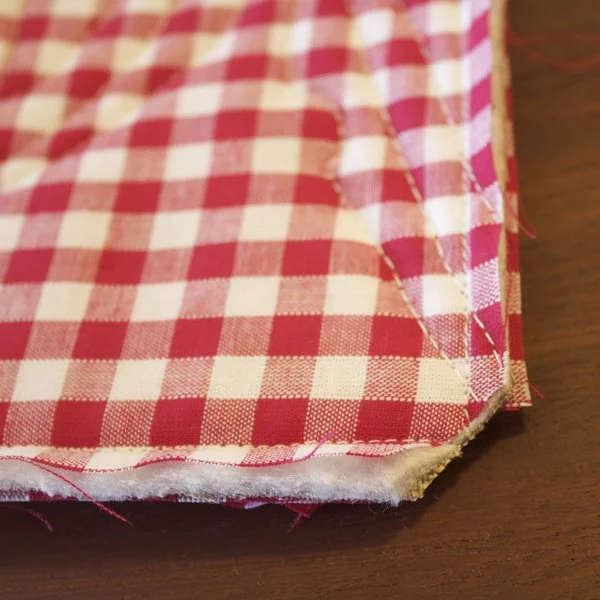
Trim the edges of your quilt.
Cut a 1 1/4 inch binding.
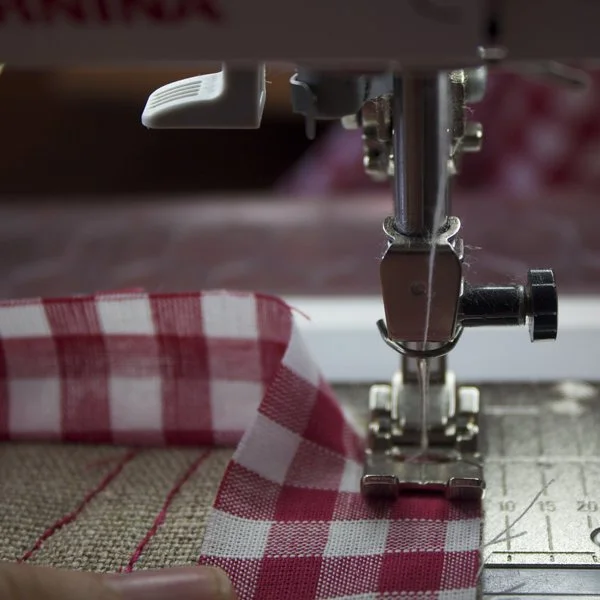
Stitch it to the right (top) side of the quilt with a 1/4 inch seam.
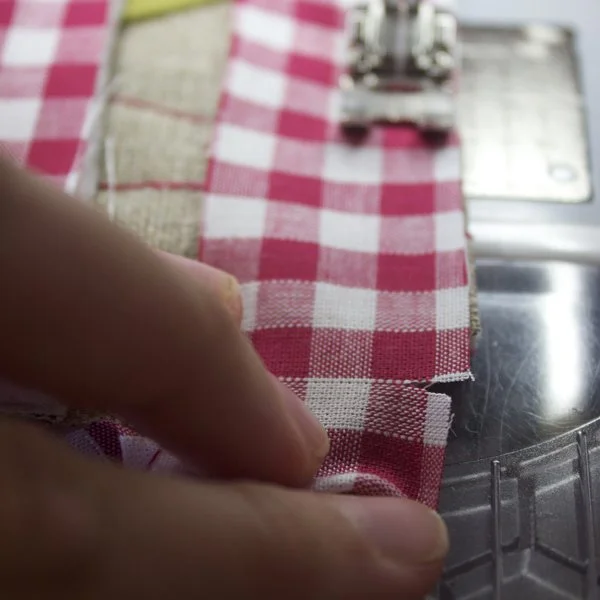

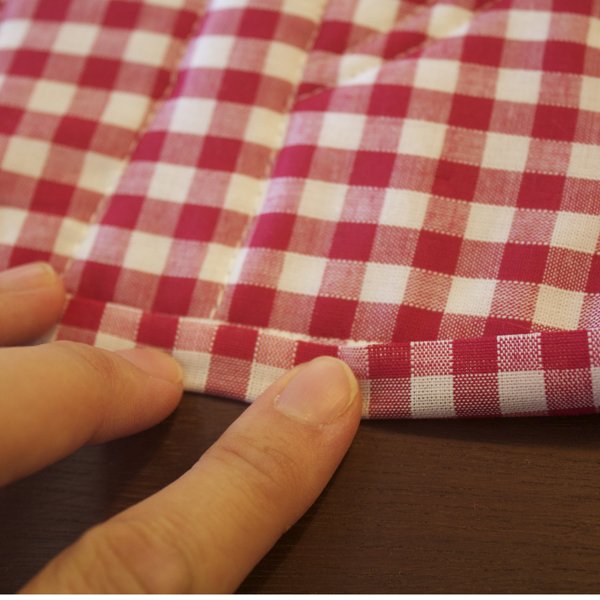
4. At the corners, 1/4 inch from the end of the side you are binding, make a snip in the binding (just under 1/4 inch deep), so that you can turn it sharply at the corner. Stitch right up to the snip, leave the needle in the quilt and then turn the quilt 90 degrees, lining up the binding along the next quilt edge.
5. Continue around the quilt in this manner, overlapping the end of the binding about 2 cm over the beginning of the binding.
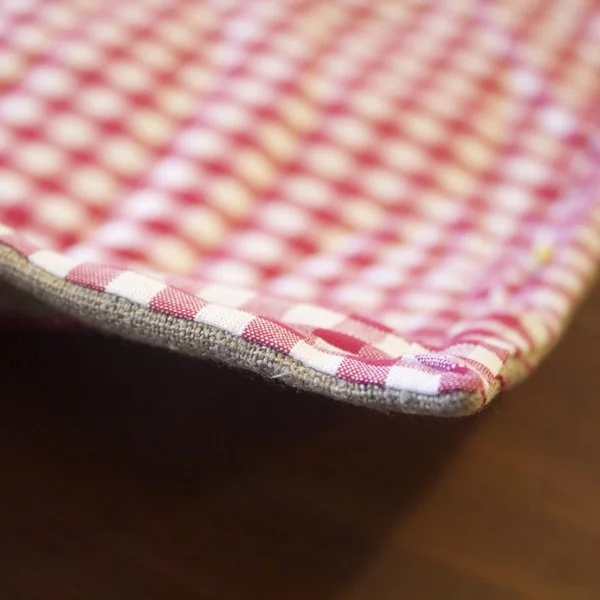
6. Once the binding is stitched on, trim the corners of the quilt, taking care not to cut your stitching.

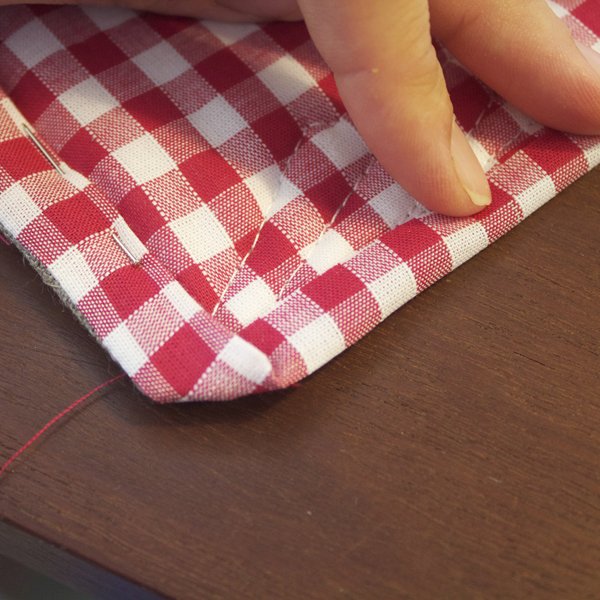
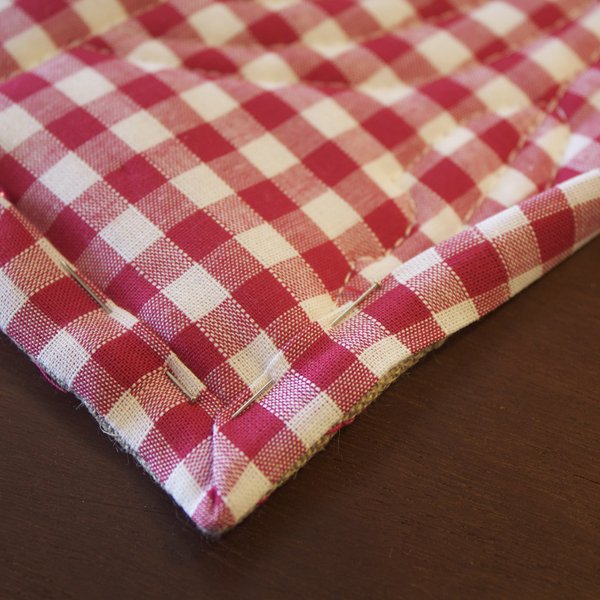
7. Now fold the binding all the way to the back, and stitch it down by hand. Be sure to fold it far enough back so that you can't see it from the front.