10 Common Mistakes I Encounter in my Quiltmaking Workshops


In my two-day workshops we typically work on a small quilt project that introduces students to my quiltmaking process. Over the years, I’ve learned so much about how to teach the process in a way that minimises the mistakes made by students. I thought it might be valuable to share the most common mistakes that I encounter in my workshops, as you may well encounter these yourself!
Missing lines and notches
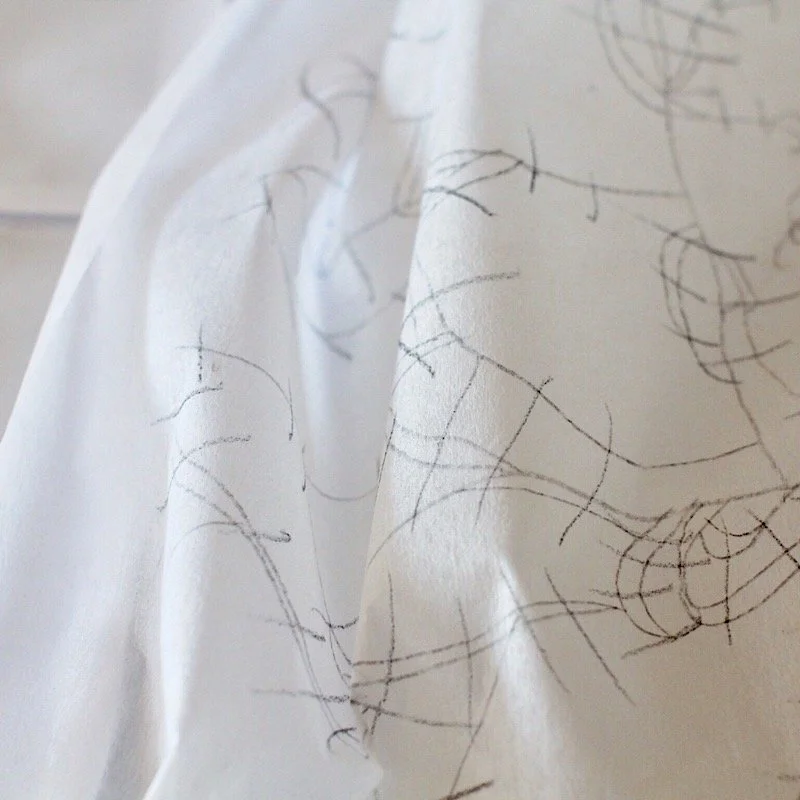
One of the first things we do in class is trace out the full pattern onto iron-on interfacing and add notch markings. I now insist on checking everyone’s work before moving onto the next step. Almost without fail. Students will miss seam lines, or forget to add notch markings to certain seams. It’s always good to have a second pair of eyes on the job - and even then, we still sometimes miss something. Common seams to miss, are the small straight lines that segment the leaves. Common places to miss the notch markings are along the tops and bottoms of the blossoms. A helpful way to check for yourself whether you have everything covered is to slip your hand under the interfacing, while it is still laid out on the paper pattern, to lift it slightly. You can then cast your eyes over it to see if you have missed a seam line. Missed notch markings can be picked up by carefully scanning across the interfacing while it’s flat on the paper pattern.
2. Unorganised workspaces
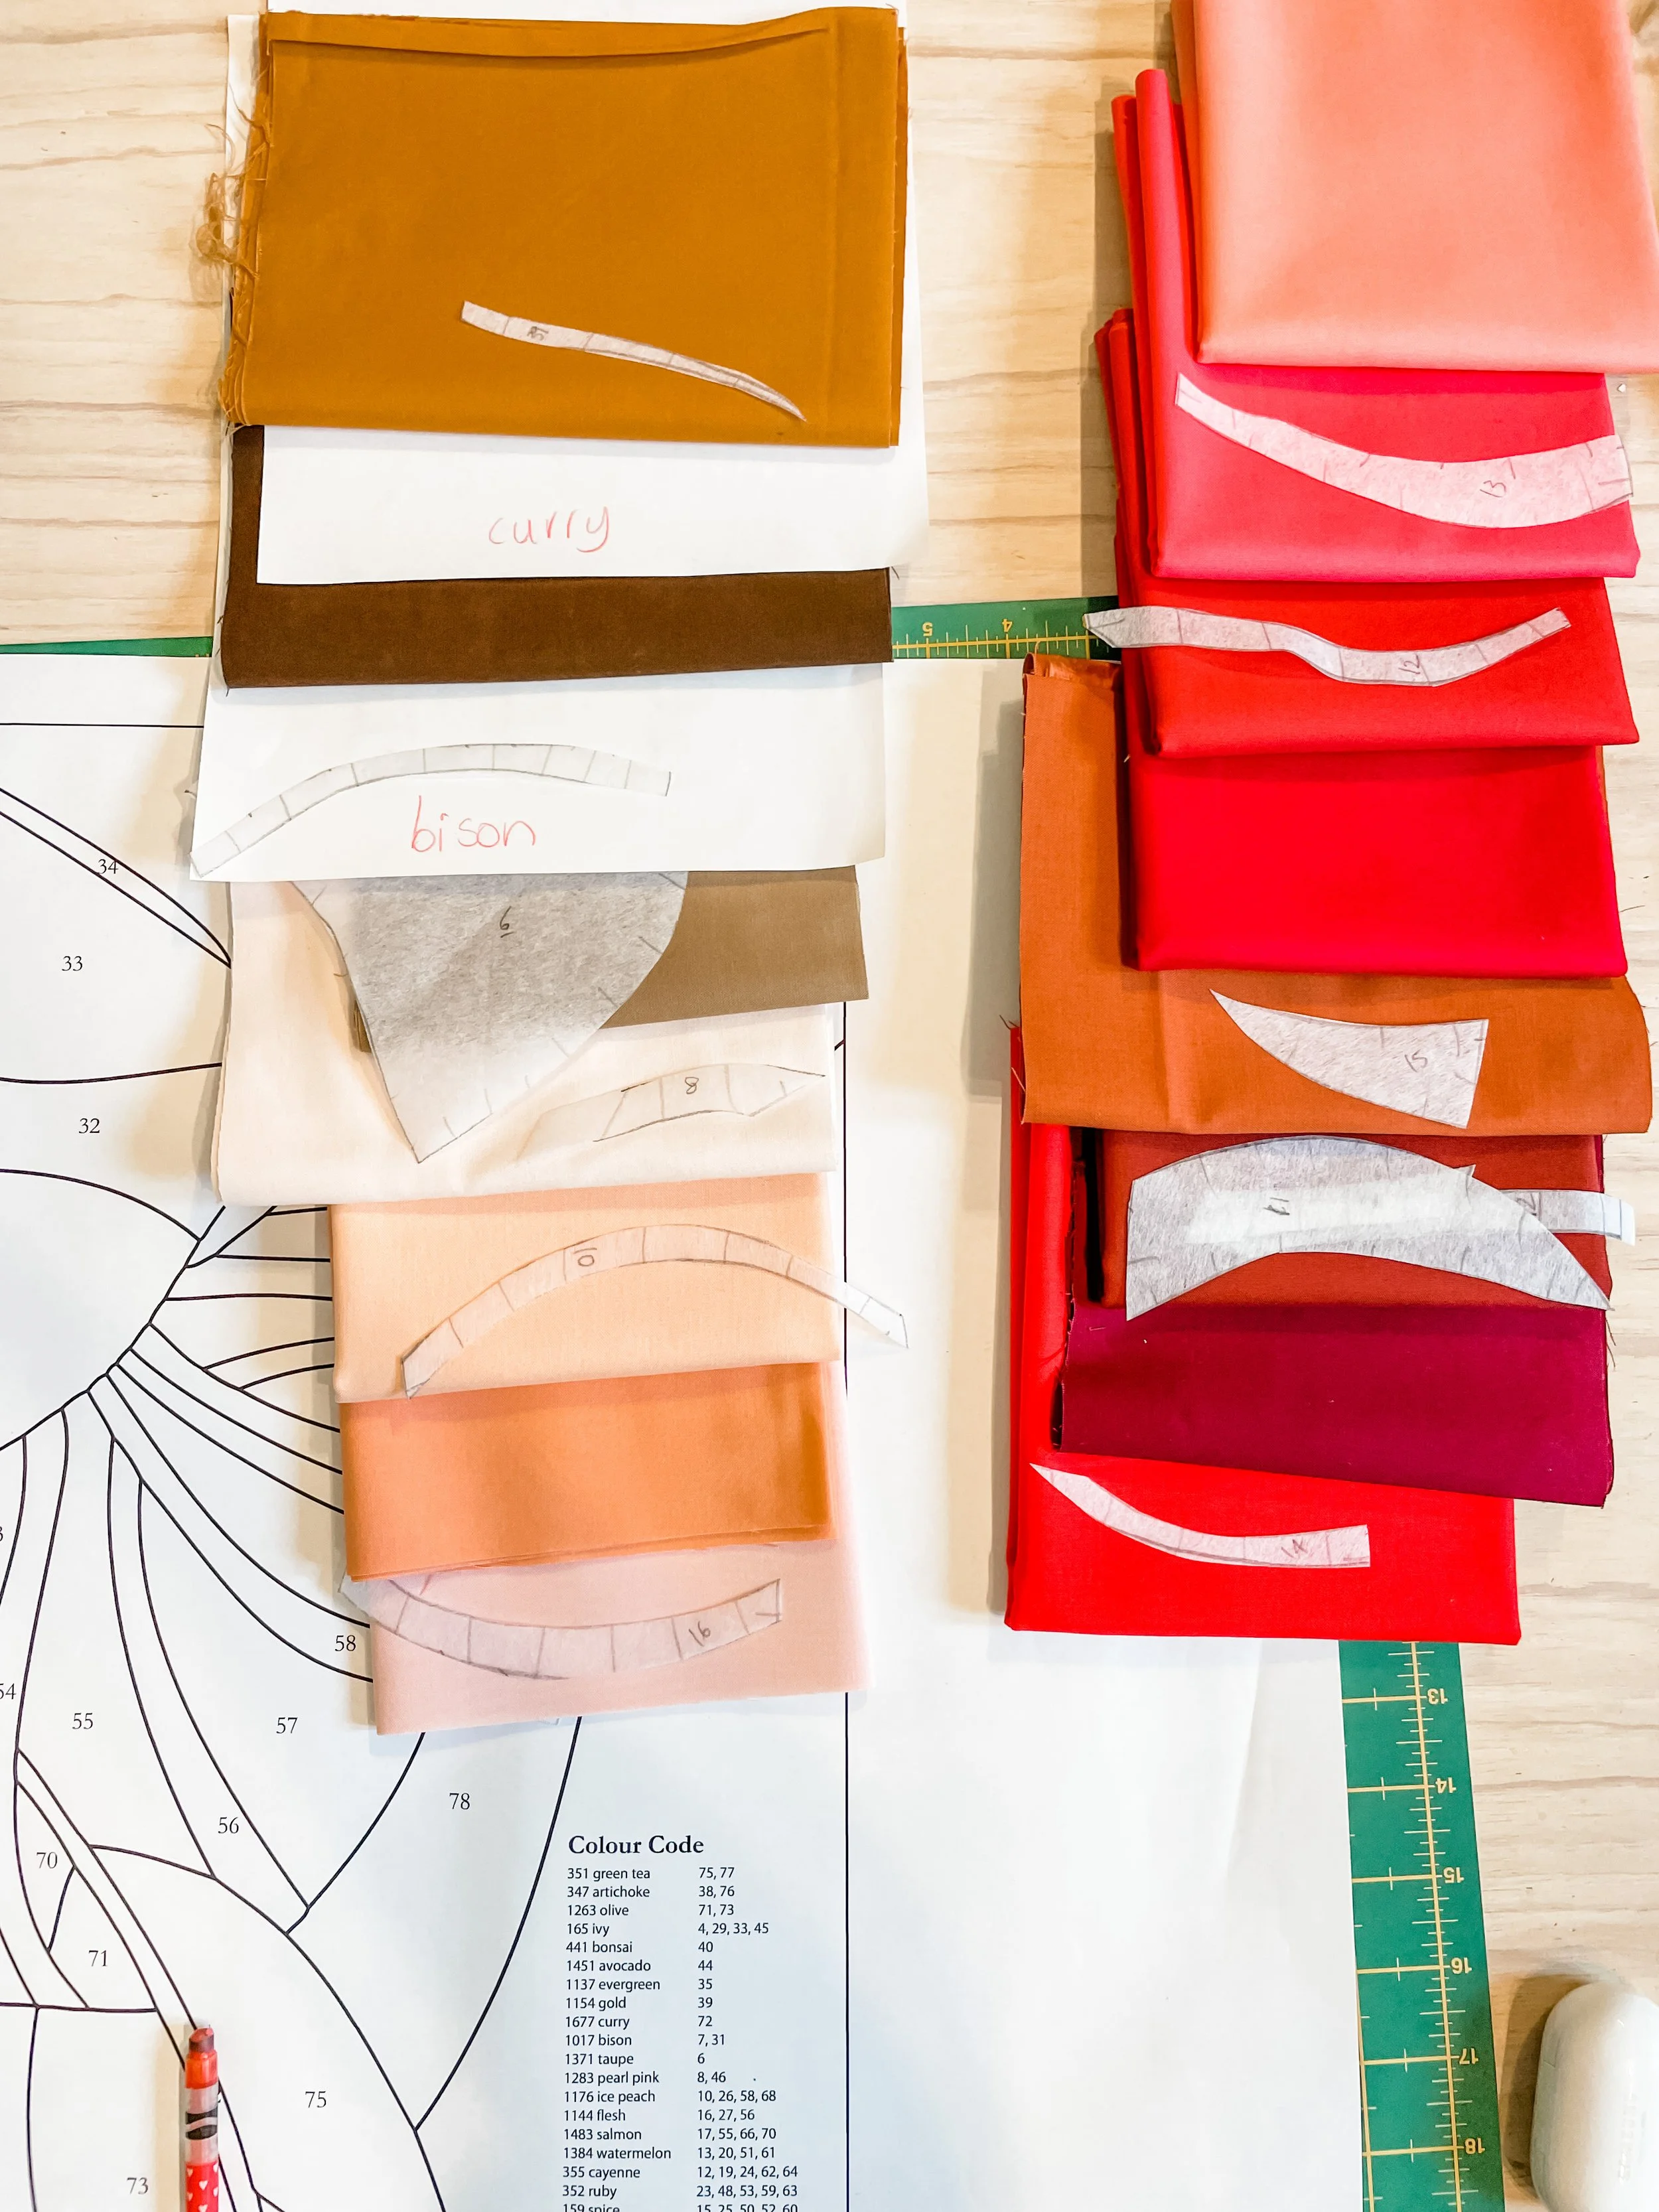
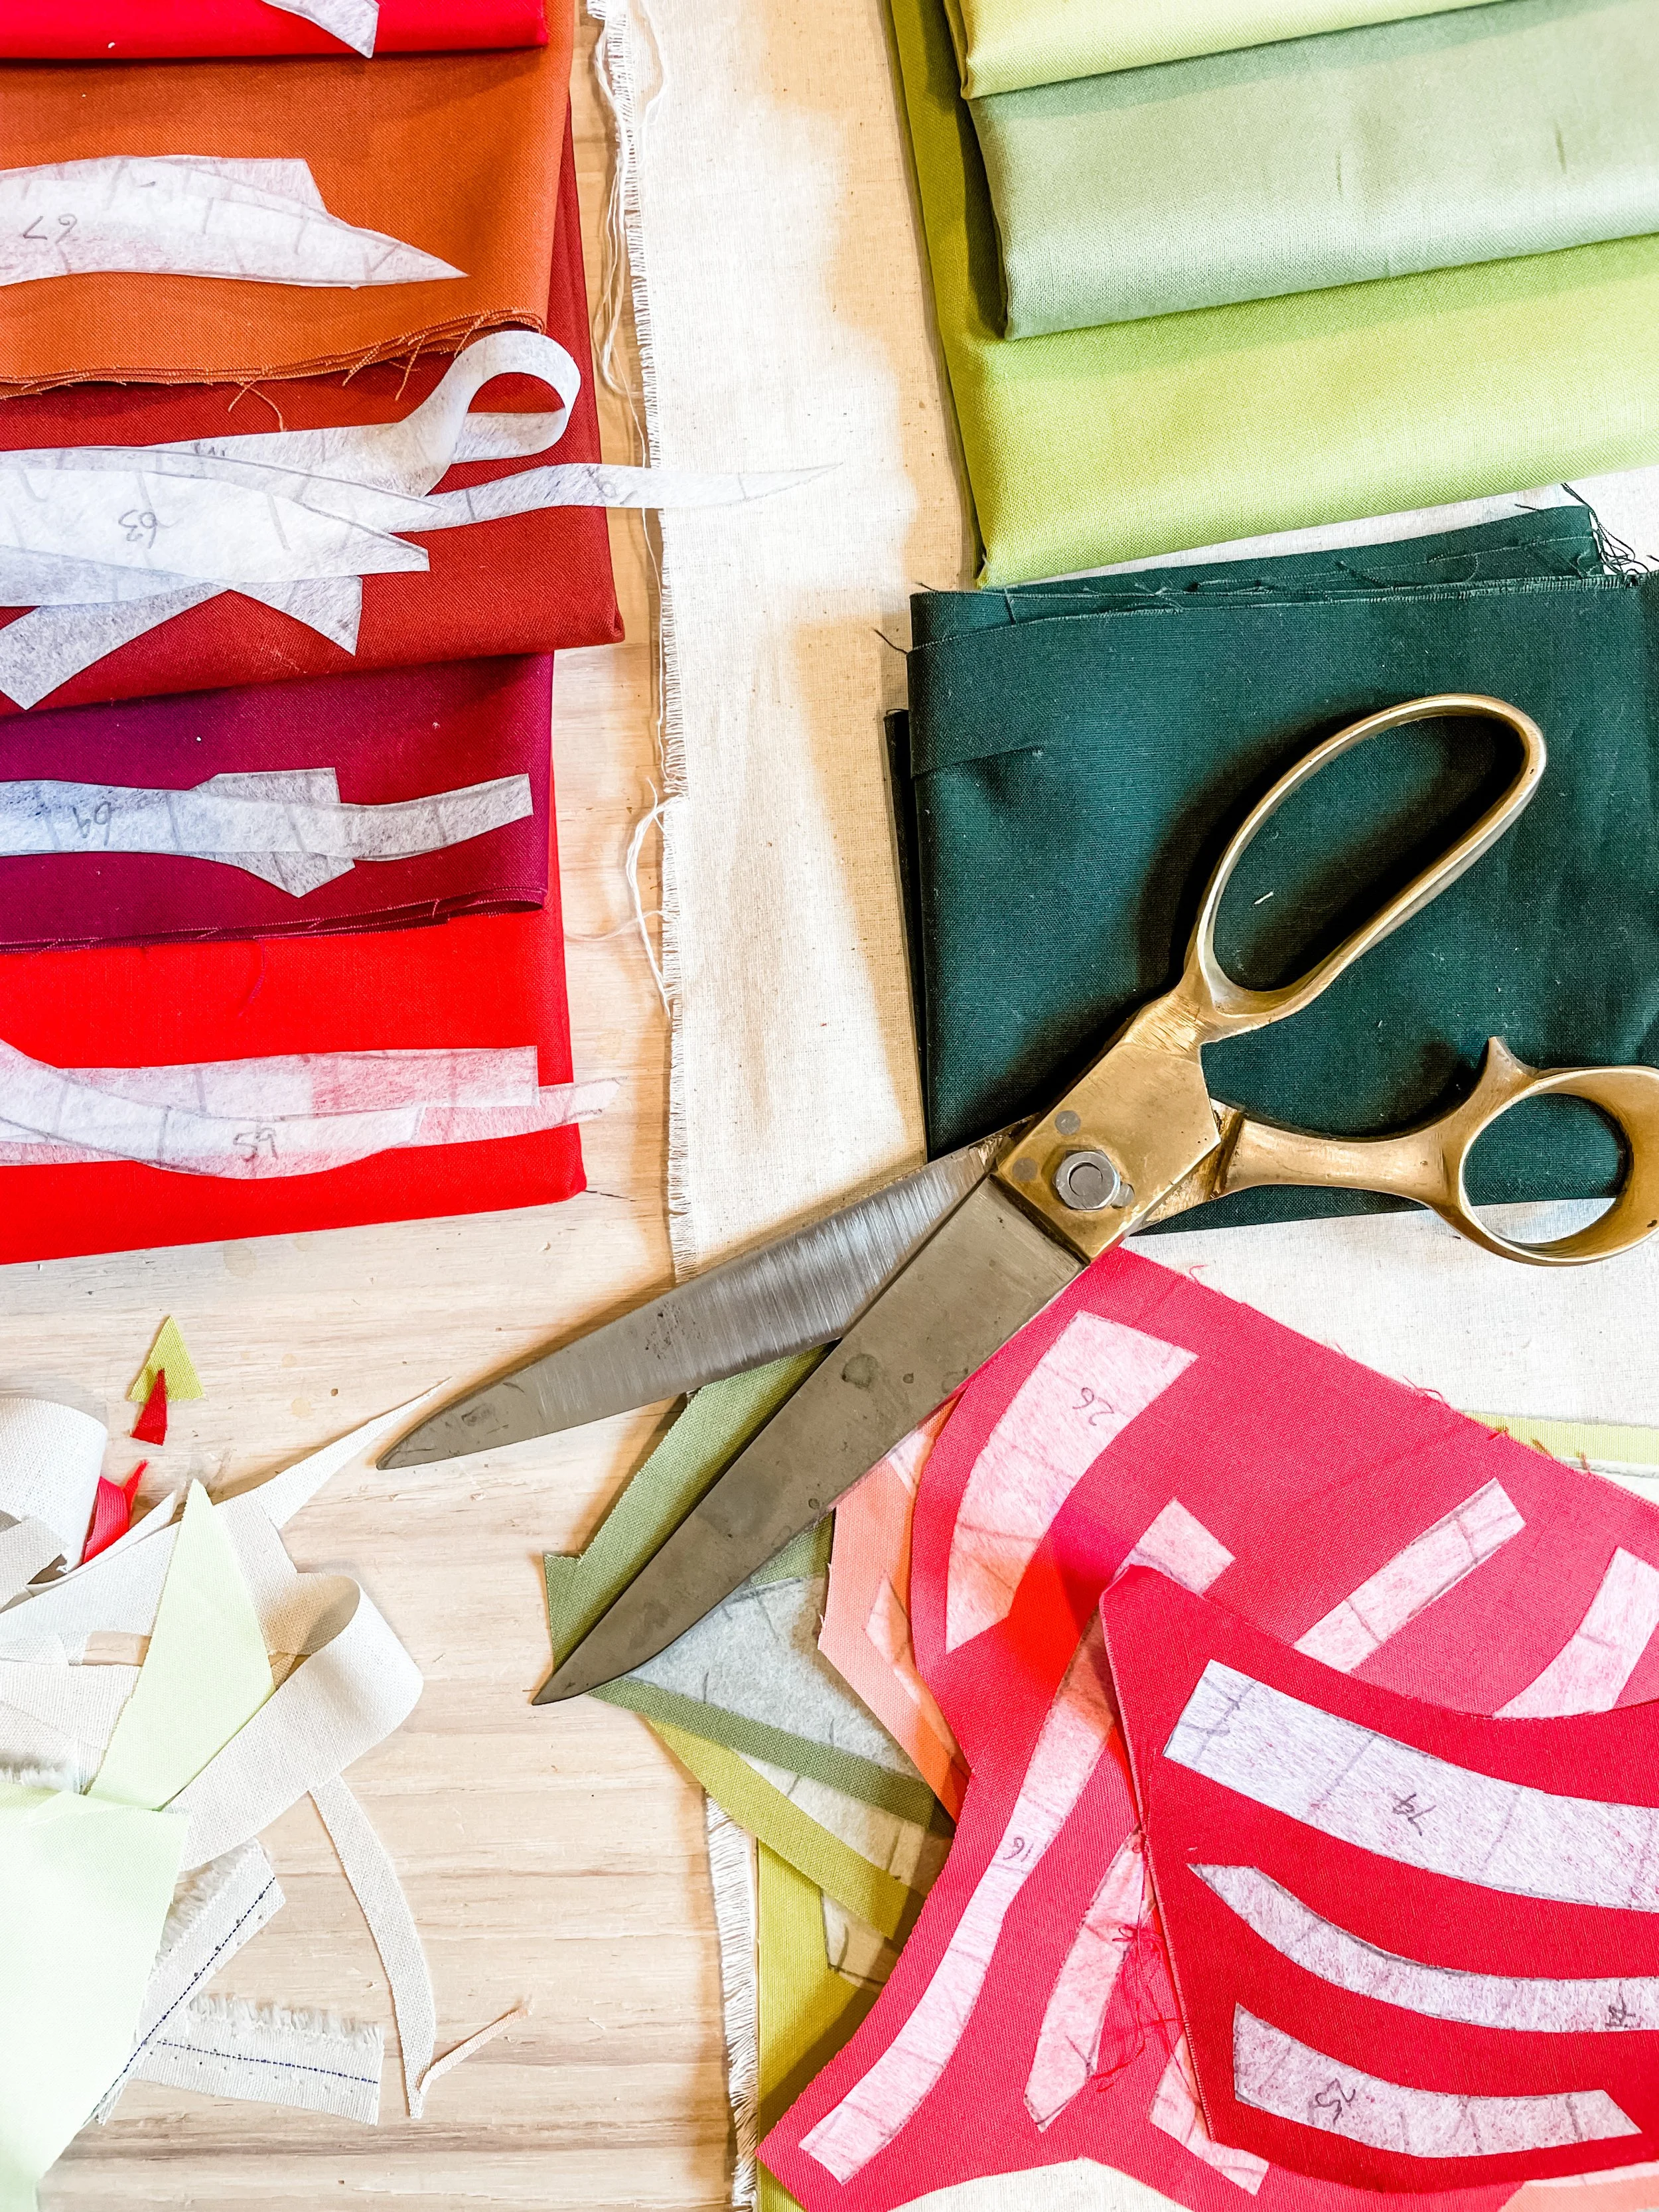
It’s always tempting to walk past and organise my students workspaces! A tidy and organised workspace can make the whole quiltmaking process so much smoother. Don’t place your pattern on top of a haphazard stack of fabric on top of your scissors and phone. You will lose quilt pieces, select the wrong colour fabric, and spend half your lesson looking for things. When it comes to cutting out your quilt pieces, laying out your coloured fabrics in order, allocating interfacing pieces to the correct colour fabric, and then taking the over the the iron to press down, is far more effective and efficient than dealing with one or two random pieces at a time.
3. Not pinning the corners together
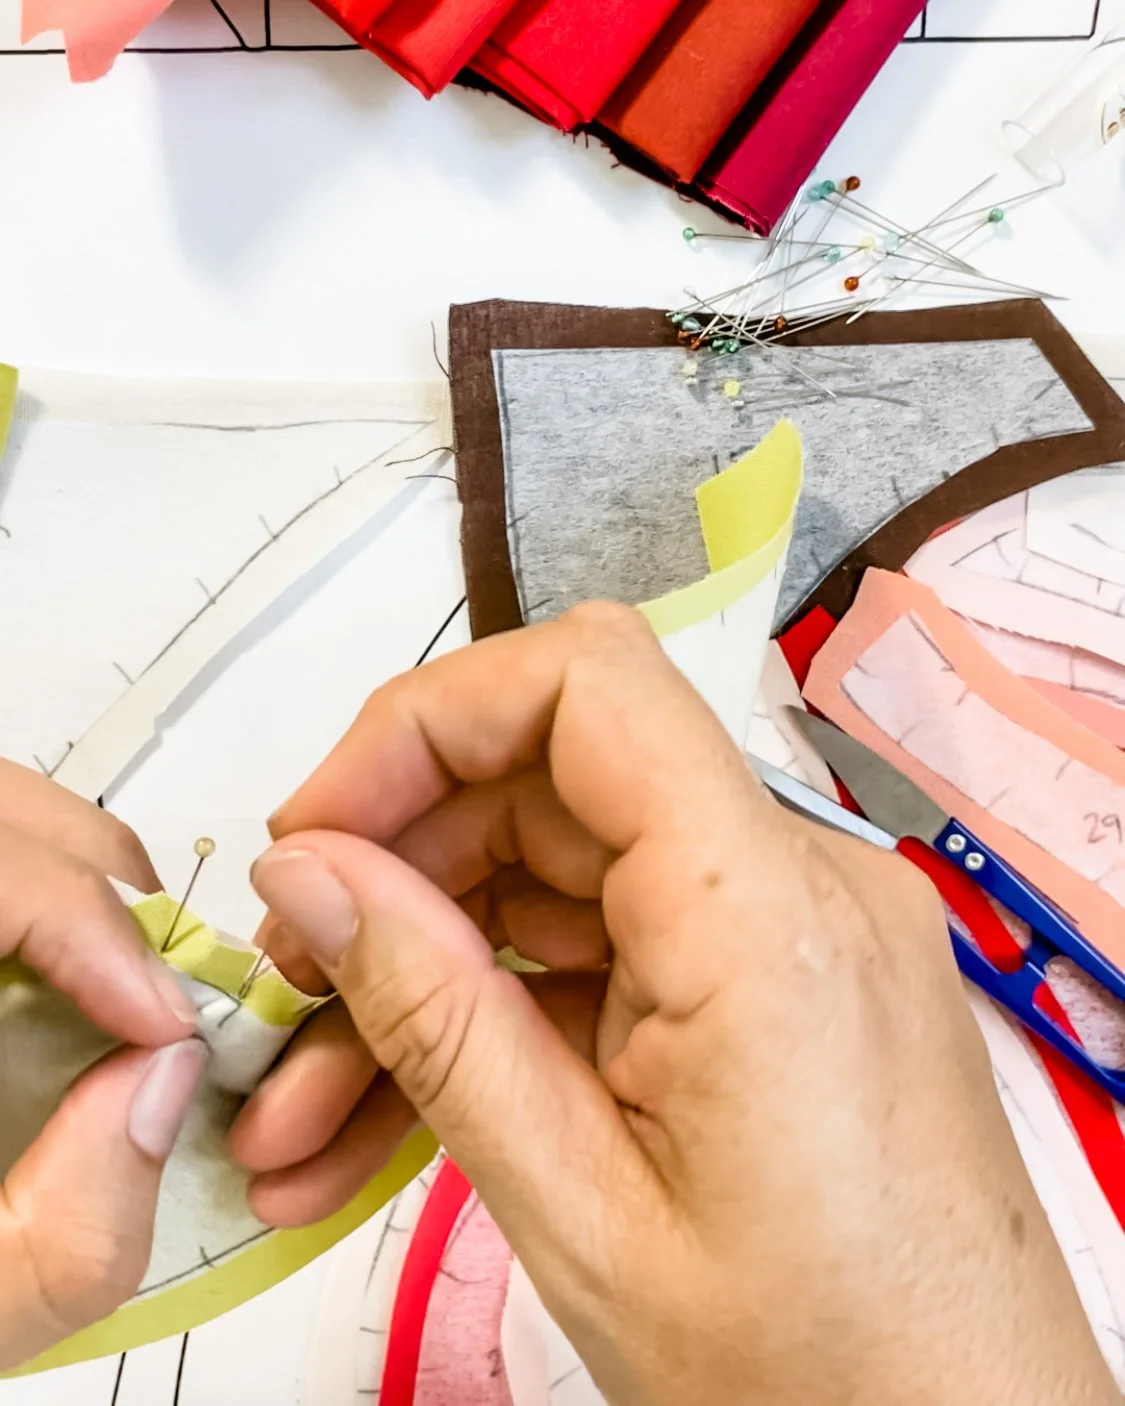
With all the emphasis on matching notch markings when pinning (and on the fact that notch markings don’t lie) it can be easy to miss the fact that you should also pin matching corners together. This is crucial for ensuring that the fabric doesn’t slip out at both ends of the seam.

4. Too many notches (or not enough)
I make my notches 2-3cm apart; maybe closer together on tight curves and further apart on long subtle curves. I’ve noticed some students add way more notches, sometimes less than 0.5cm apart. This can actually make it very difficult to work out which notches belong together when you get to pinning your quilt. Equally, having barely any notches will make it difficult to pin the curves accurately.
5. Catching the seam allowance of another seam
Sometimes, on skinny quilt pieces such as stems, branches and narrow blossom filaments, you might catch the seam allowance of another seam into your current seam. This is only a problem if the quilt then doesn’t sit flat. Sometimes you can fix it very simply by clipping the seam allowance free (check carefully that you are not clipping into the front of your quilt. Other times you may need to unpick a small section, and re-stitch it.
6. Correct pieces together, but not in the right place
Often, when a student shows me a seam that is not sitting right, it’s because they’ve stitched it slightly upwards or downwards from where it should be. So, they’ve stitched the correct pieces together, but they are not lined up correctly. This happens more easily where there is not a clear corner to match to. For seams like this, be sure to be very clear on whether or not your notches are matching properly, and also check the grain of the interfacing - it should all be going in the same directions. The only way to fix a problem like this is to unpick it and repin in the correct position.
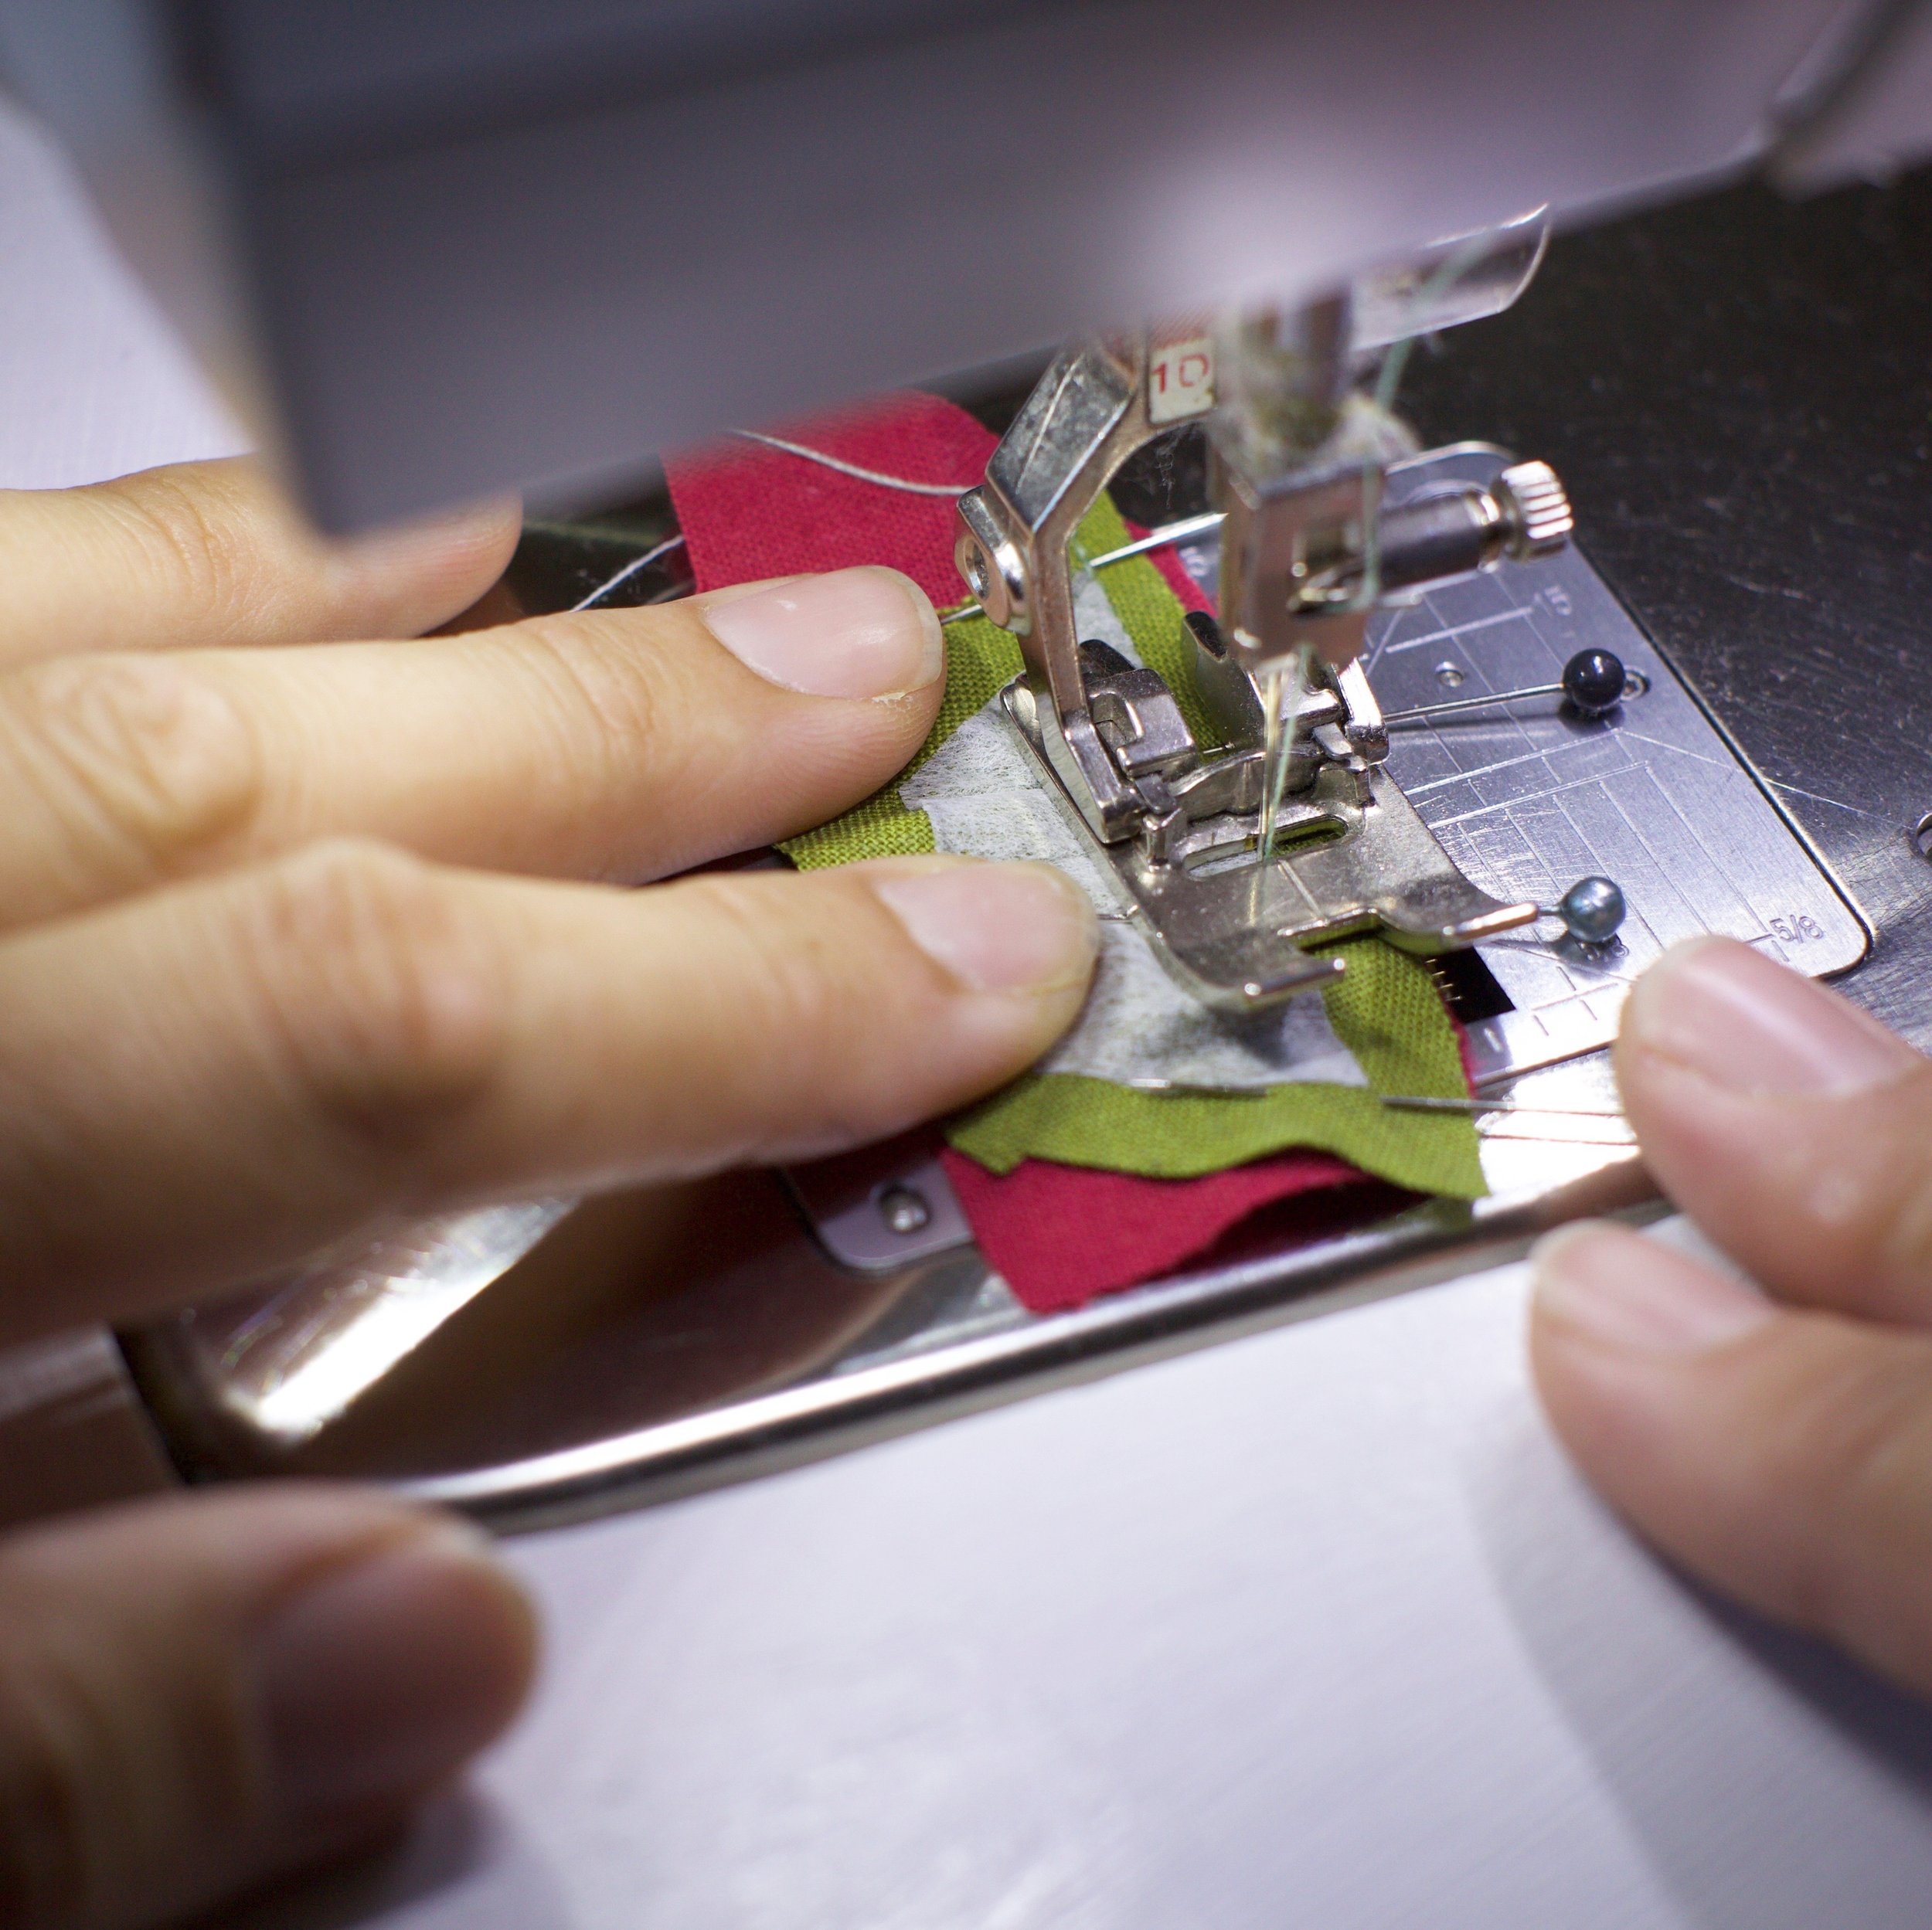
7. Bottom fabric slipping
It’s important when pinning, to make sure that the bottom layer of fabric doesn’t slide across as you bring your pin back up through the layers. If it does, you’ll find that on the back, your stitching is always 1mm or so away from the edge of the interfacing. This will happen in spite of your best efforts; just try not to let it slip too much. It will help to hold the two layers firmly together as you bring the pin up. Another helpful tip is to use finer pins - the fabric will slip less.
8. Seam allowances too big
I teach that the seam allowances we cut don’t need to be perfectly accurate, as we match the interfacing edges rather than the edges of the fabric. I still recommend a seam allowance that is approx. 1/4 inch. Sometimes students insist on much wider seam allowances, such as 1/2 inch. Unfortunately this makes it much more difficult to manipulate and maneouvre the fabric. It also makes for a lot of extra, unnecessary bulkiness on the back of your quilt top. So, try to keep those seam allowances close to 1/4 inch.
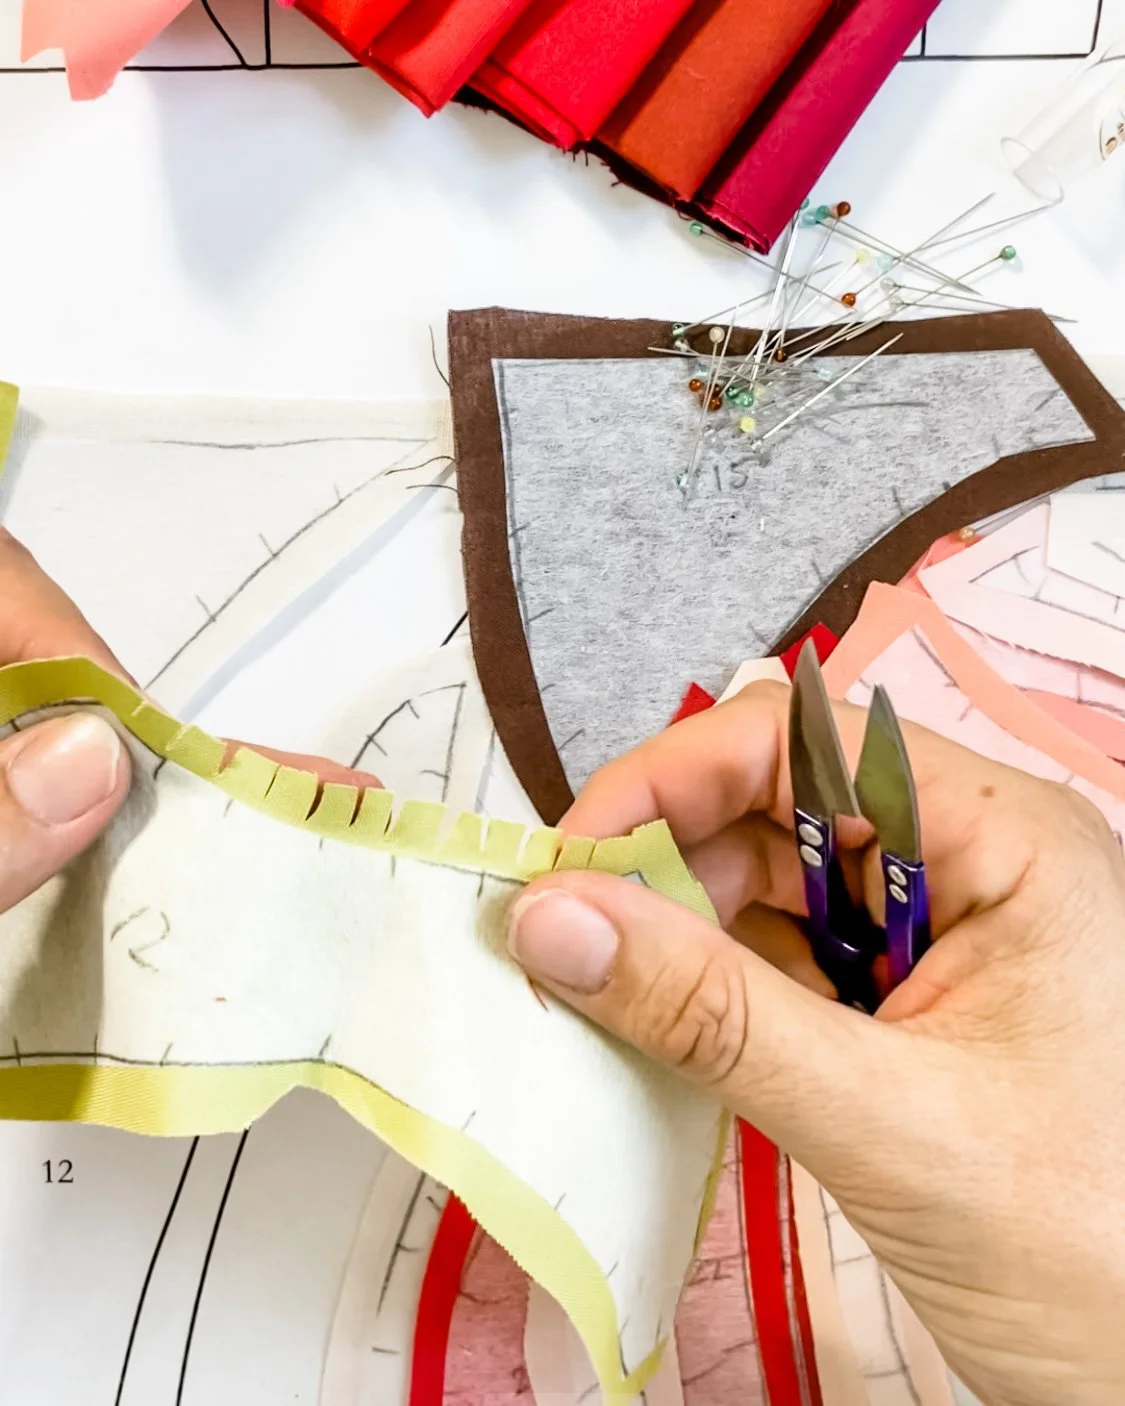
9. Not snipping concave curves well enough
There’s always a lot of discussion around snipping curves. All concave (curving inwards like a cave) edges need to be snipped to allow you to bend them around their matching quilt pieces. Snip 1-2cm apart, perpendicular to the edge of the fabric. Don’t try to match your snips with your notch markings, as that will make pinning more difficult. Also, make sure your snips go almost all the way to the interfacing. If you have an extra big seam allowance, and you only snip a couple of mm in, you will not be able to manipulate your fabric as needed.
10. Worrying too much about colour choices.
Colour is fun to play with, but it’s also possible to over-think your colour selections. It really doesn’t matter which bits of the blossoms are light or dark, or whether the stems are yellow, brown or burgundy. Particularly in a two-day workshop, you don’t want to spend too much time agonising over colour. If you’re working on this at home, you can take more time, including coming back to it another day to be sure, but I still recommend not getting too hung up on perfect colours.
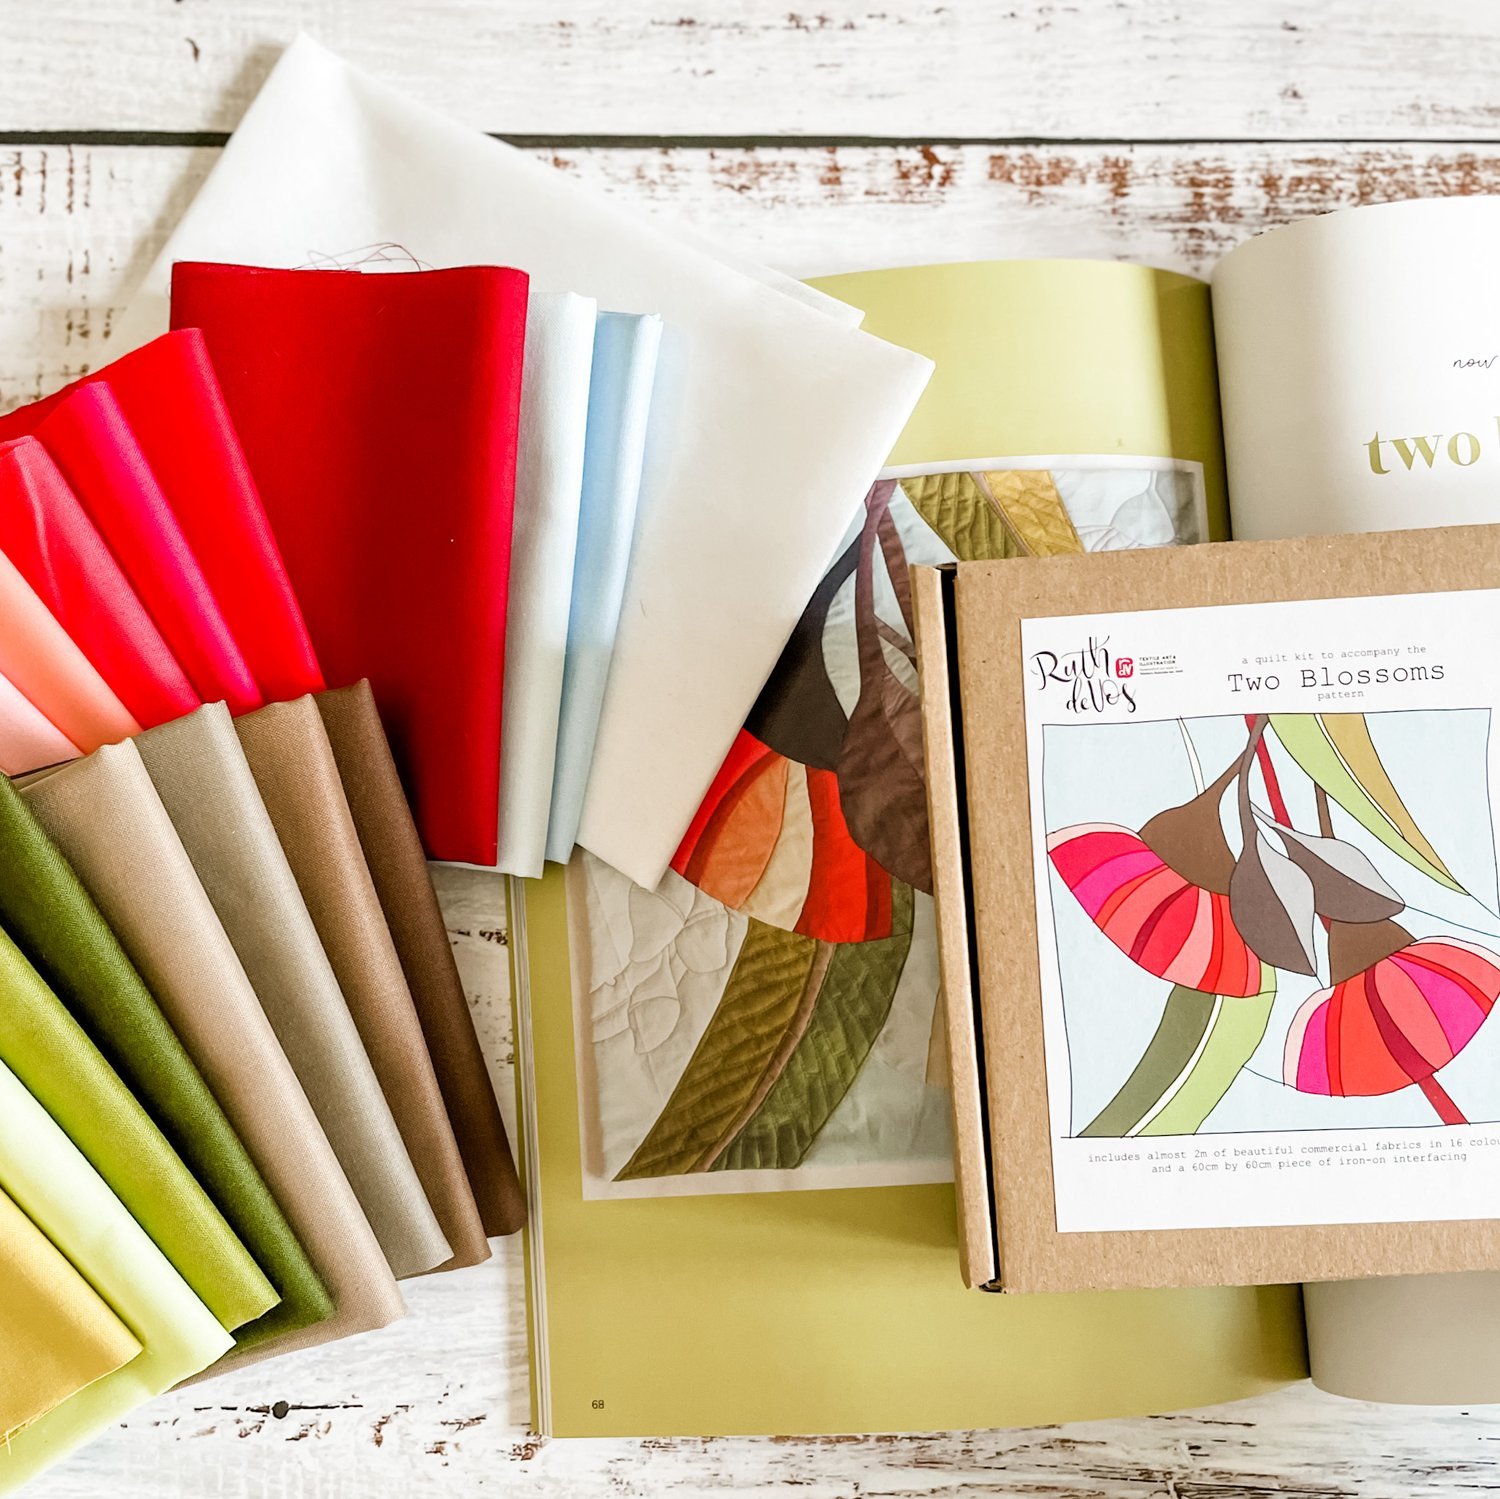
Try out my quiltmaking process for yourself with the help of my beautiful book ‘pieced’, and the accompanying kit.
