Two Blossoms QAL: Week 6
Welcome to Week 6 of the Two Blossoms QAL!
This week we’ll be stitching the rest of the quilt top together. We’ll also talk through finished the quilt.
To join this QAL you will need to have my book ‘pieced’ as this contains the Two Blossoms pattern. ‘Pieced’ is available as a digital version here, or as a paper version here.
The QAL is hosted here via my blog, and you can share your progress with our QAL on Instagram. Follow the hashtag #twoblossomsquilt on Instagram, and post your weekly progress there with the same hashtag, or tag me @ruthdevosart.
Read Week 1 QAL post.
Read Week 2 QAL post.
Read Week 3 QAL post.
Read Week 4 QAL post.
Read Week 5 QAL post.
THIS WEEK
Stitch the rest of the quilt top together. Post a photo or reel of your finished quilt top. Be sure to tag #twoblossomsquilt and @ruthdevosart.
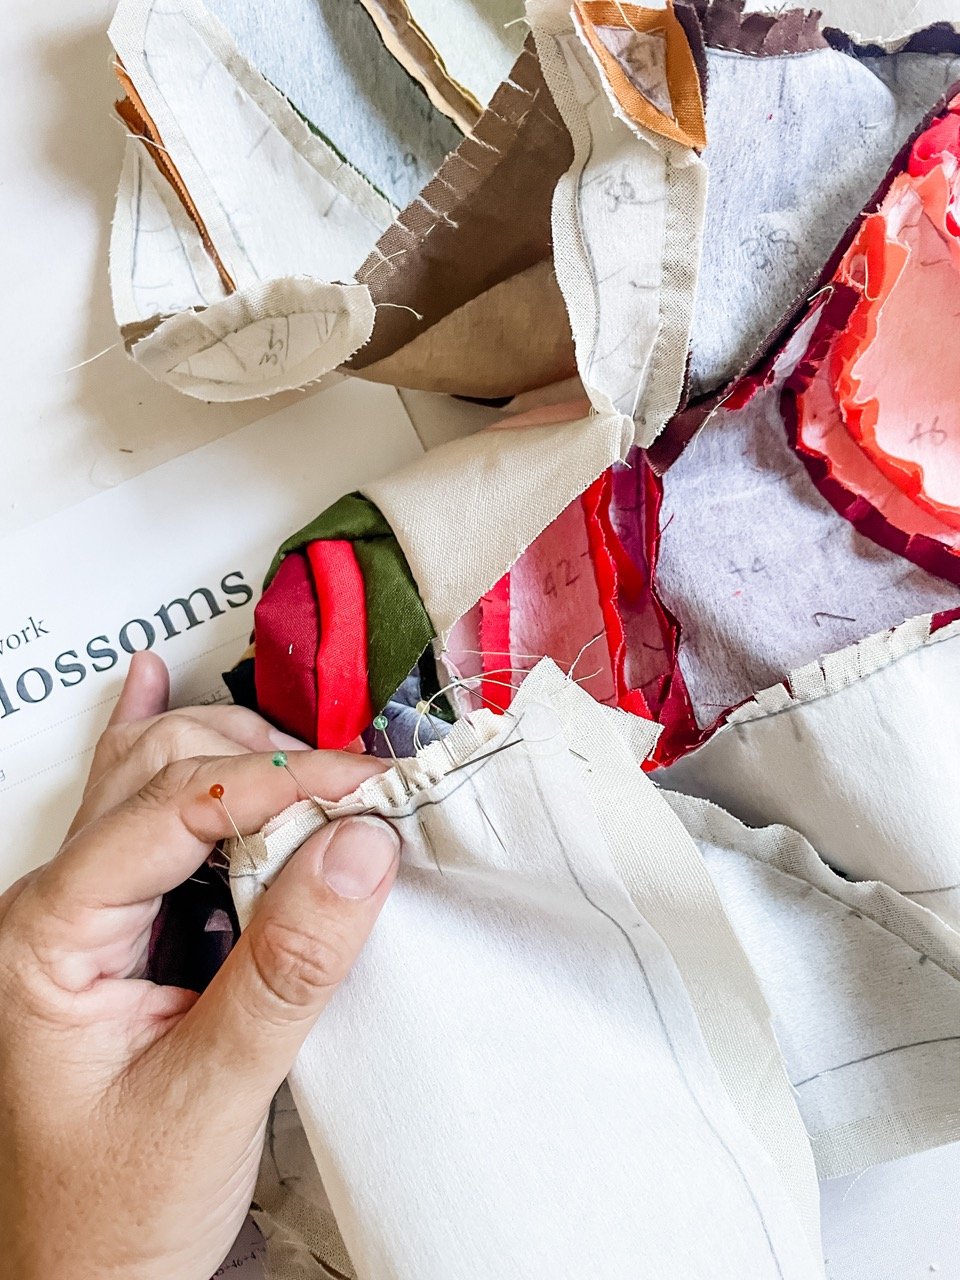
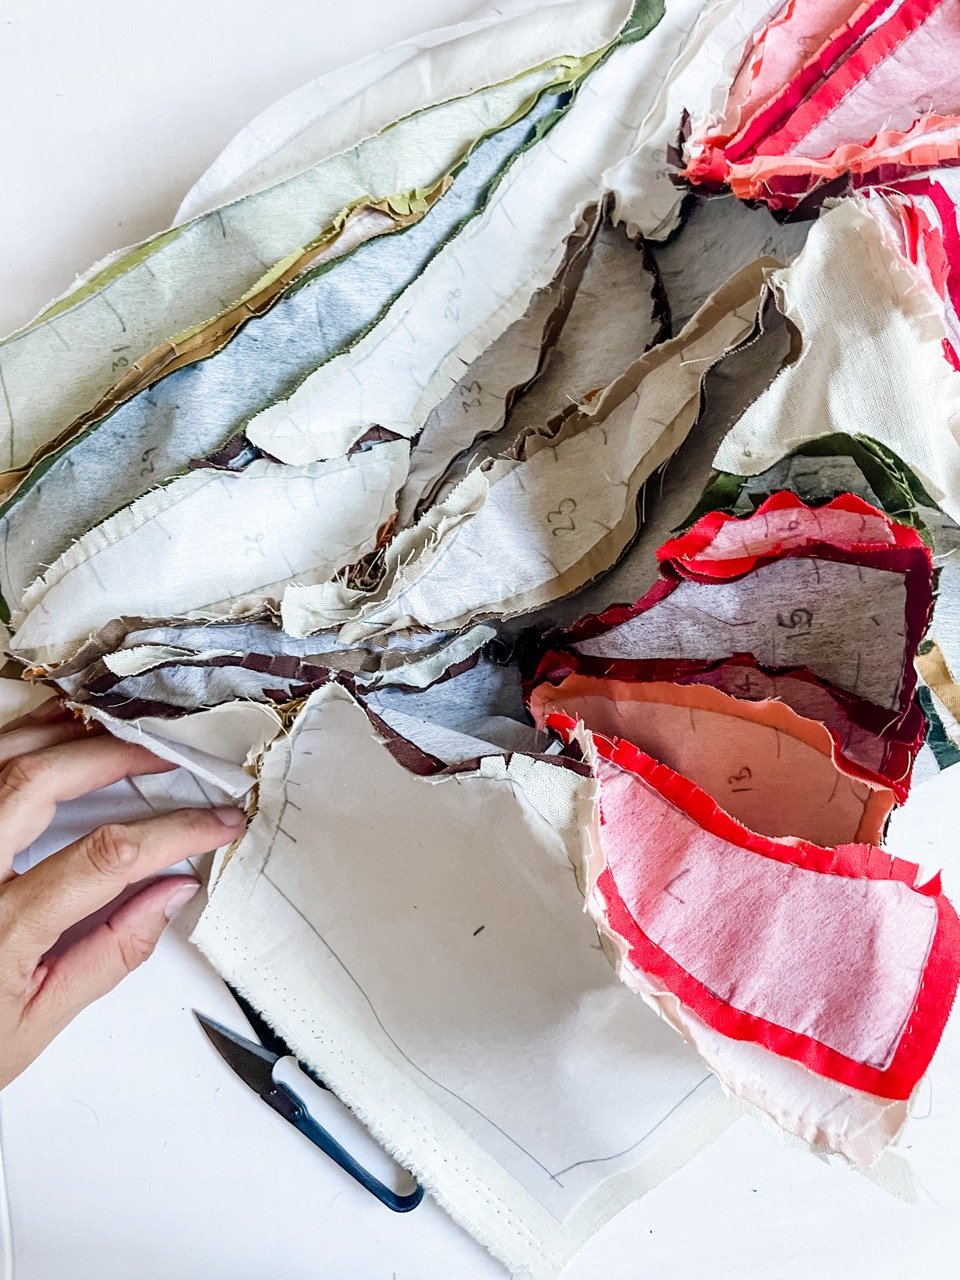
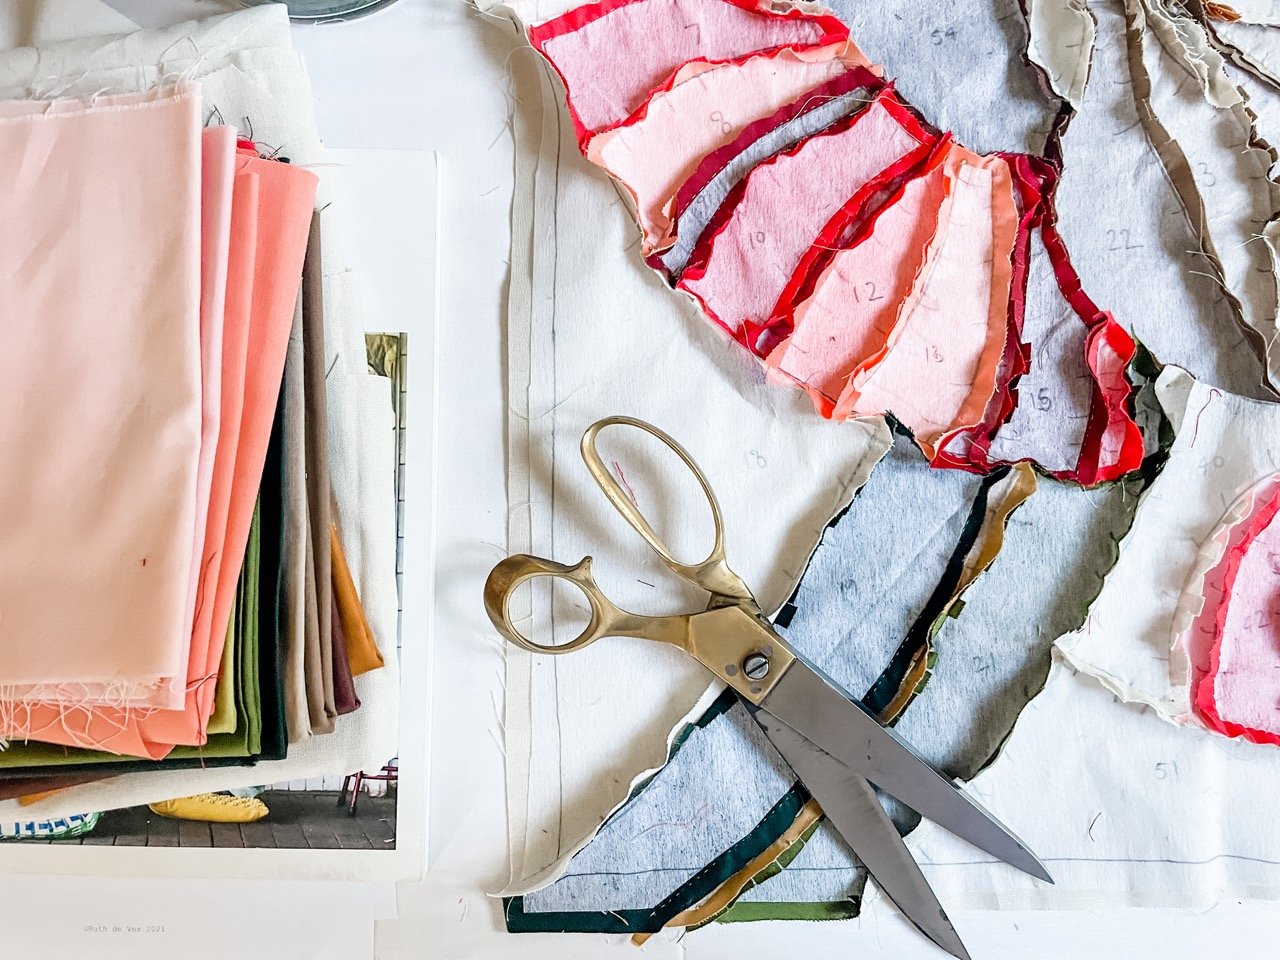
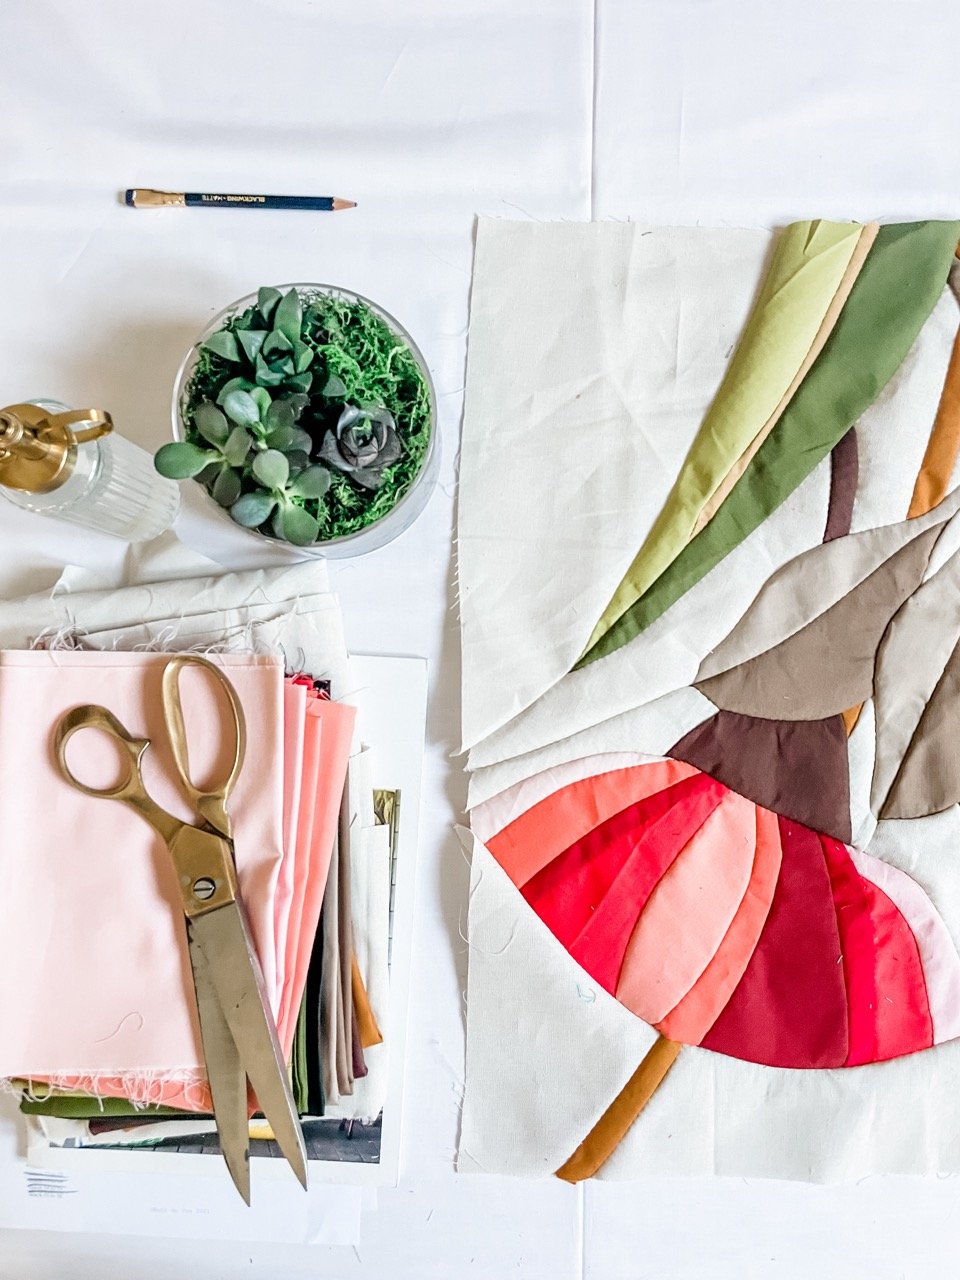
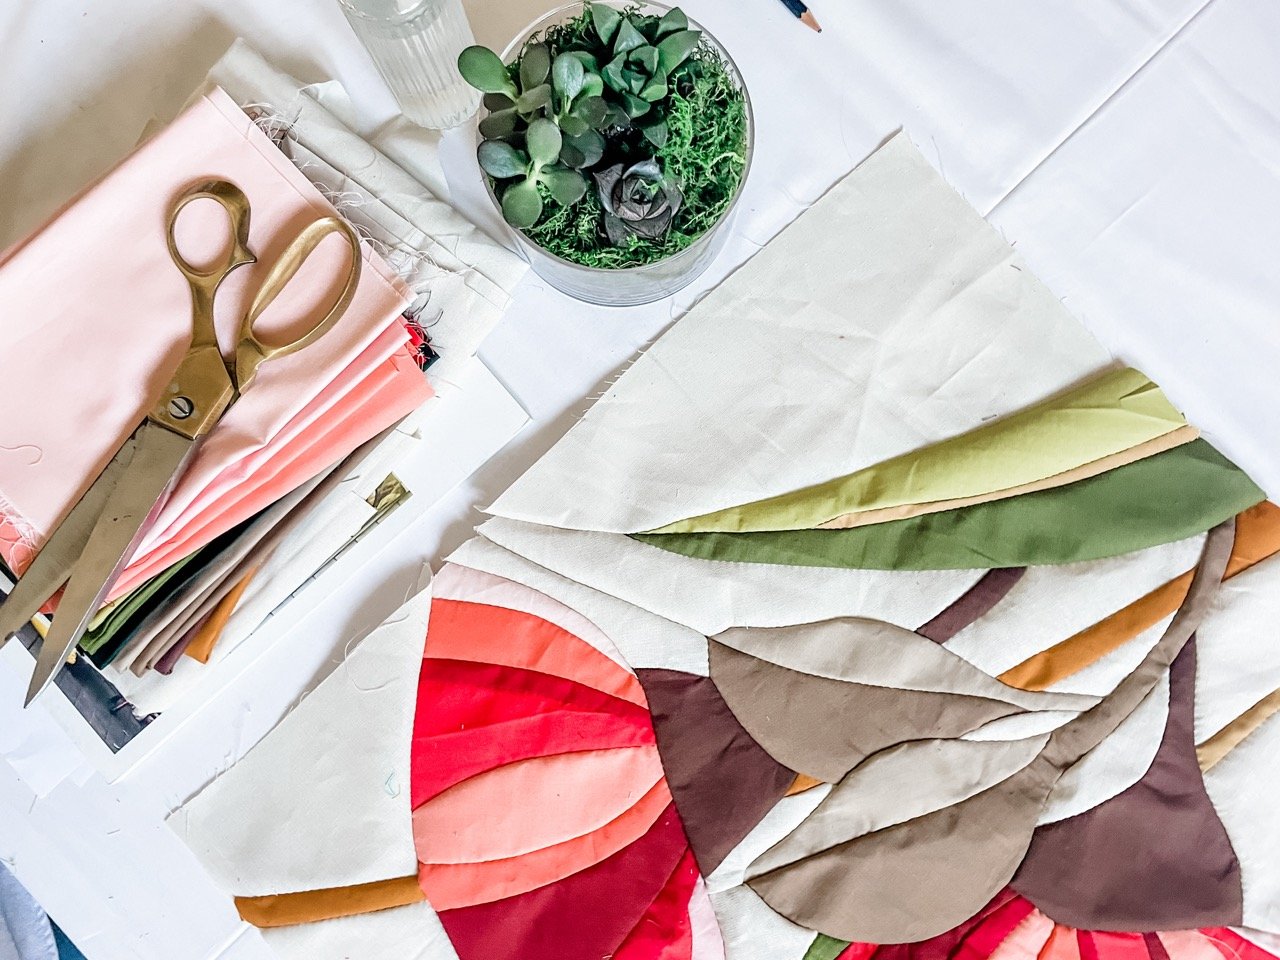
PIECE REST OF QUILT
The process here is the same as last week, so I won’t spell it all out again. Read week 3 again if you need to! We are stitching the rest of the quilt together, according to the ‘order of piecing’. Just work through the piecing instructions line by line!
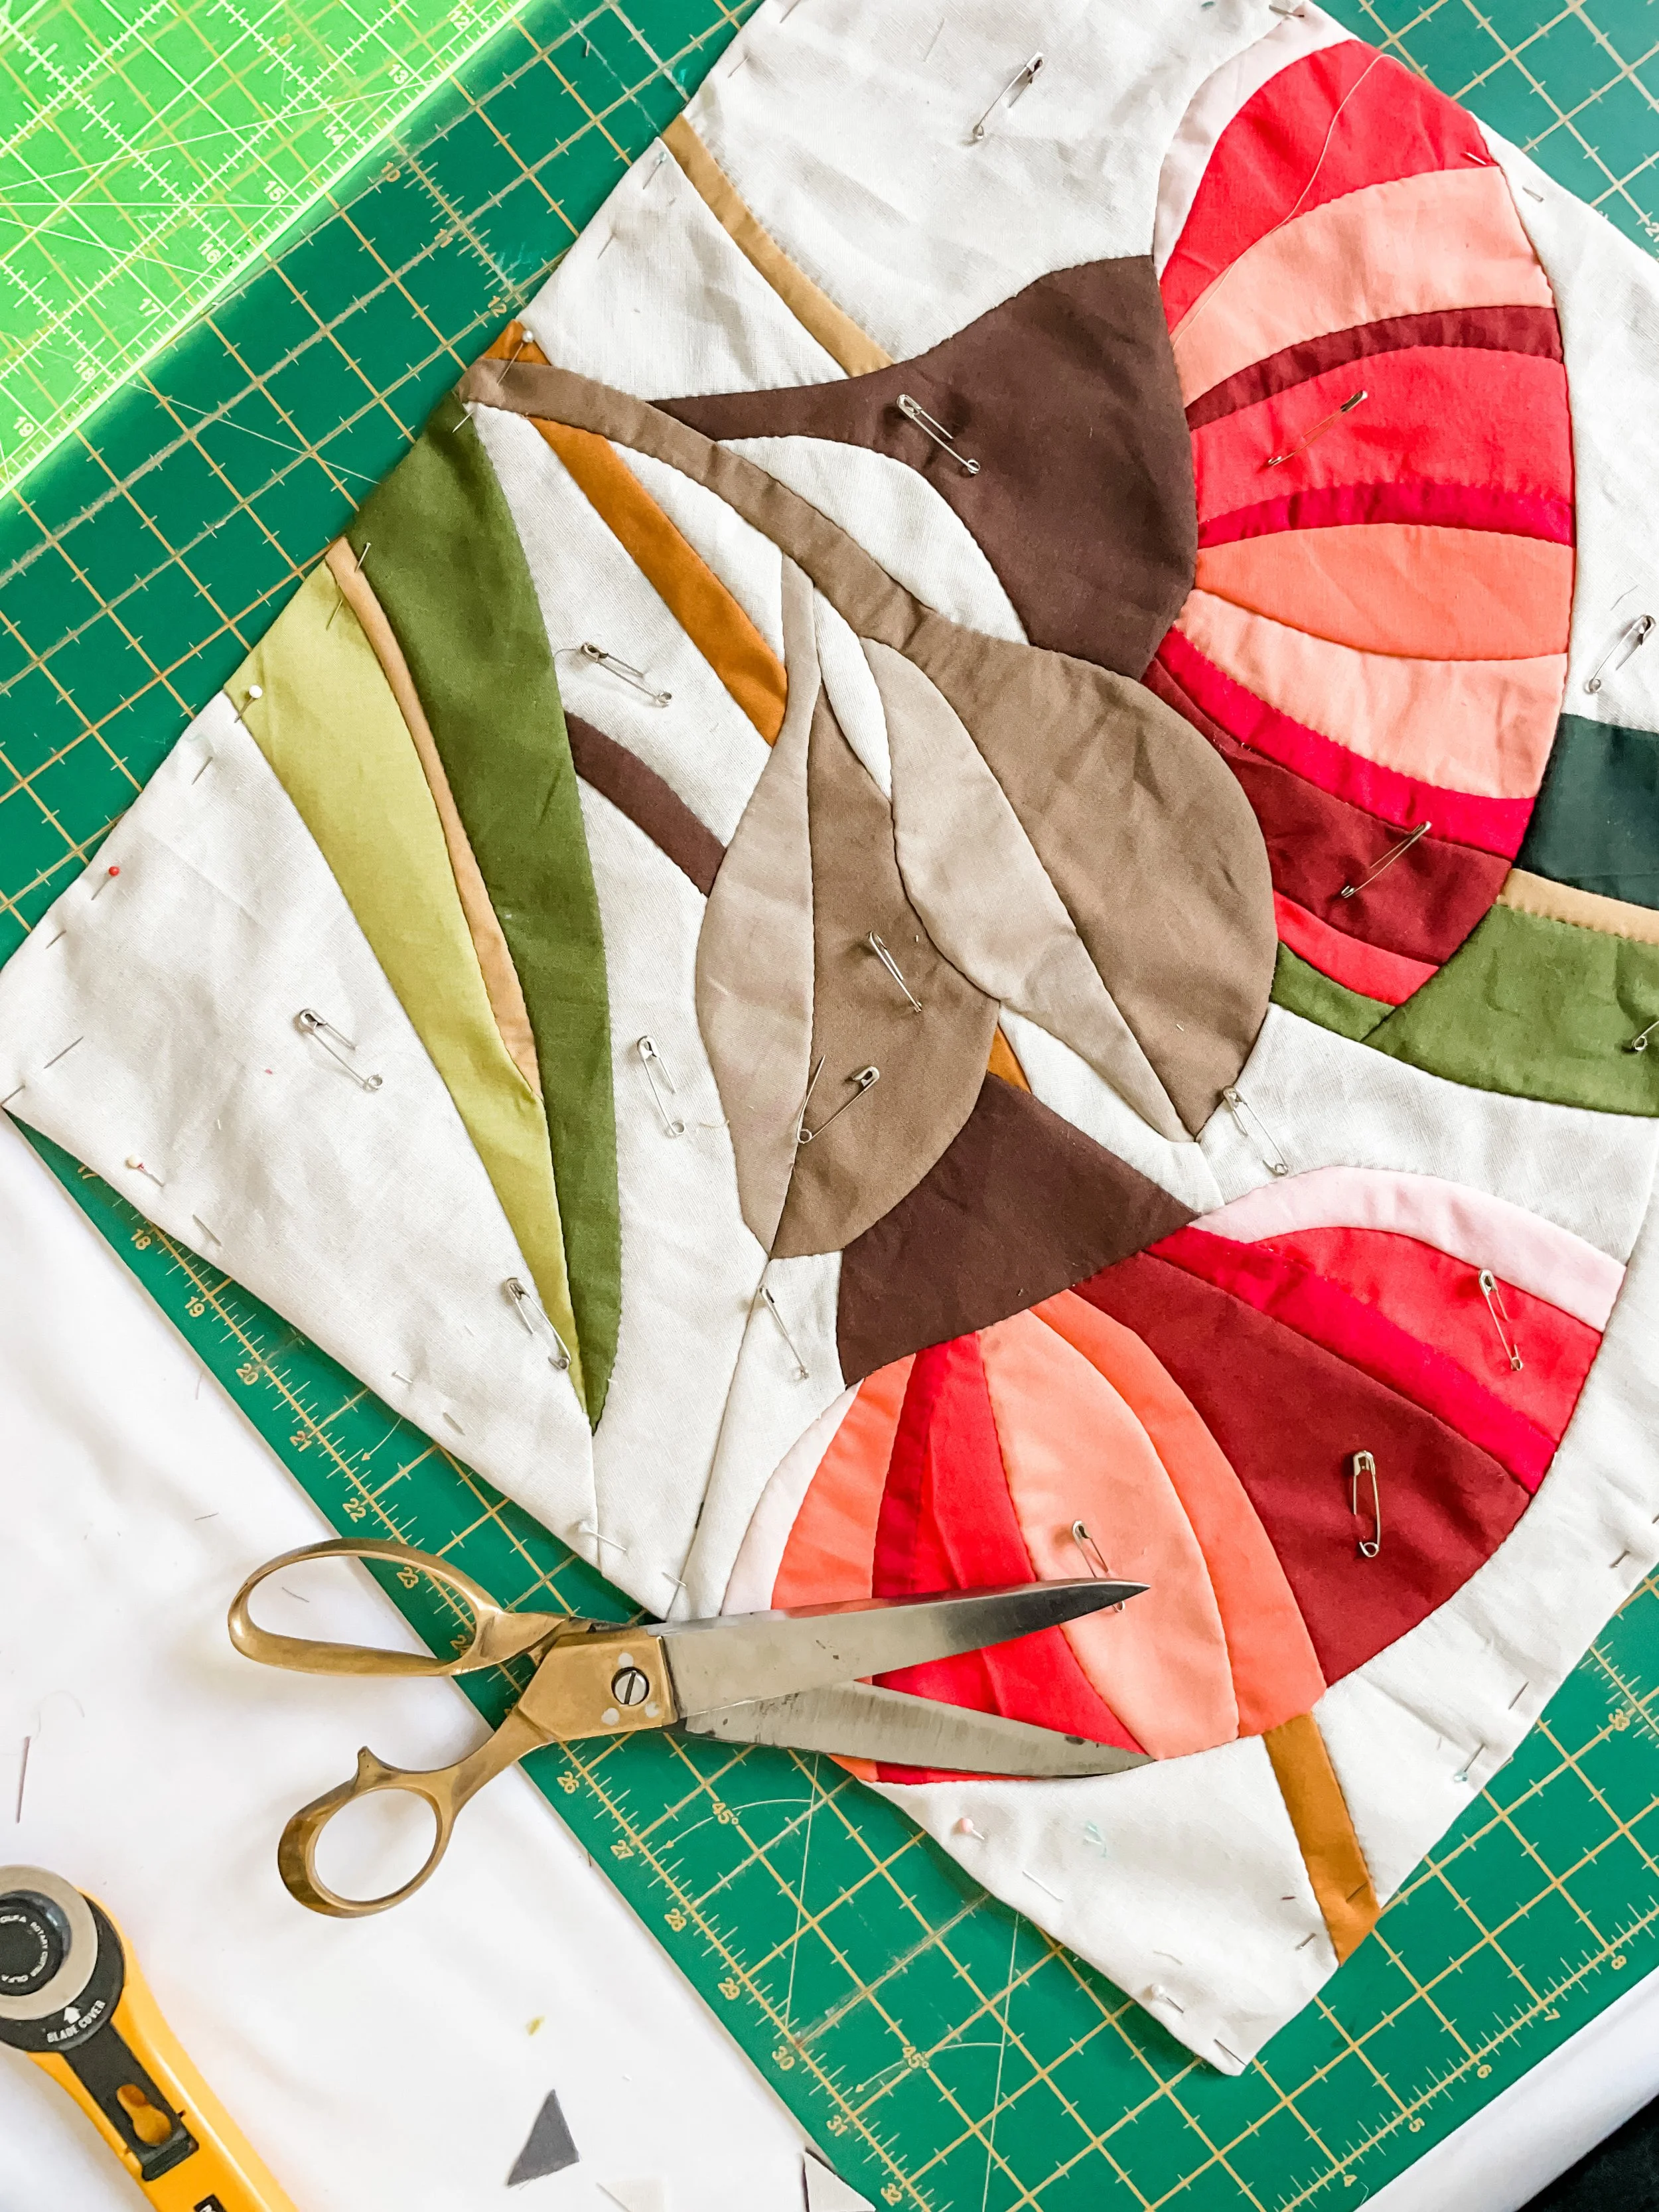
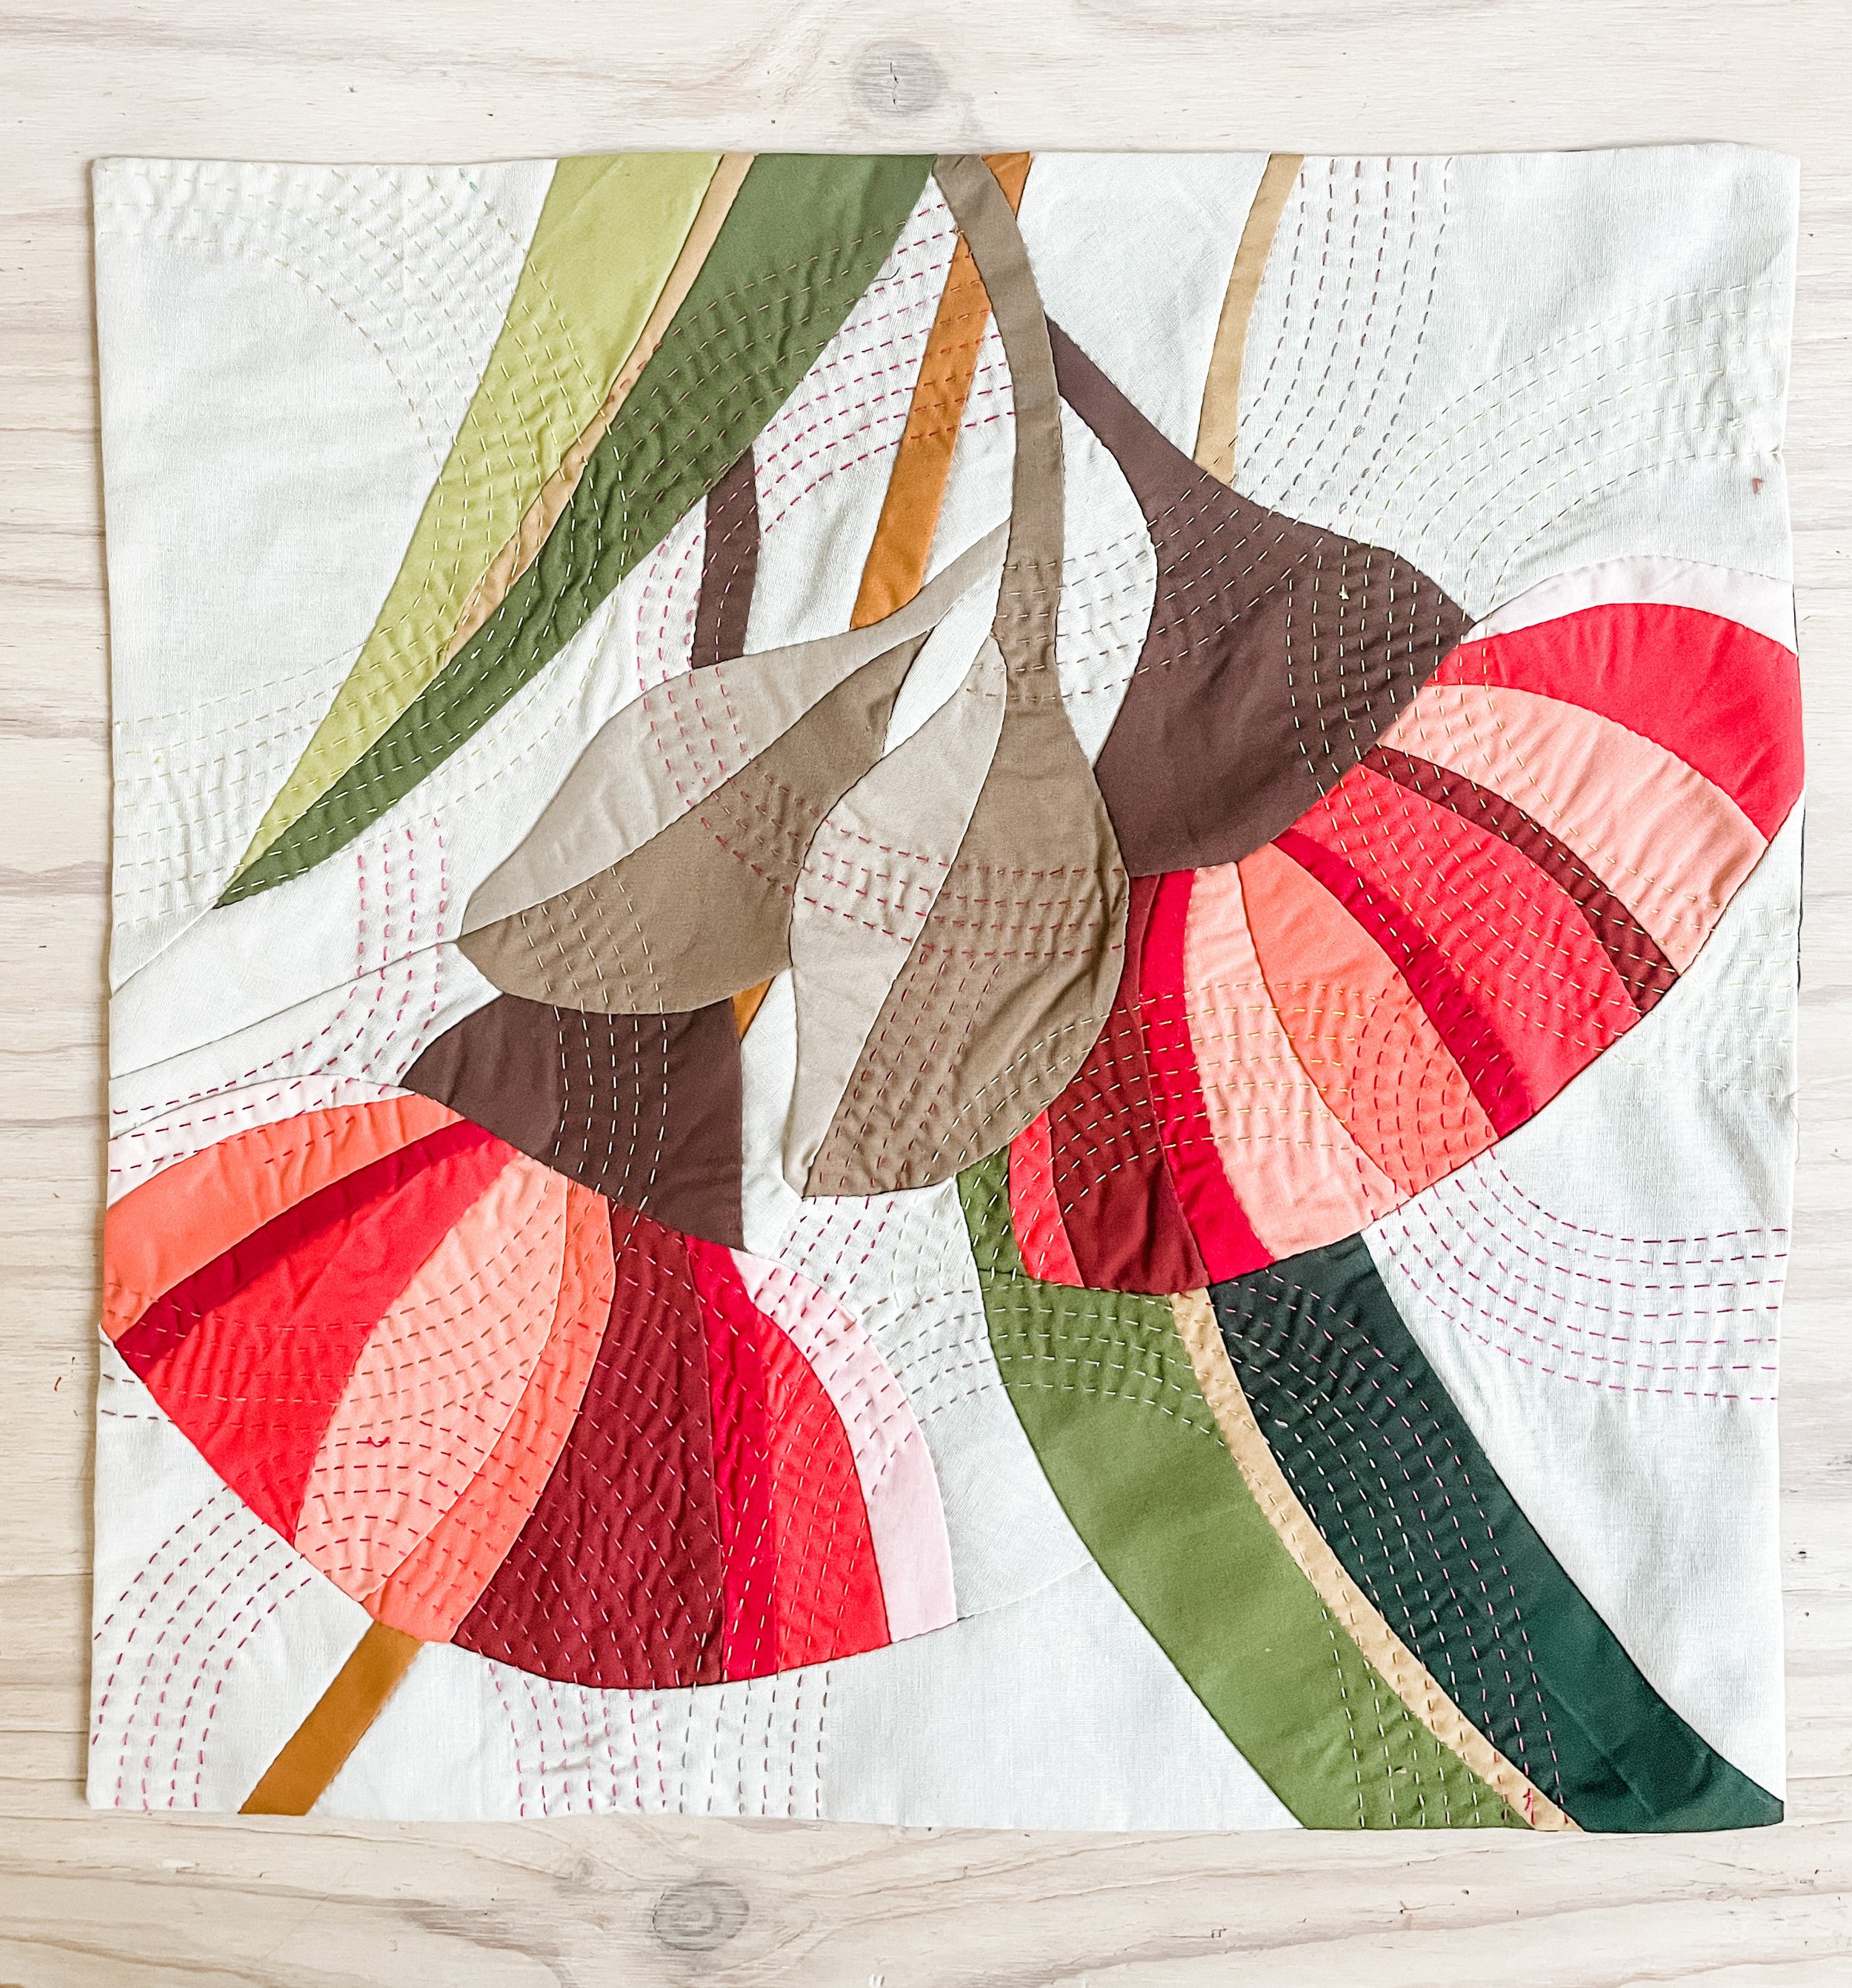
Yay! You can press your quilt top now, if you like! How good does it look?!

FINISHING THE QUILT
I’m not going to share my detailed process for finishing this quilt. I can share a few tips, though.
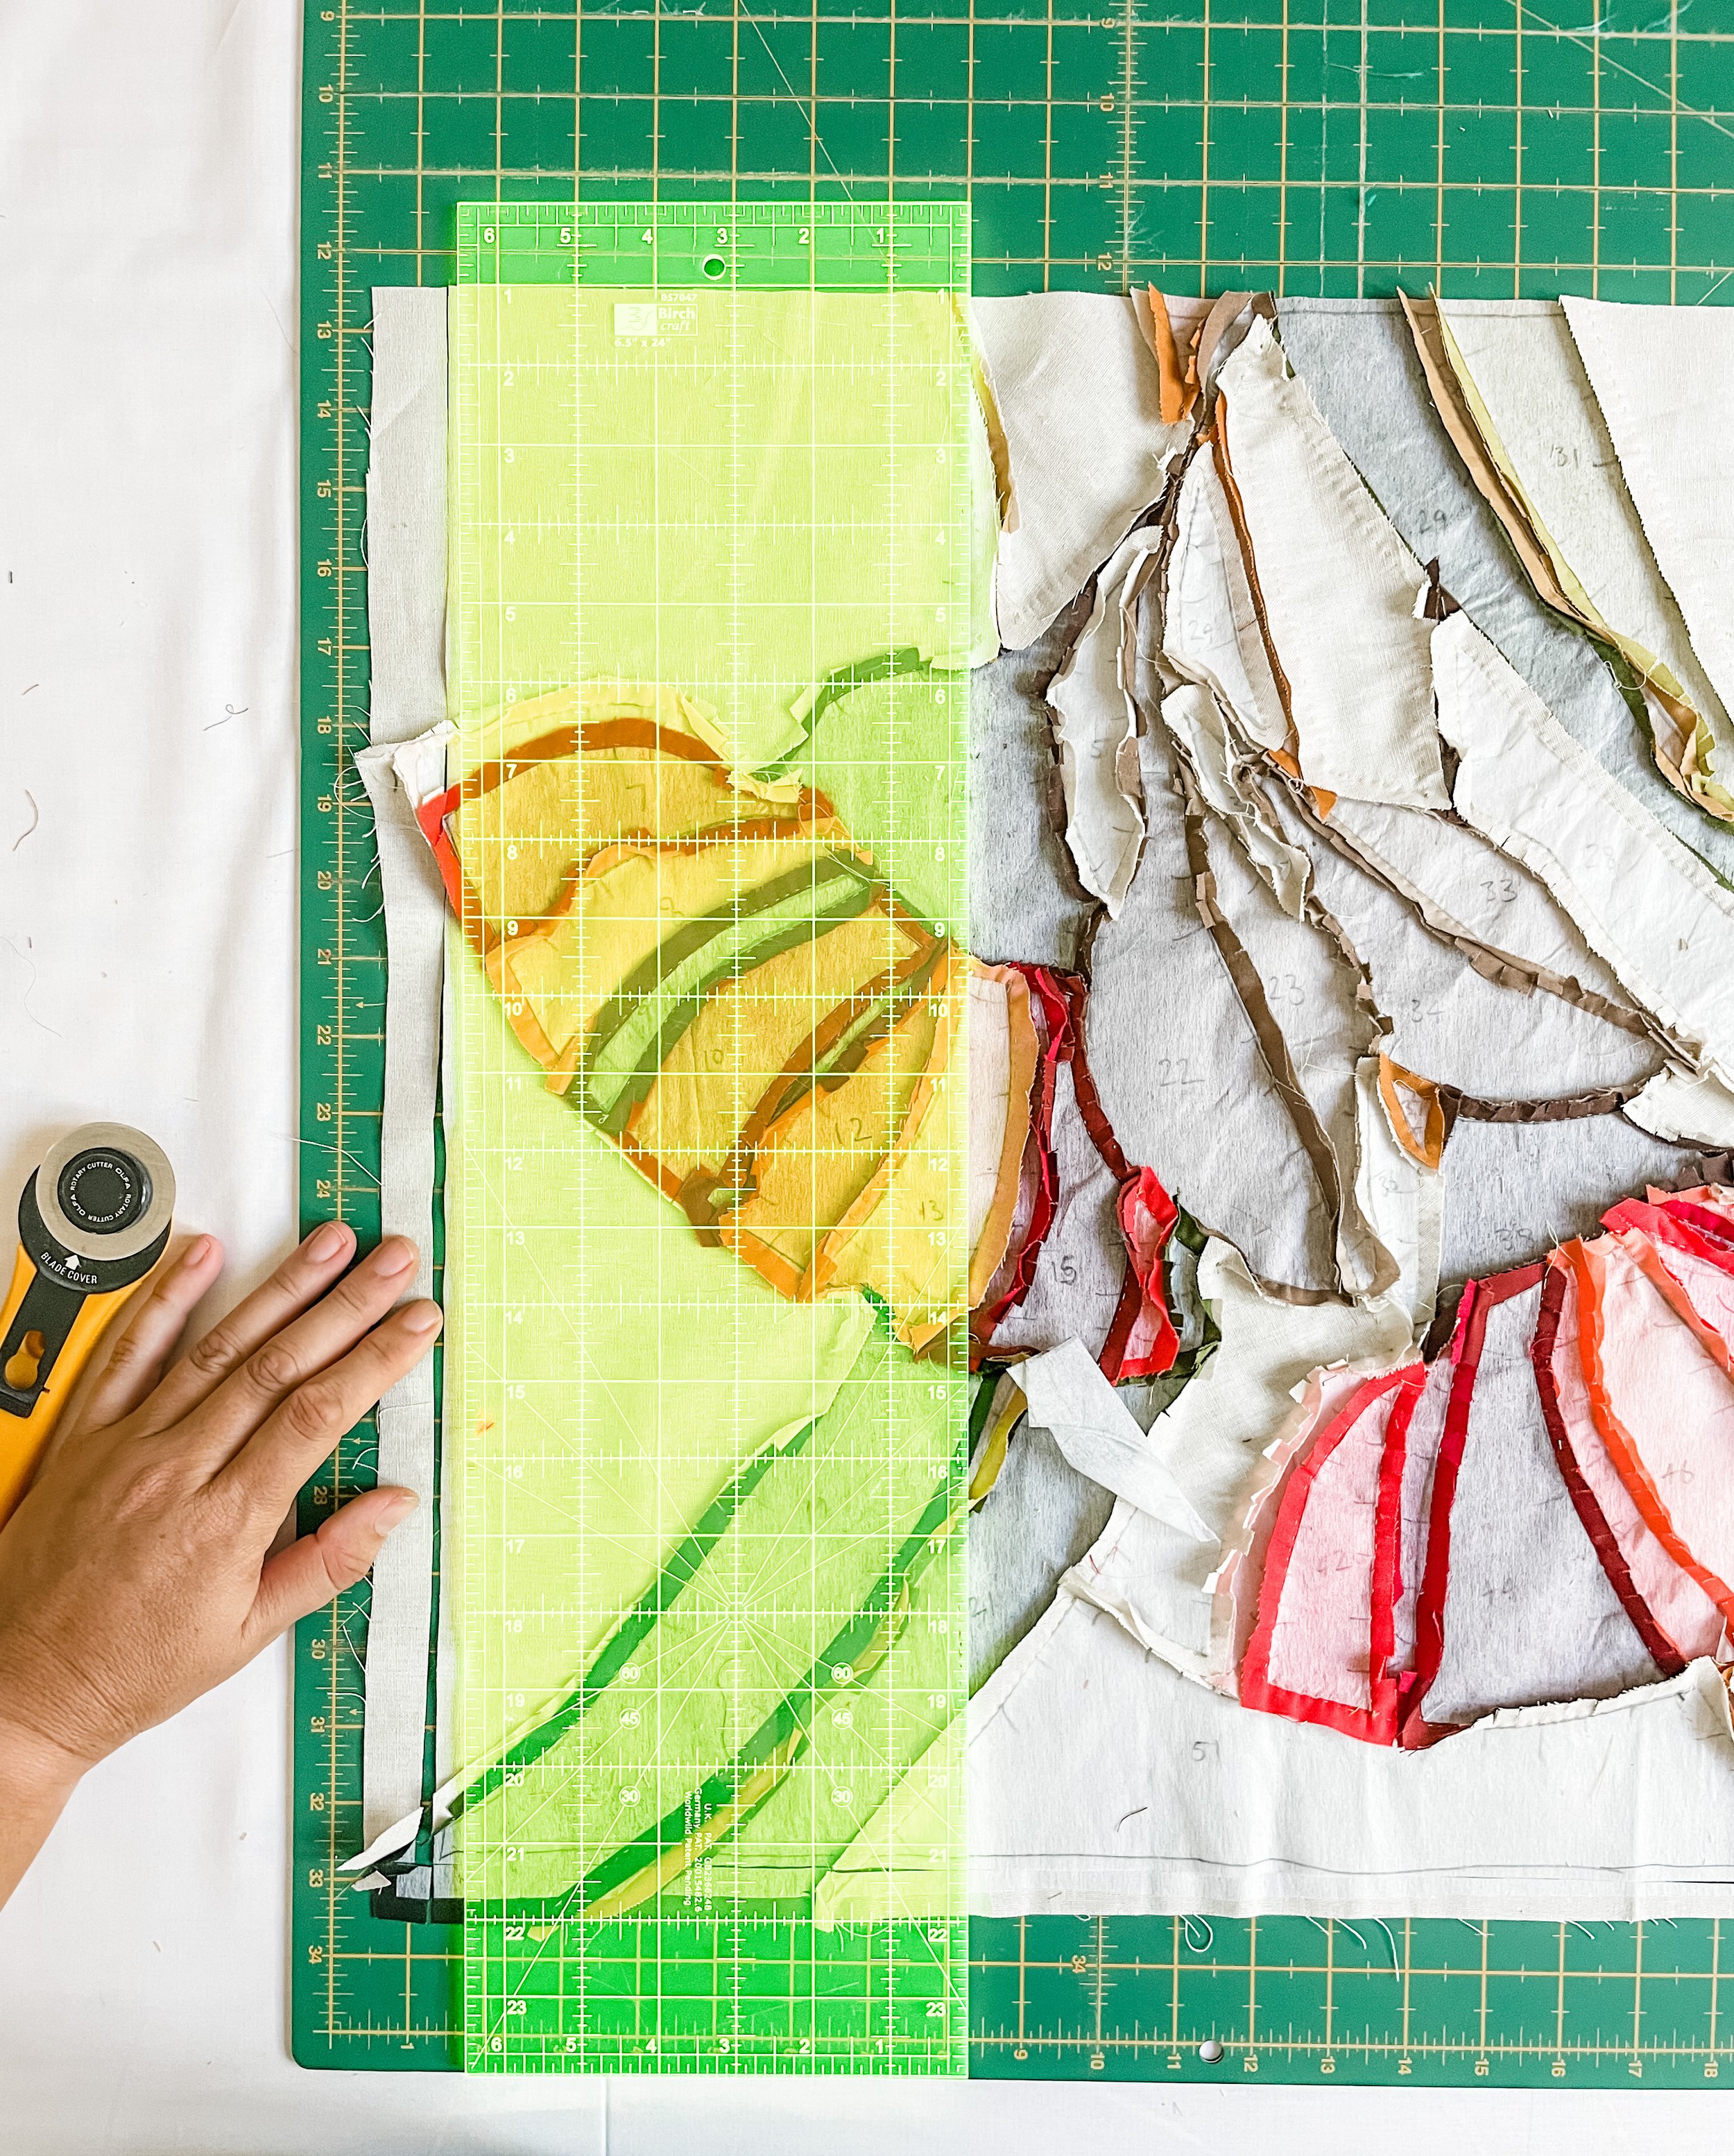
First of all, I square up the quilt top, including trimming of excess fabric, bearing in mind that I will lose about 1cm on each side in the finishing off process.
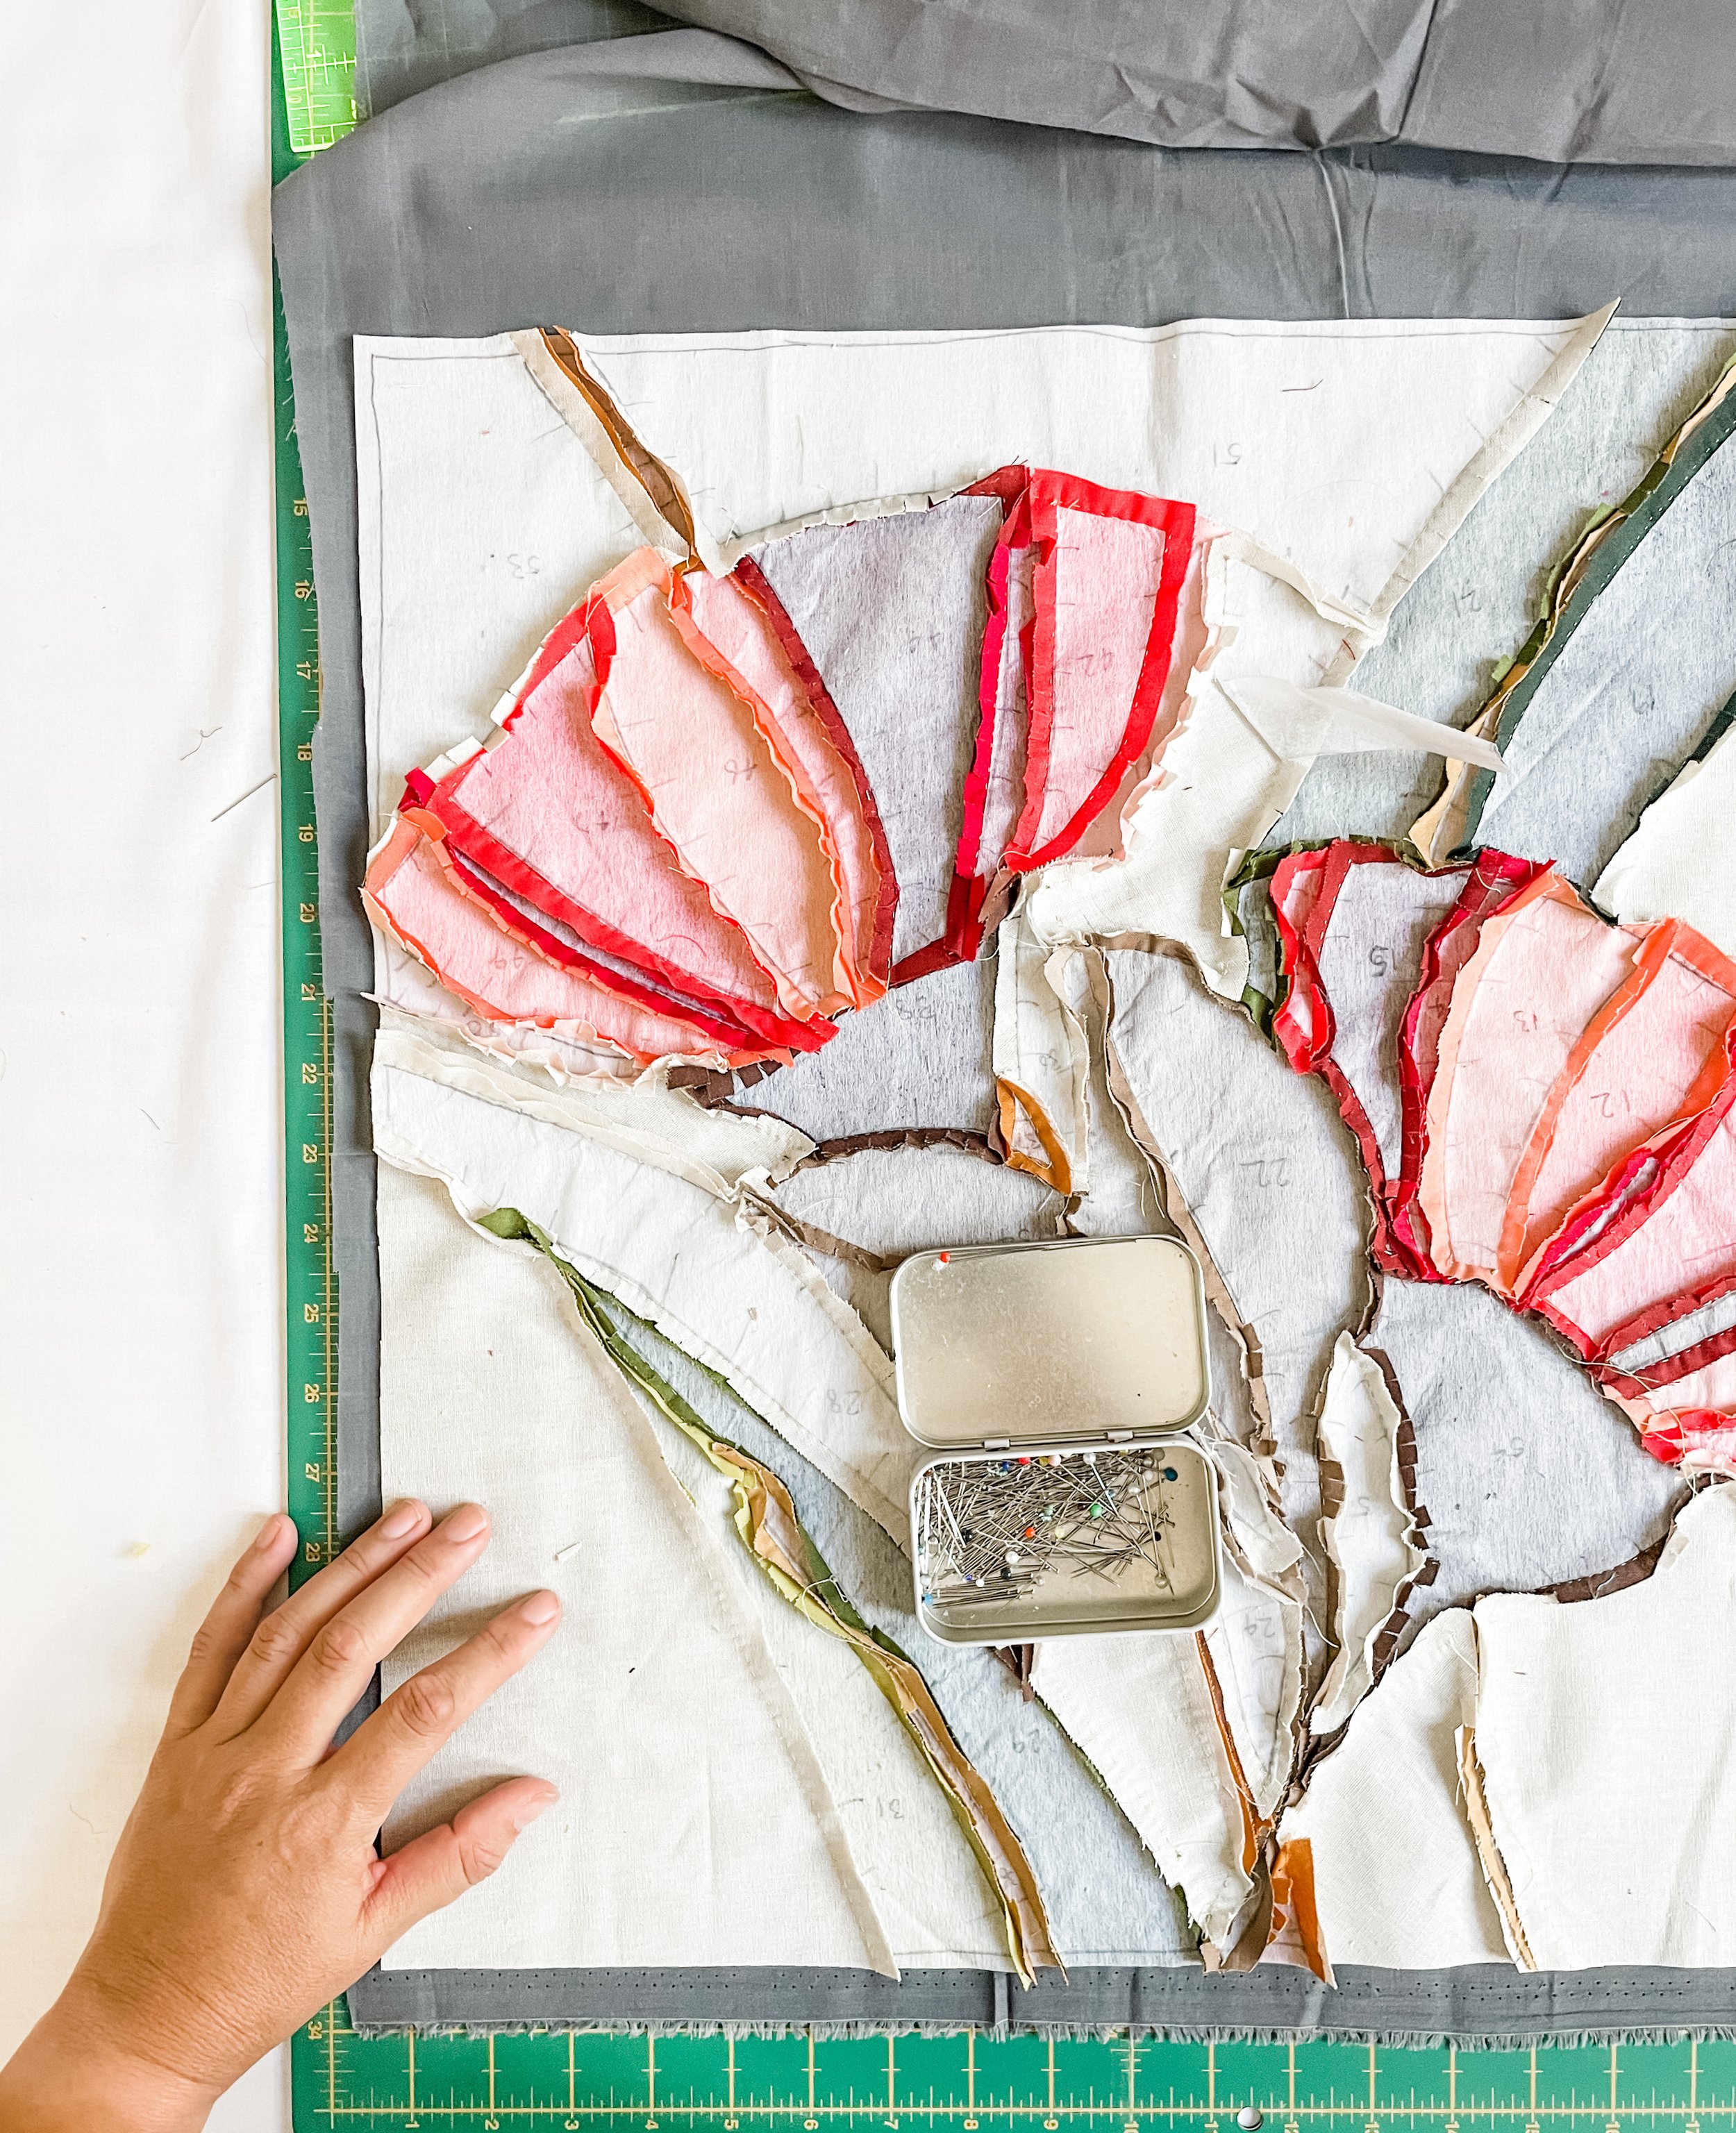
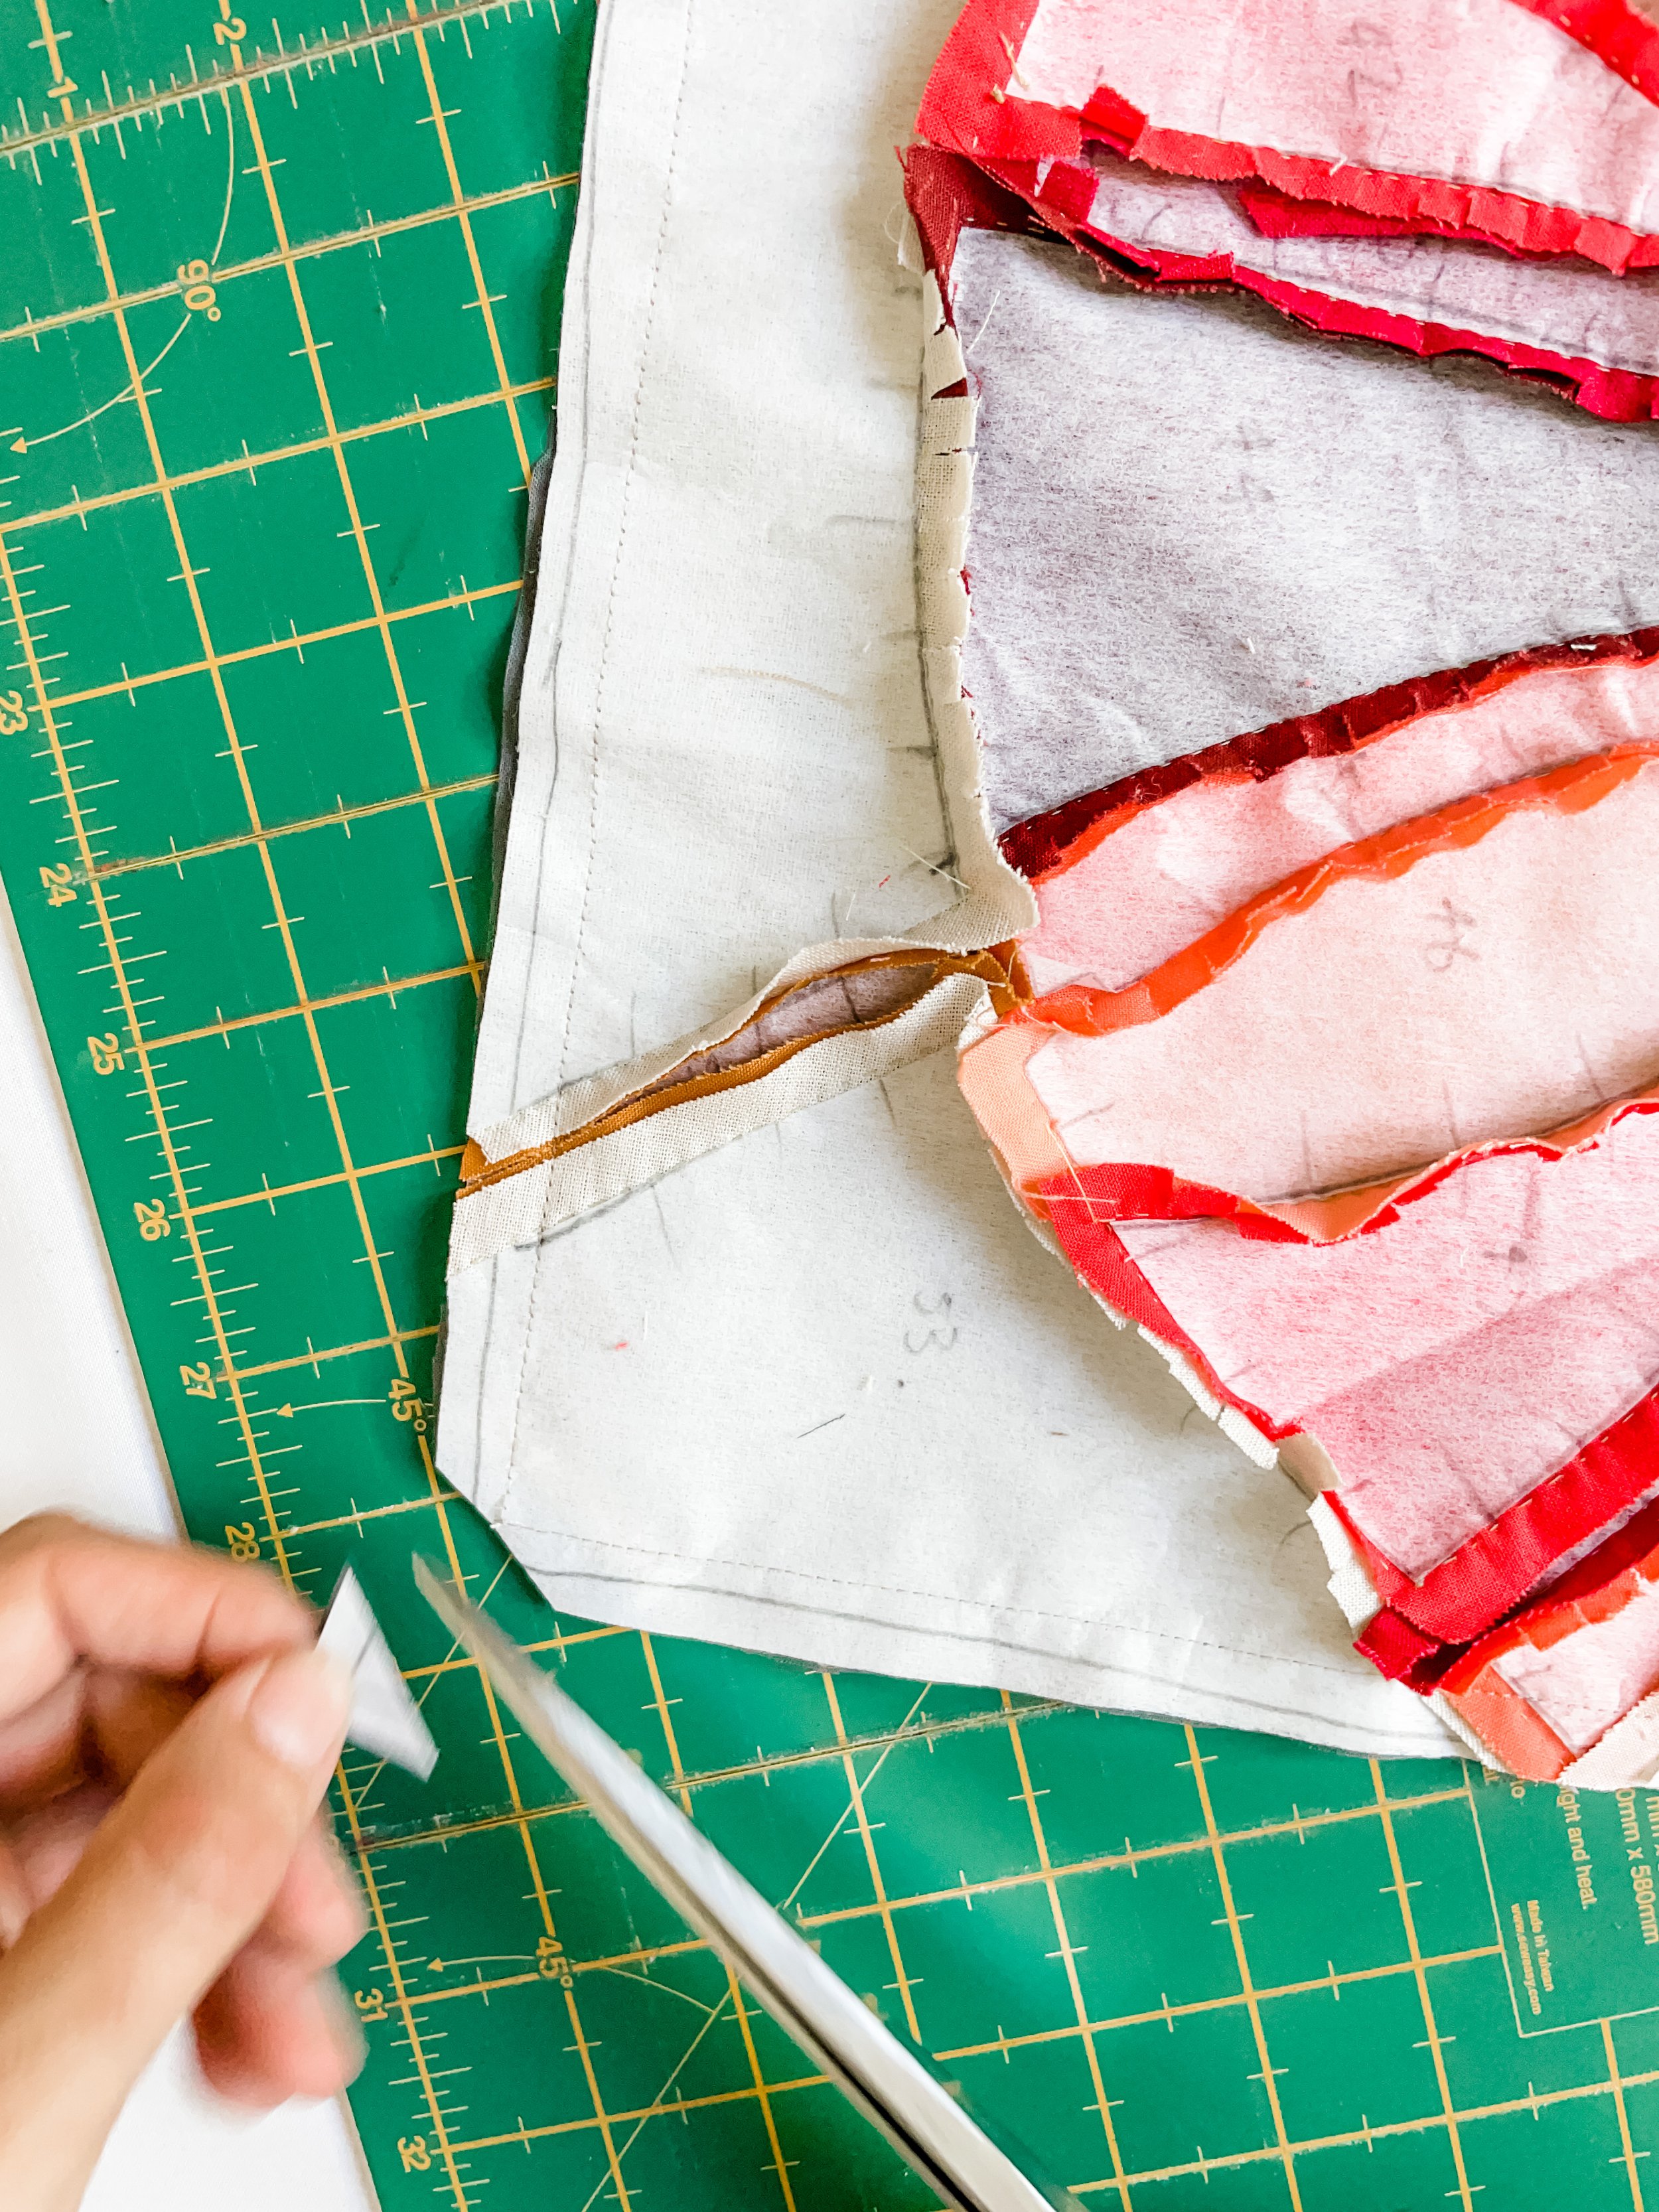
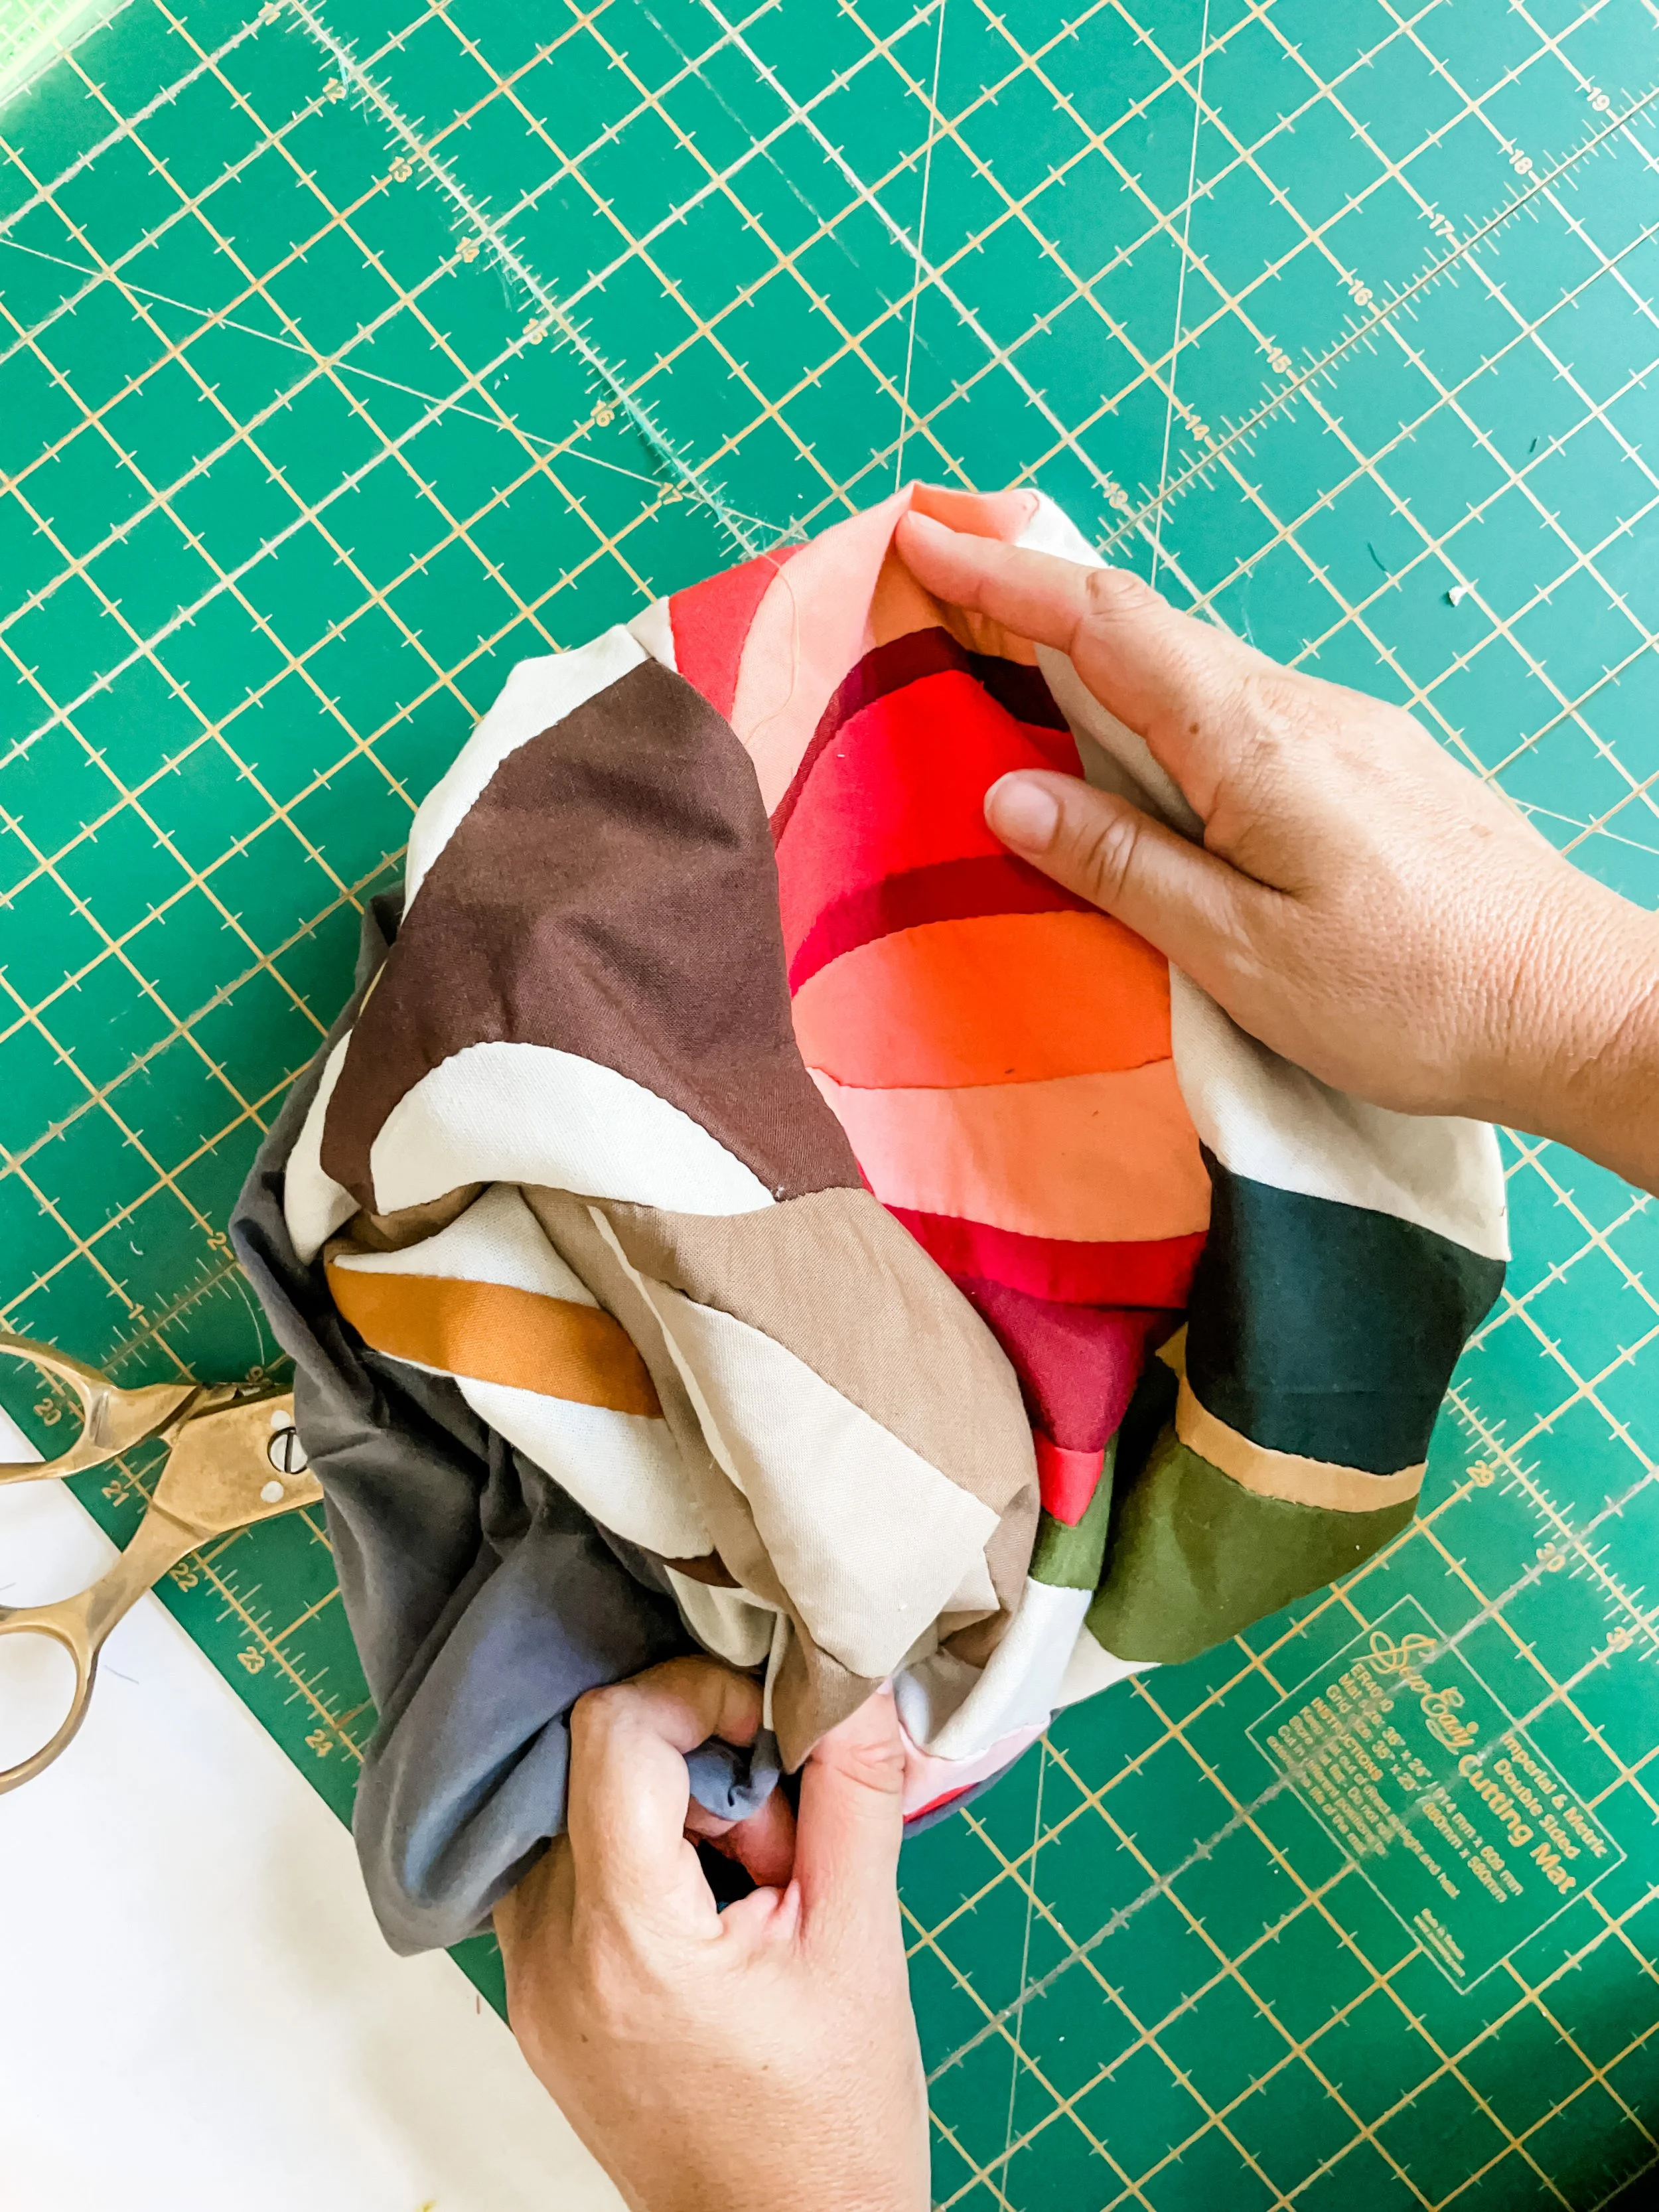
For a quilt this size, to remove the need for binding, I use a ‘pillow’ method. I layer the quilt with the batting on the bottom, then the backing fabric right side up, and then the quilt top, right side down. Then I stitch around the quilt, stitching the layers together with a roughly 1cm seam allowance as if I were sewing a pillow. I leave a 10cm opening in the centre of one side. Then I can trim the excess fabric at the corners and turn the ‘pillow’ inside out, or rather, right side out. I carefully push out the corners and ease out the side seams so that the quilt top sits nice and flat. Then I can quilt it, and there is no need for further binding!
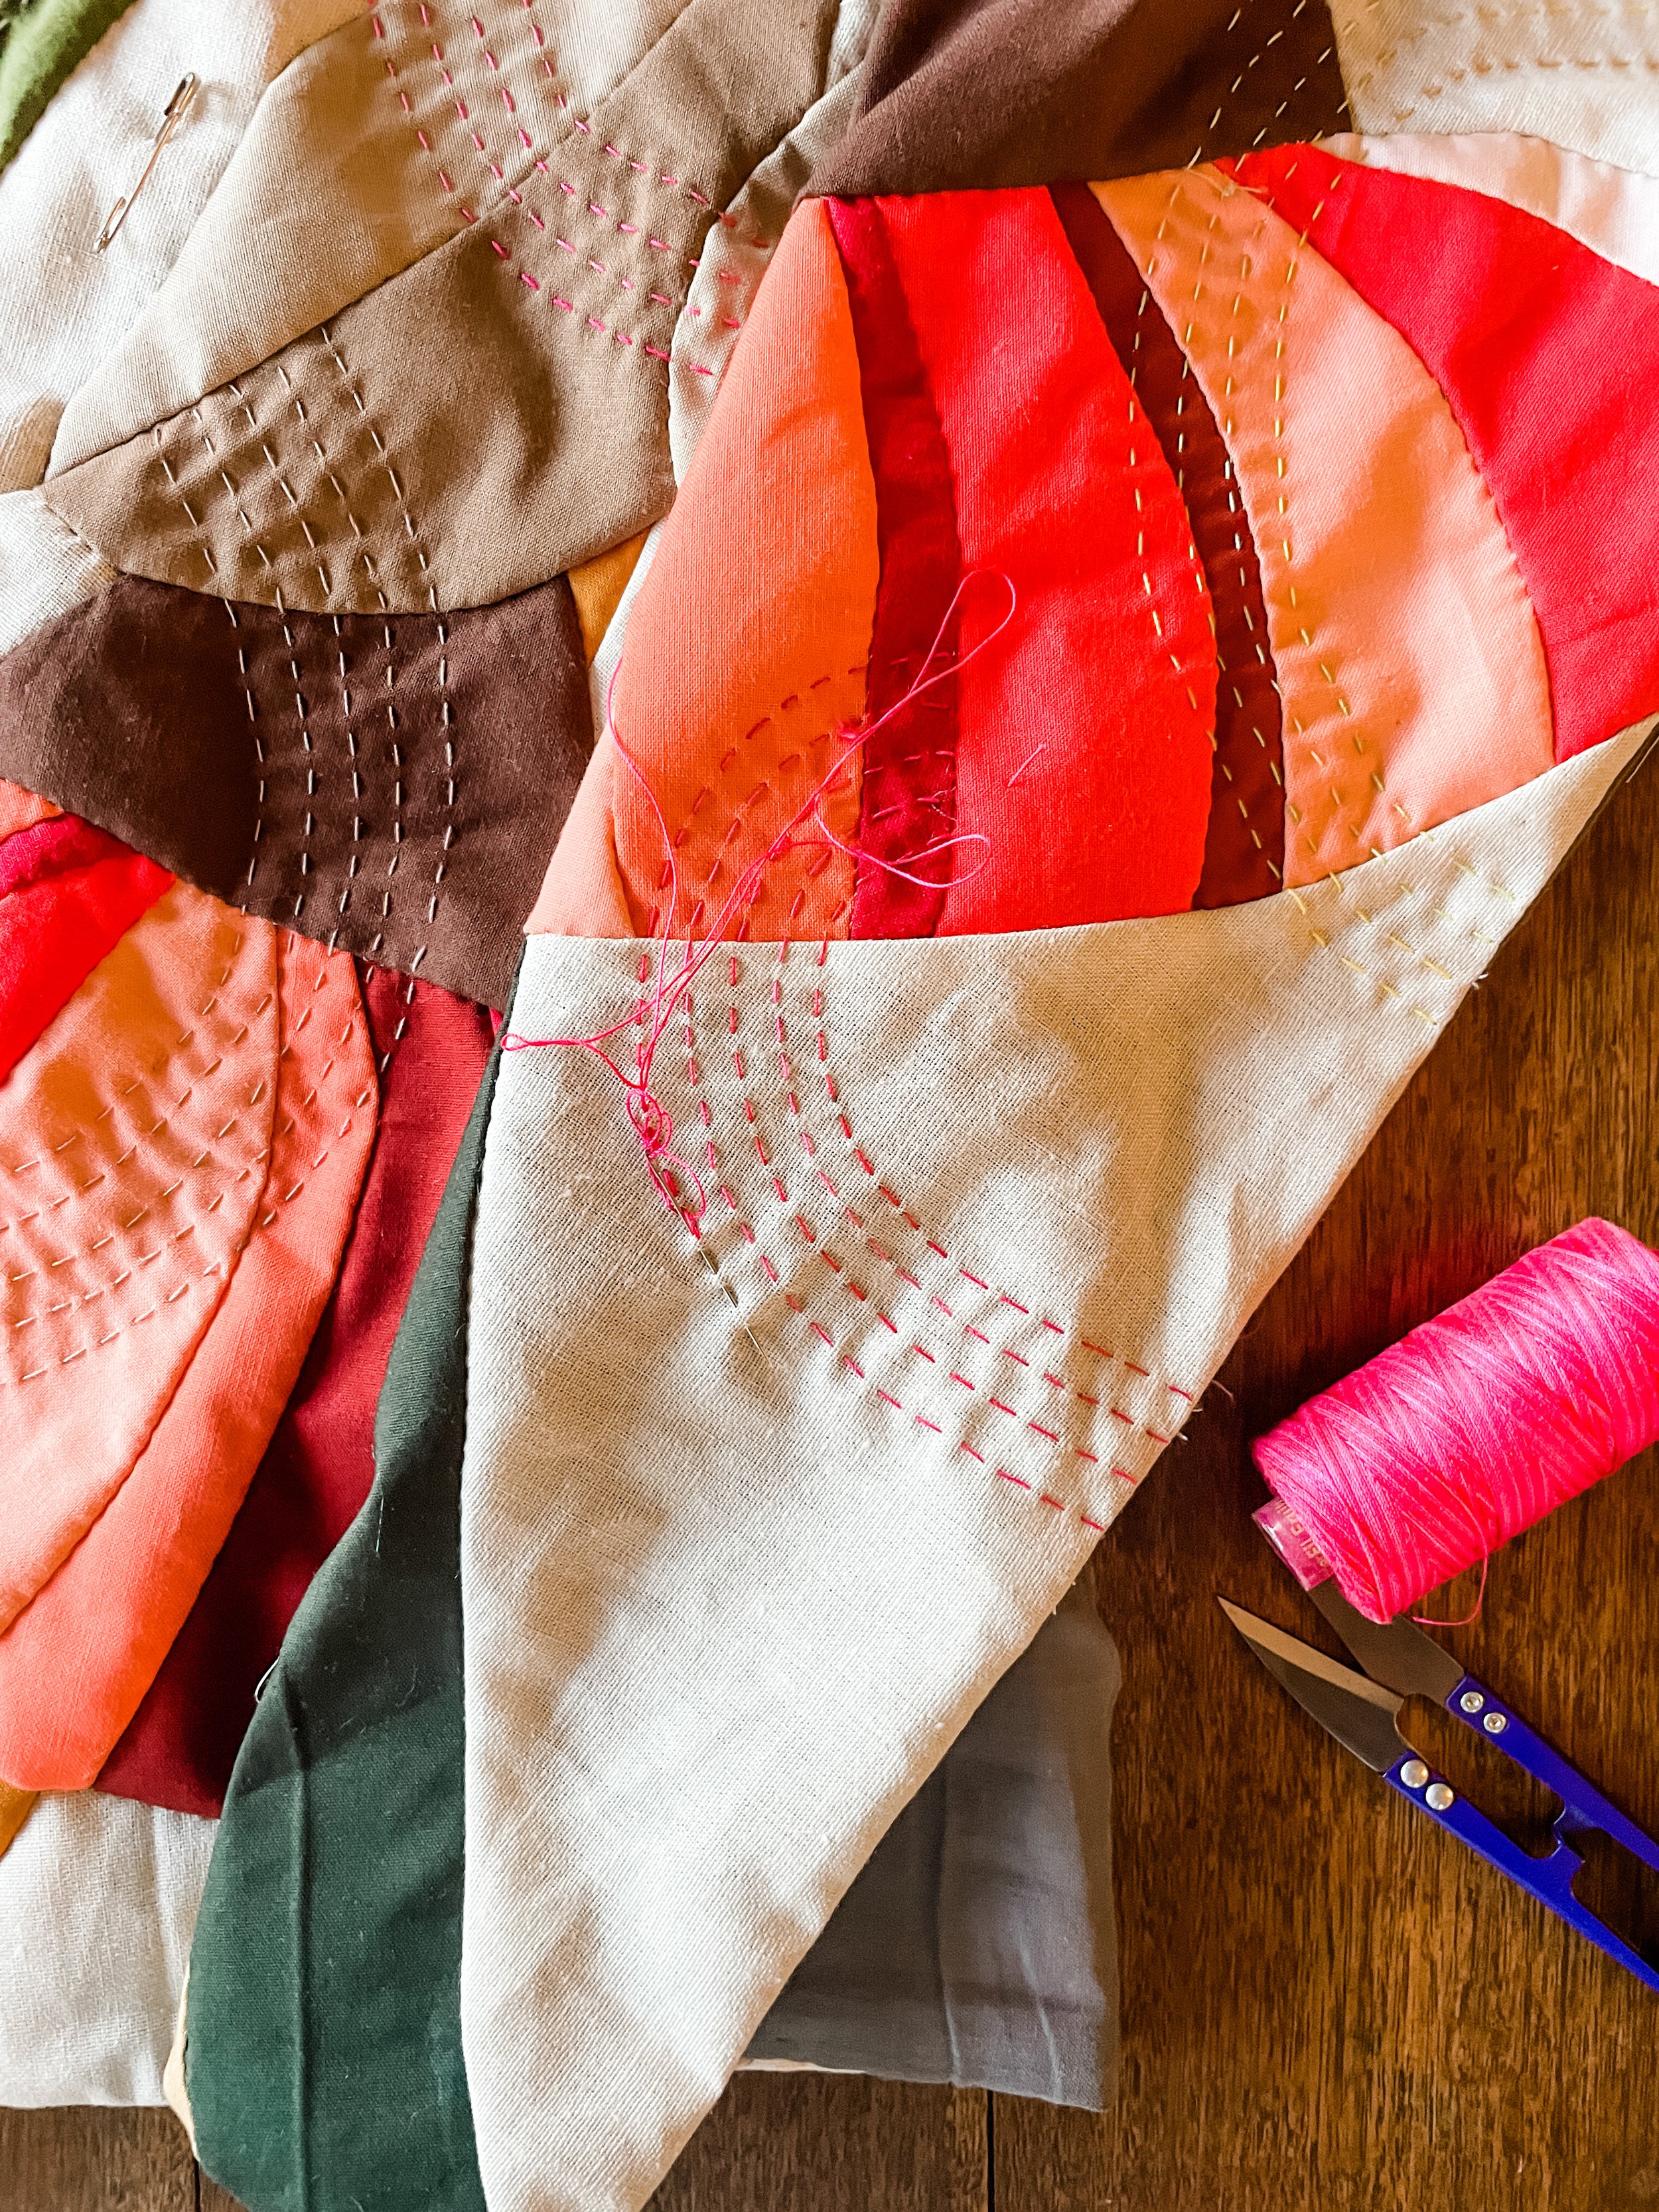
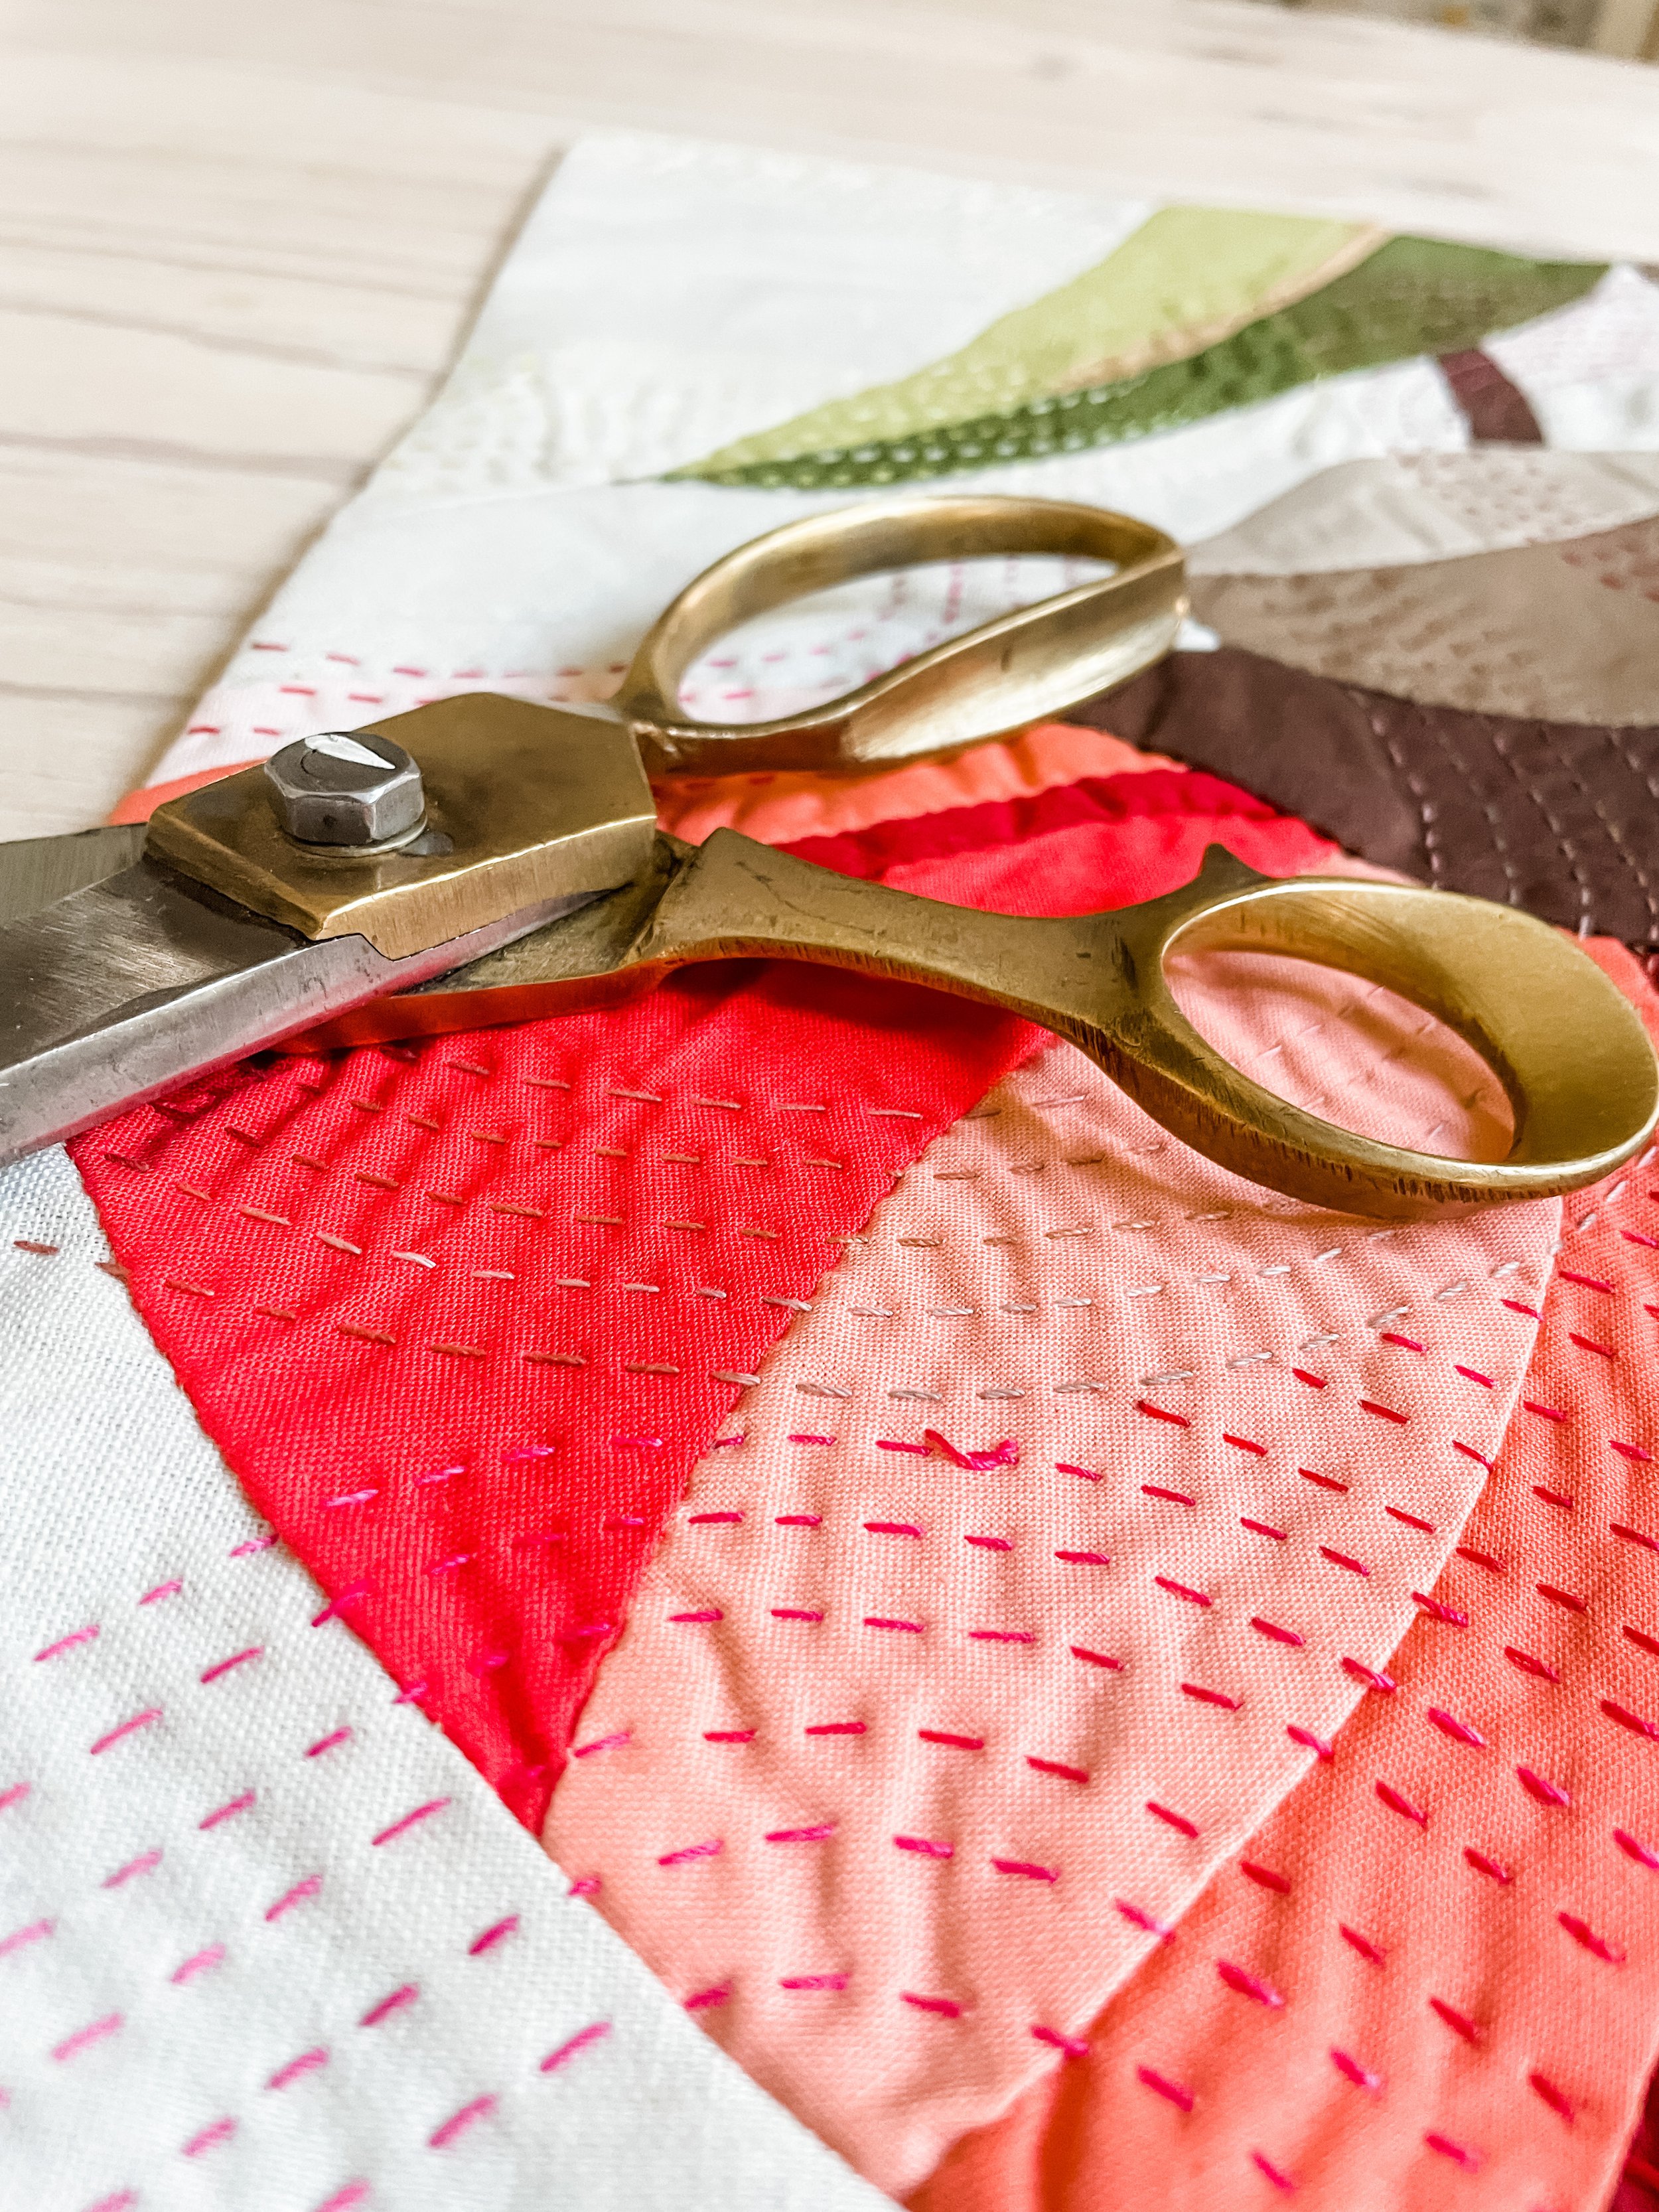
I always start my quilting by free-motion stitching along all the seam lines (ditch stitching) using a non-obtrusive thread colour. After this, I often like to go in and add some texture to some of the leaves, and something interesting into the background of the quilt. For this quilt though, I decided to do a whole lot of prominent hand quilting instead. So therapeutic!
Once all the thread ends have been removed, you have a beautiful textile piece for your wall!
Read this post on how you can frame it.