Two Blossoms QAL: Week 3
Welcome to Week 3 of the Two Blossoms QAL!
This week we’ll be stitching section 1 together, and cutting out the second section of the quilt.
Next week we’ll piece together the 2nd section, and cut out section 3.
To join this QAL you will need to have my book ‘pieced’ as this contains the Two Blossoms pattern. ‘Pieced’ is available as a digital version here, or as a paper version here.
The QAL is hosted here via my blog, and you can share your progress with our QAL on Instagram. Follow the hashtag #twoblossomsquilt on Instagram, and post your weekly progress there with the same hashtag, or tag me @ruthdevosart.
Read Week 1 QAL post.
Read Week 2 QAL post.
Sign up to receive weekly QAL reminder emails.
THIS WEEK
Stitch section 1 together, and cut out section 2. Post a photo or reel of your section 1, or your work-in-progress. Be sure to tag #twoblossomsquilt and @ruthdevosart.
PIECE SECTION 1
This is the fun part! This week we are going to stitch section 1 together, and cut out section 2 ready for next week.
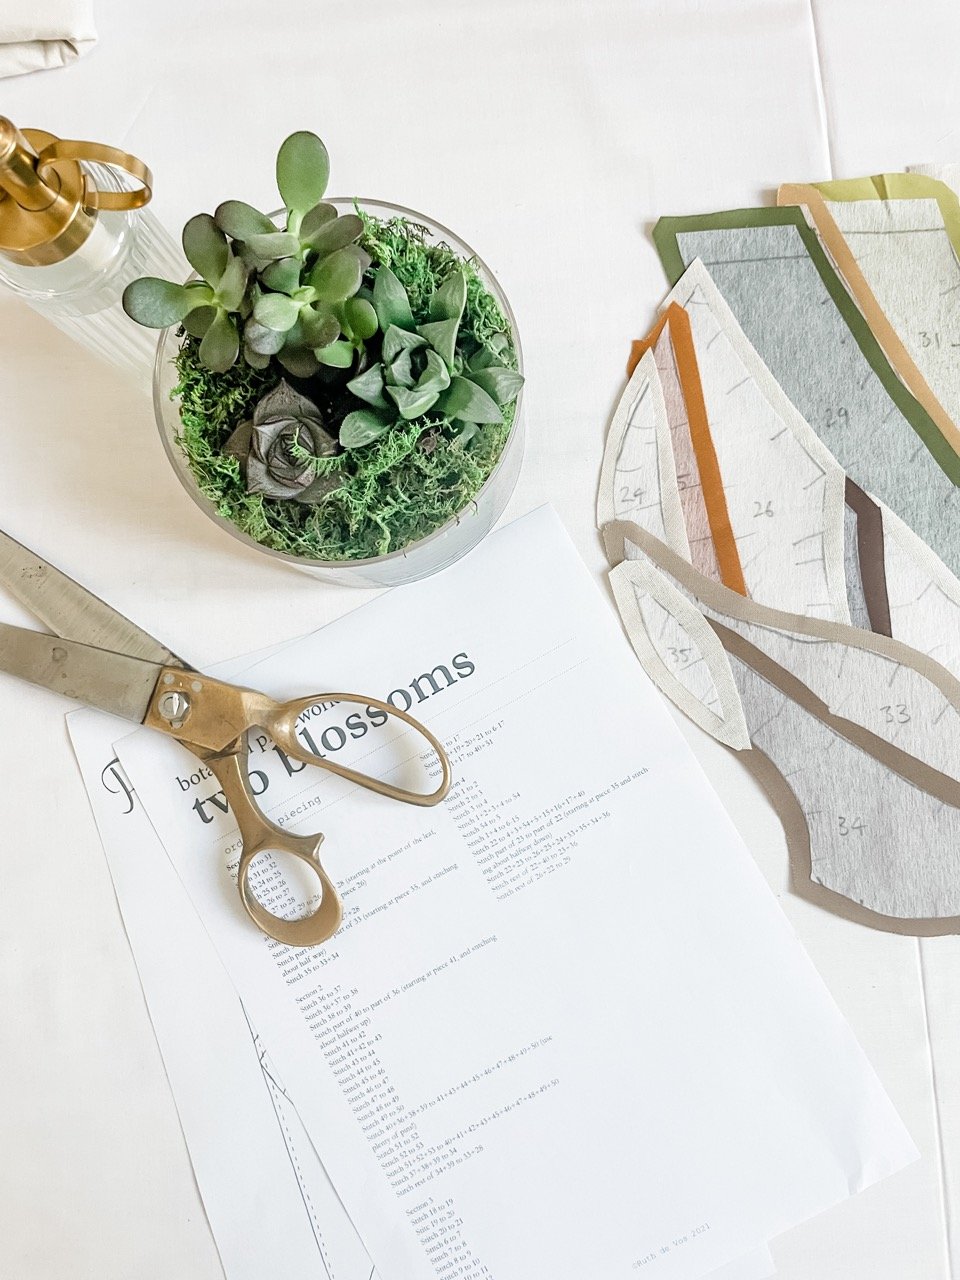
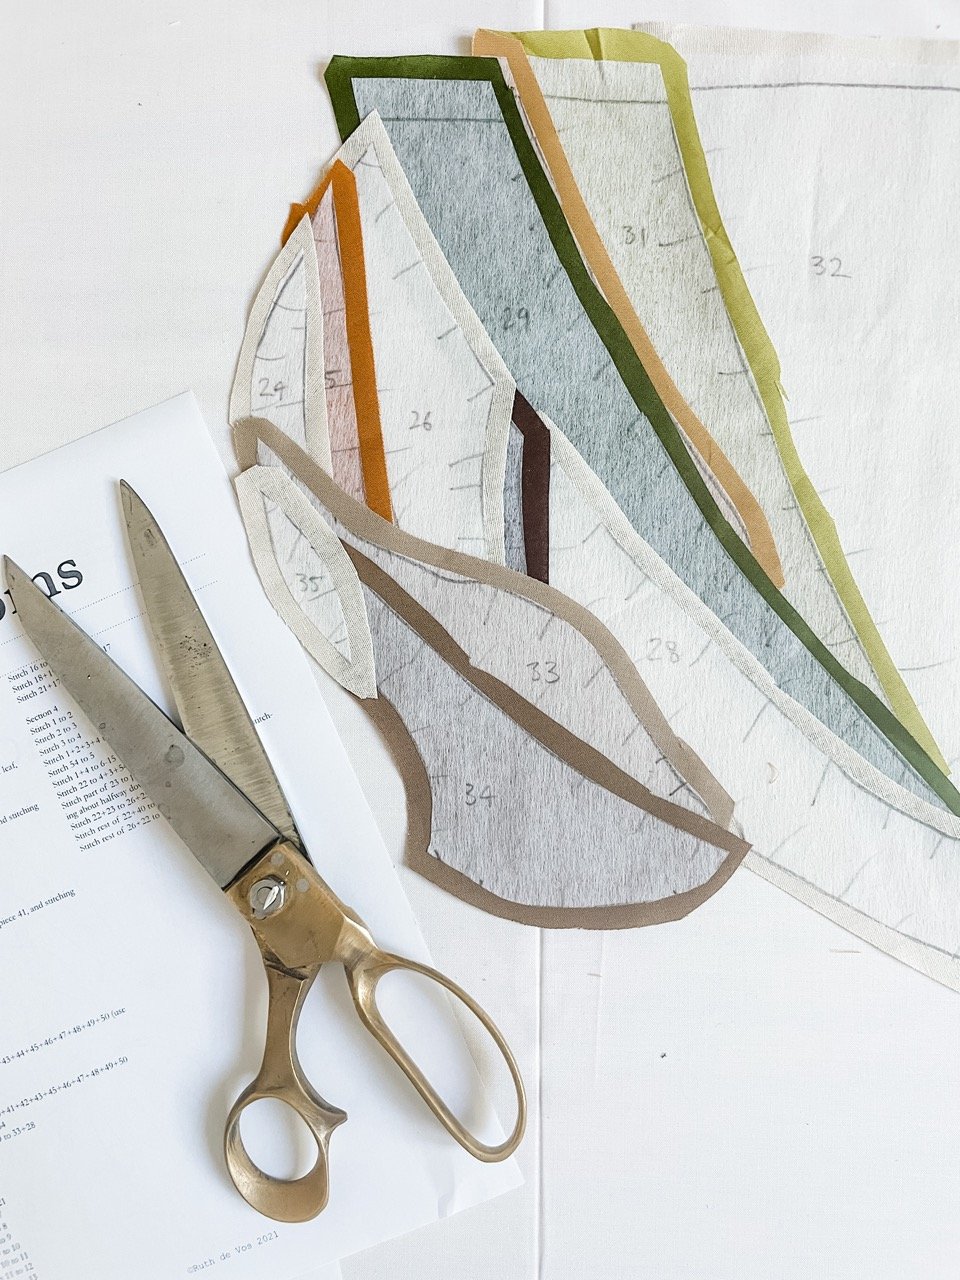
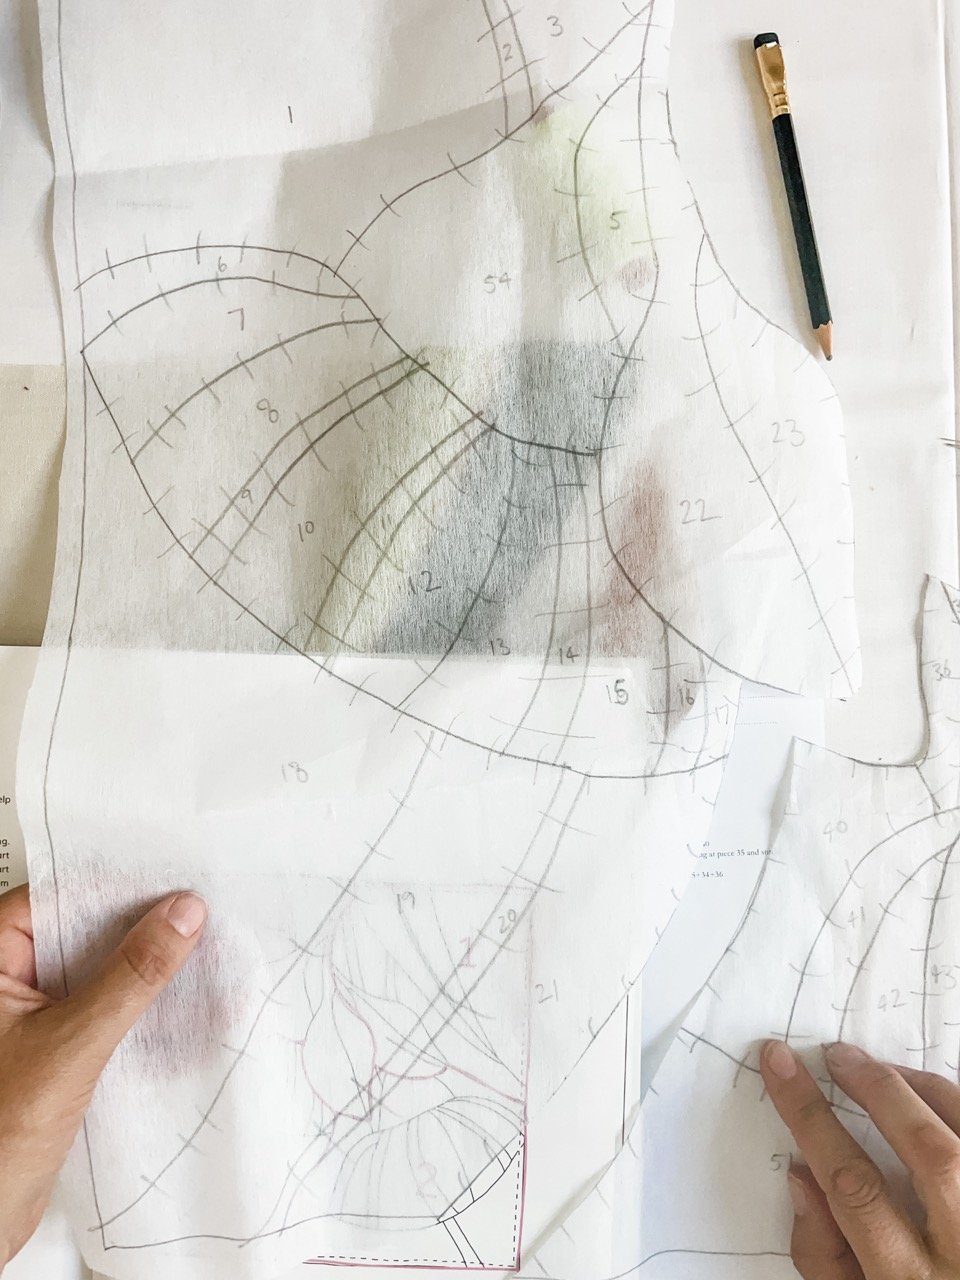
First up, we need to grab our stack of cut out quilt pieces from last week. You’ll need to lay them out in the right place. This is a bit like doing a jigsaw puzzle. To make it easier, you can lay them out on top of your paper pattern, and refer to the numbers. I also refer to the ‘grain’ of the interfacing, and the dashes. The ‘grain’ should all be going in the same direction, and the dashes should match.
We are going to be stitching the pieces of fabric back together in such a way that the interfacing pieces are all connected back together again. This is also why the seam allowances don’t need to be exact - we will be lining up the edges of the interfacing rather than the edges of the fabric.
Make sure you have your ‘order of piecing’ PDF handy. We are going to work through each piecing step in the order laid out there.
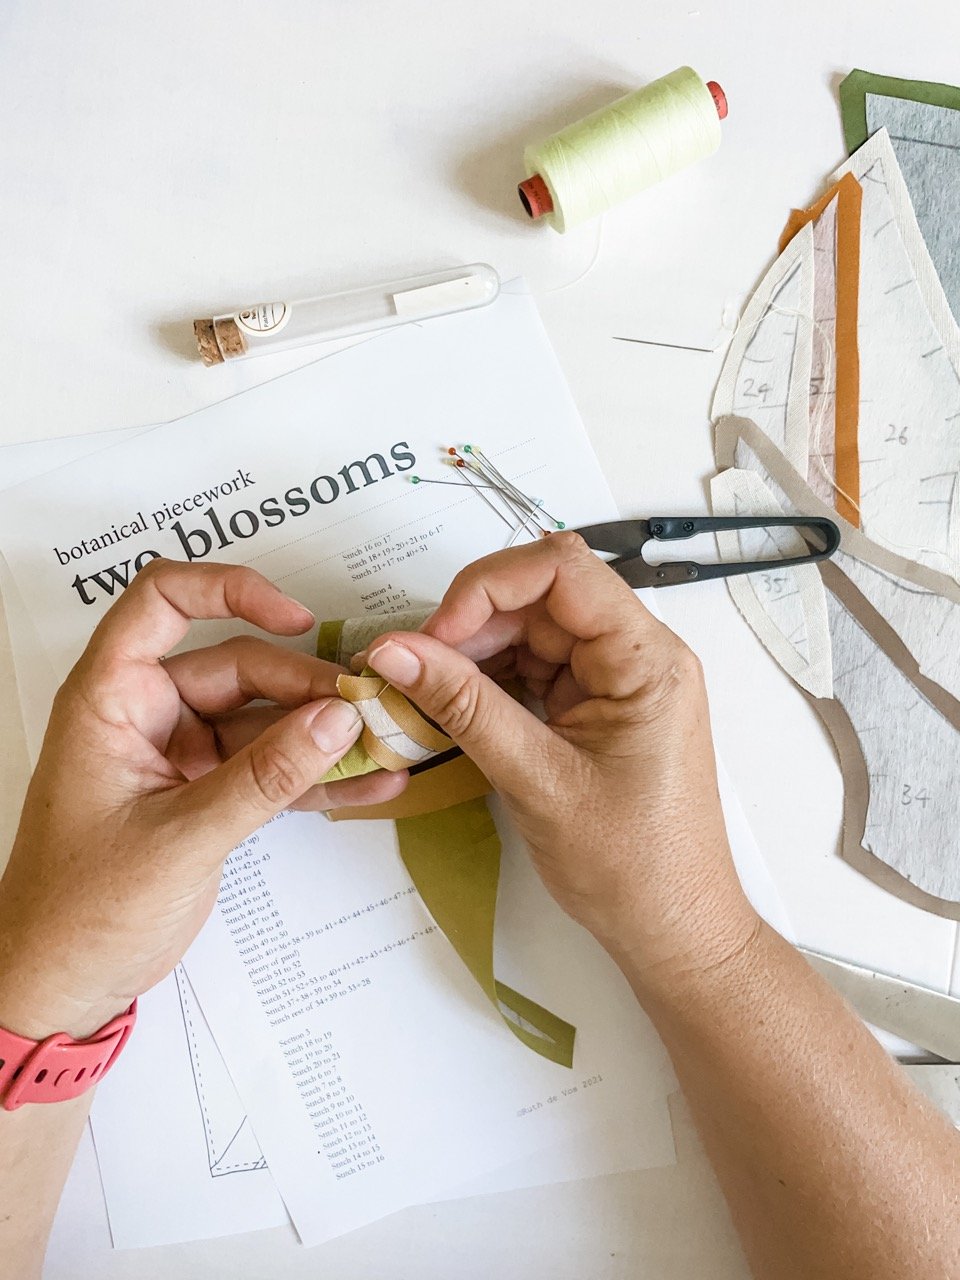
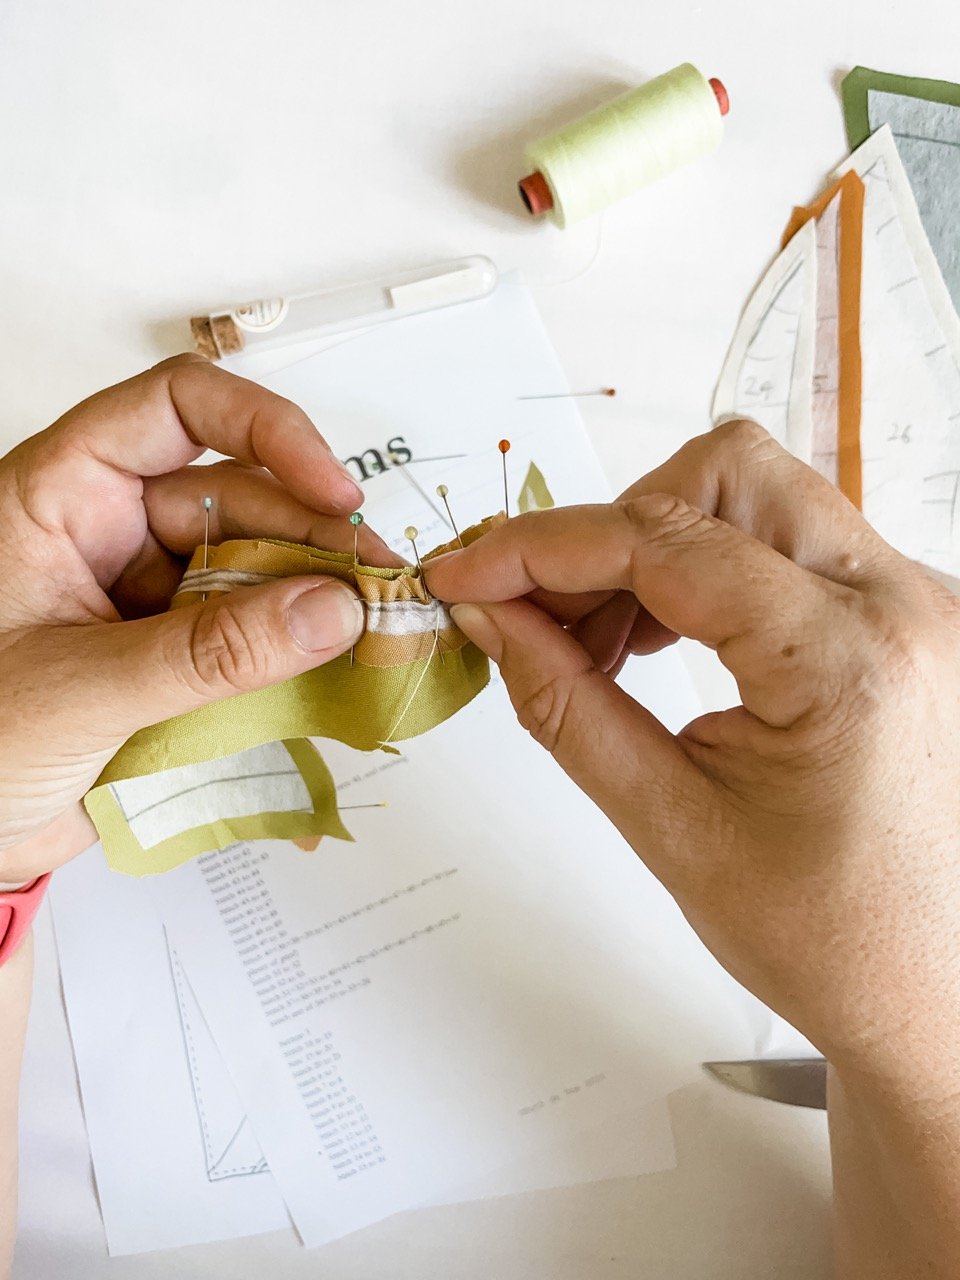
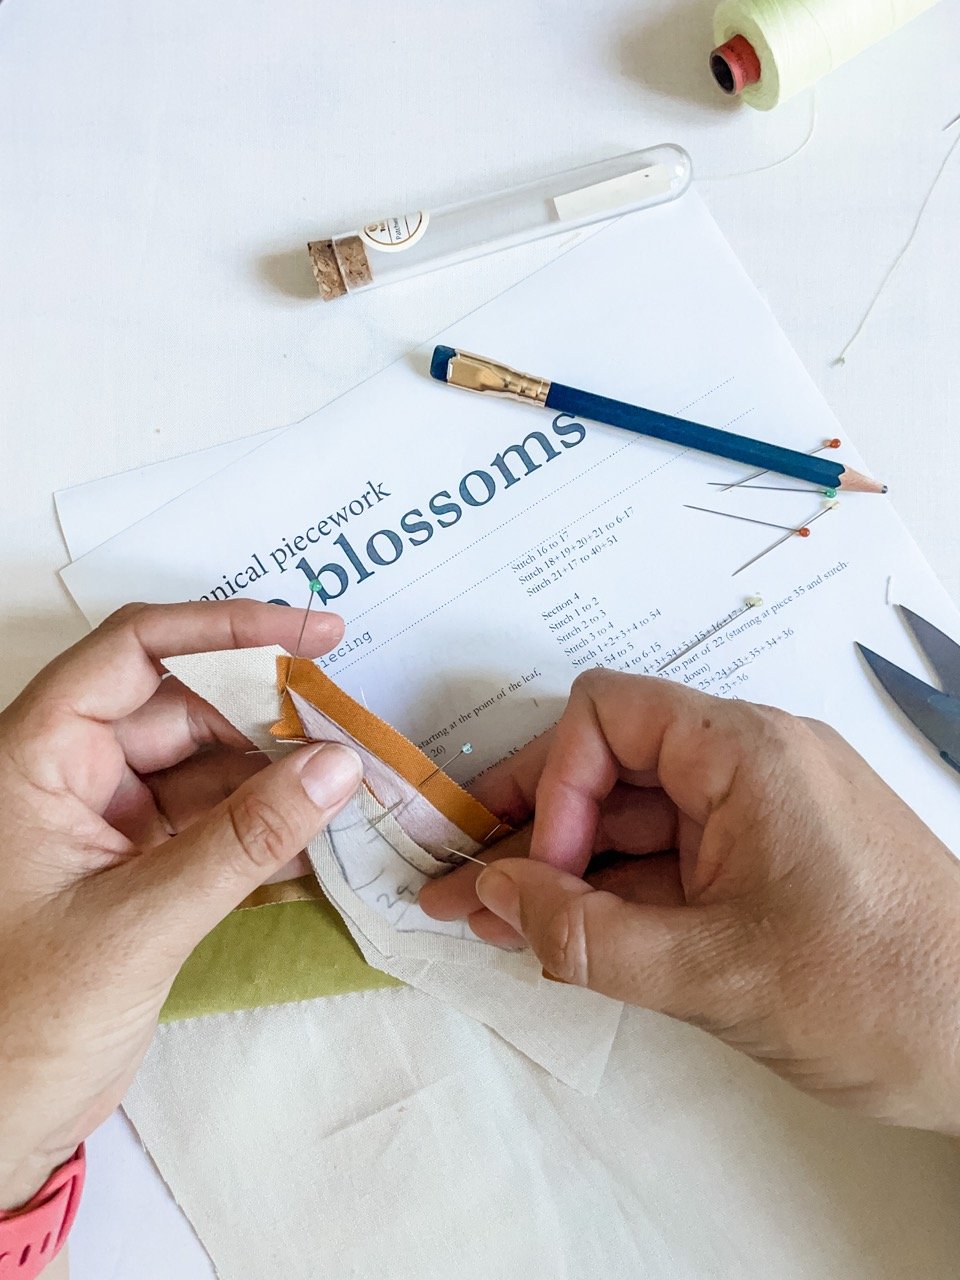
Pick out the first two quilt pieces, and place them right sides together. We are going to pin them along the seam line. Match the corners of the interfacing using a pin, and secure the fabric in place with the pin. Move along to the first dash. Insert the pin right next to the interfacing, at the dash, on both pieces of fabric, and secure. Repeat at every dash, and at the last corner. Taking your time with the pinning will ensure a more accurate result.
Read here for more about pinning, including clear photos.
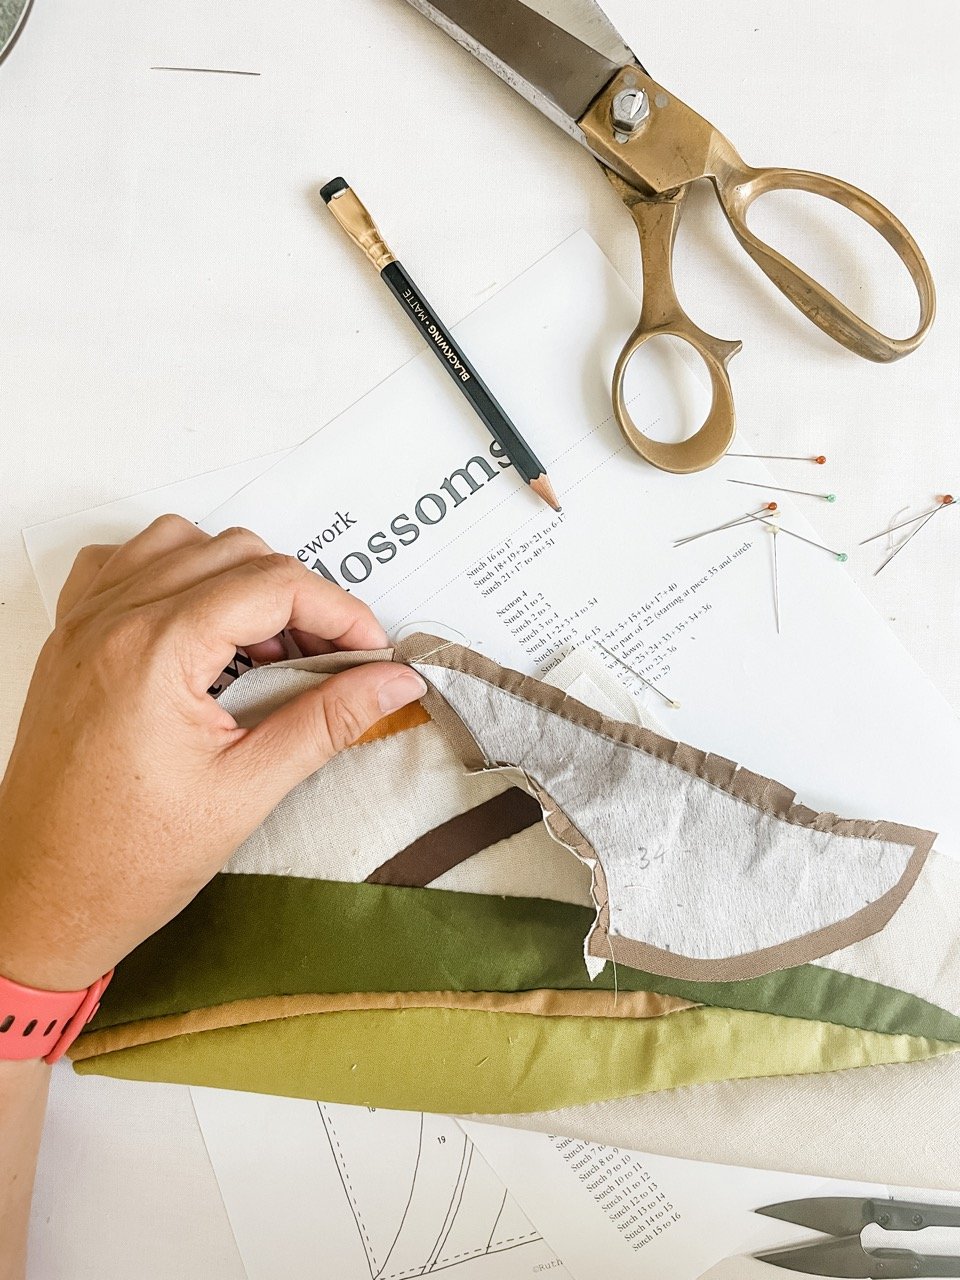
Now we stitch the seam, stitching right next to the interfacing. I don’t bother backstitching, and, if I’m machine stitching, I stitch right up to the edge of the fabric.
Then you can open up the two pieces, and use your fingers to press the seam allowances in the direction of your choice. I usually fold it behind the quilt piece that I would like to sit further forward in my quilt, so, if I piece a leaf piece to sky piece, I fold the seam allowances behind the leaf piece. It doesn’t always work, but that’s my general rule of thumb.
Then we move into the next suggested piecing step.
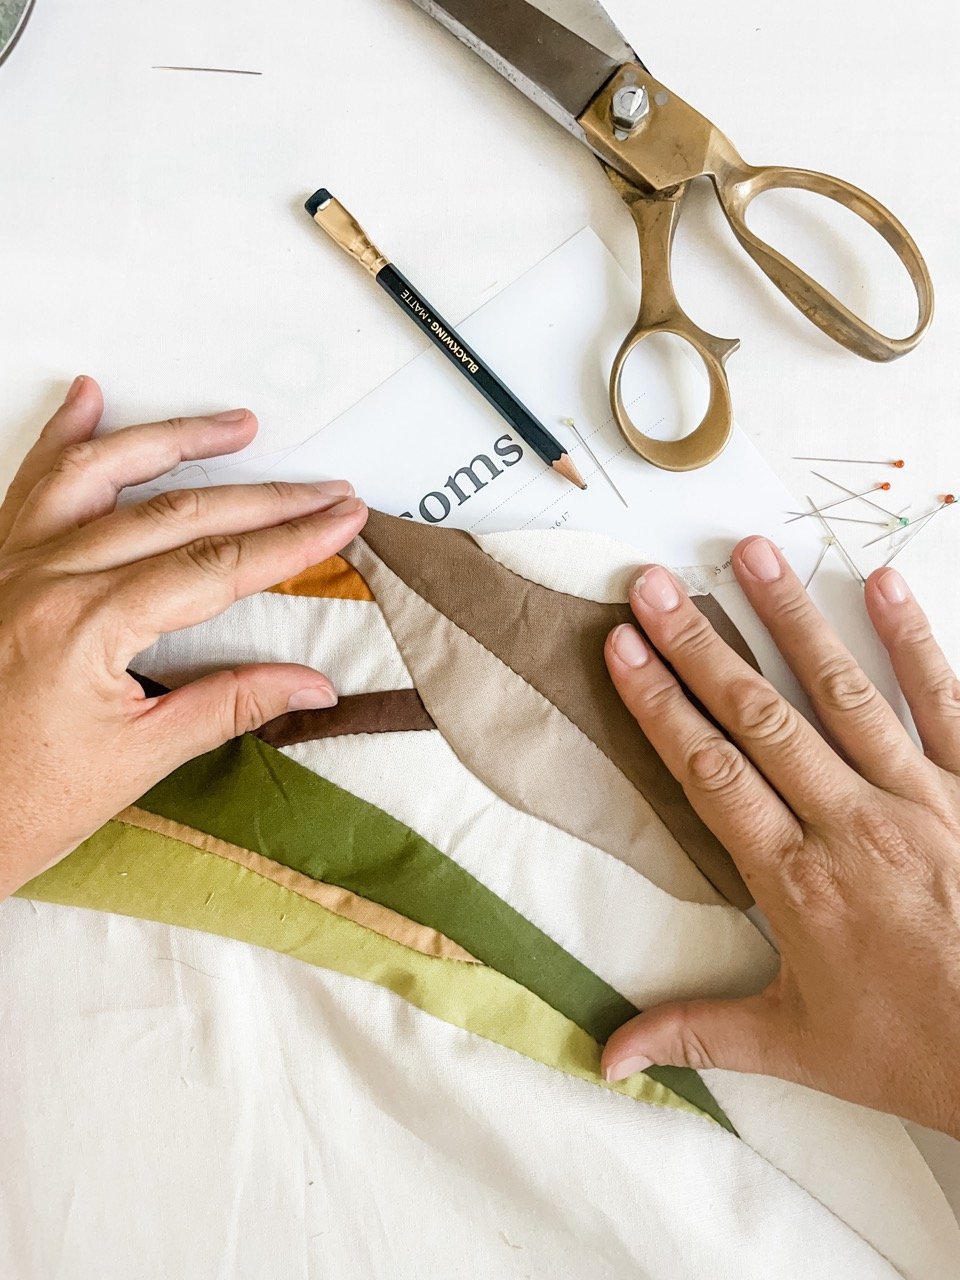
Don’t let the partial seam throw you. I do it like this so that I never have to stitch seams that go around corners. It’s the smoothest, neatest way to complete these quilt tops. So, when you get to the partial seam, you’ll just be stitching part of the seam for now, and we’ll get back to the rest of it later.
Keep working through the piecing instructions until section 1 is finished.
Well done!
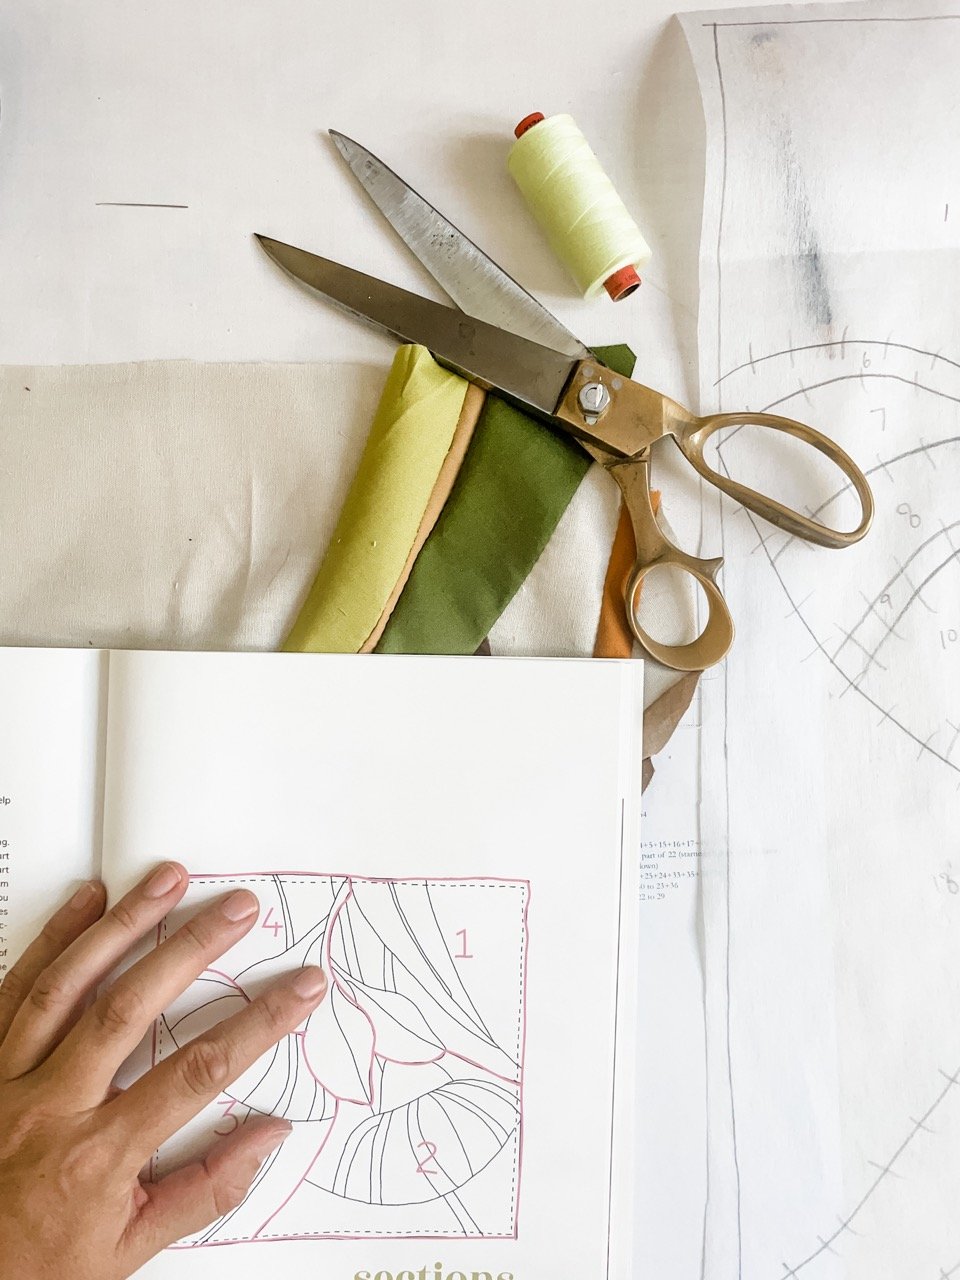
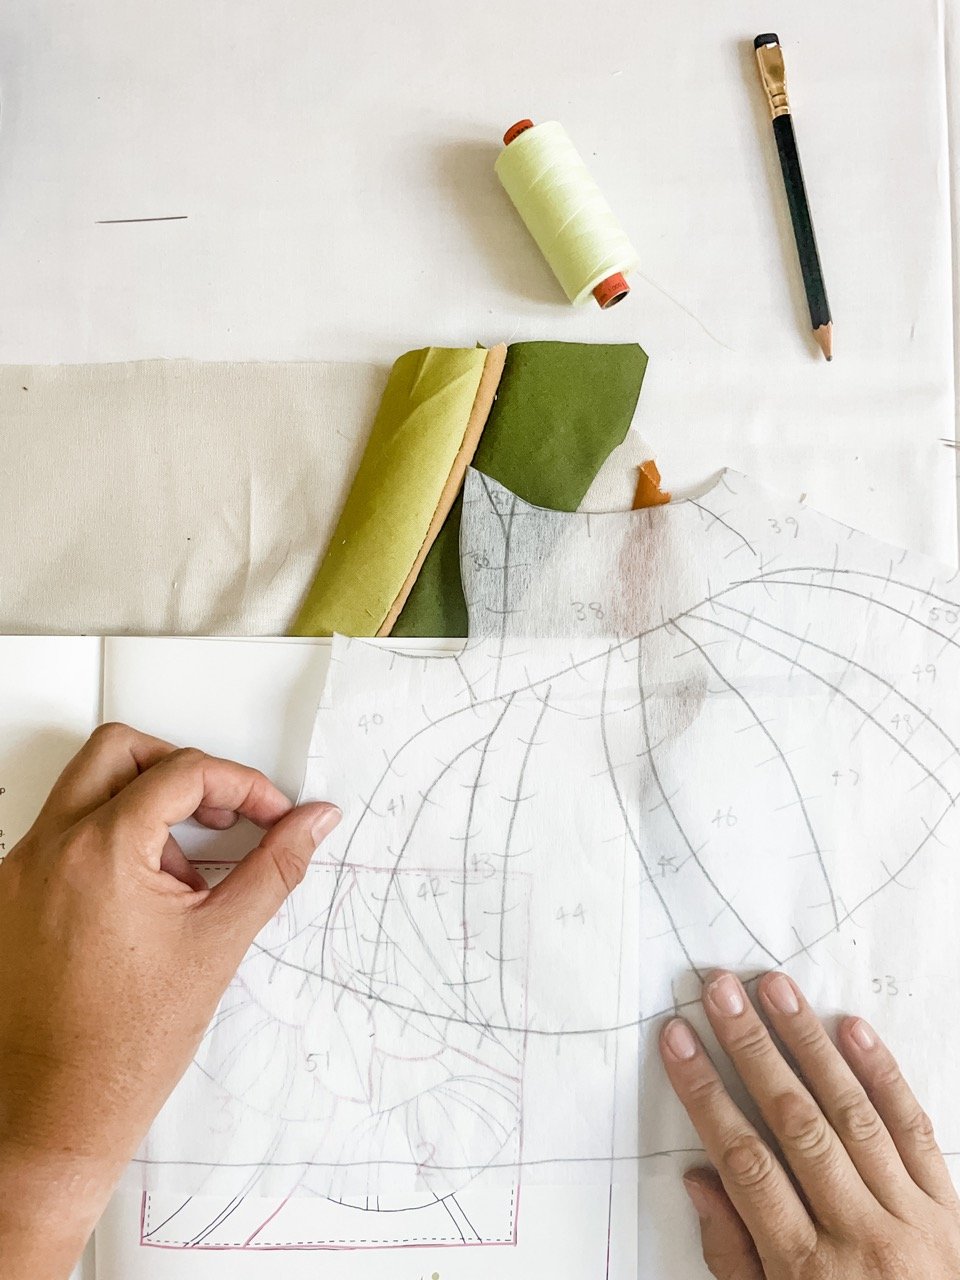
CUT OUT SECTION 2
Now we’ll cut out the pieces for section 2. Like last week, cut this section away from the traced interfacing, and cut it into pieces, assigning each piece to the correct colour fabric. Then iron the interfacing onto the fabric, and cut out with an added seam allowance.

Again, keep your section 2 pieces in a neat , safe stack, ready for next week.