10 Tips for Perfecting Free-Motion Quilting
Free motion quilting features in of my quilts. Free-motion stitching involves lowering the feed dogs and using a raised sewing machine foot, so that the fabric can slide freely under the machine (with regular stitching, the machine feeds the fabric through one stitch-length at a time).
Becoming comfortable with free motion quilting will open up so many quilting options for you. For a start, I quilt along all my seam lines with free motion stitching (I call this ‘ditch-stitching’). Then I also like to go back into the quilt with more free-motion stitching to add texture and other imagery. I often stitch words or pictures into the backgrounds of my quilt for extra interest.
Here are my free-motion pointers:
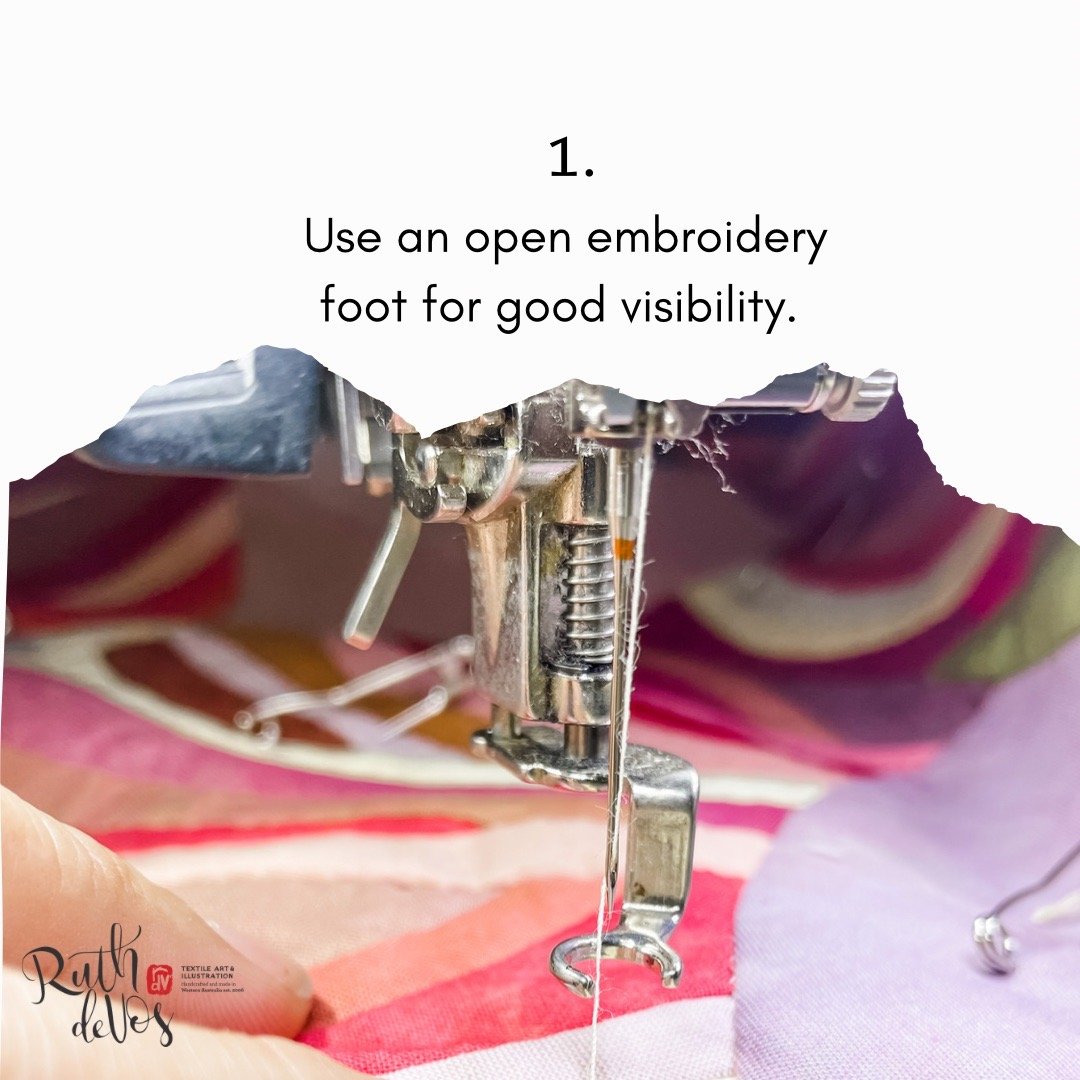
Use an open embroidery foot for good visibility.
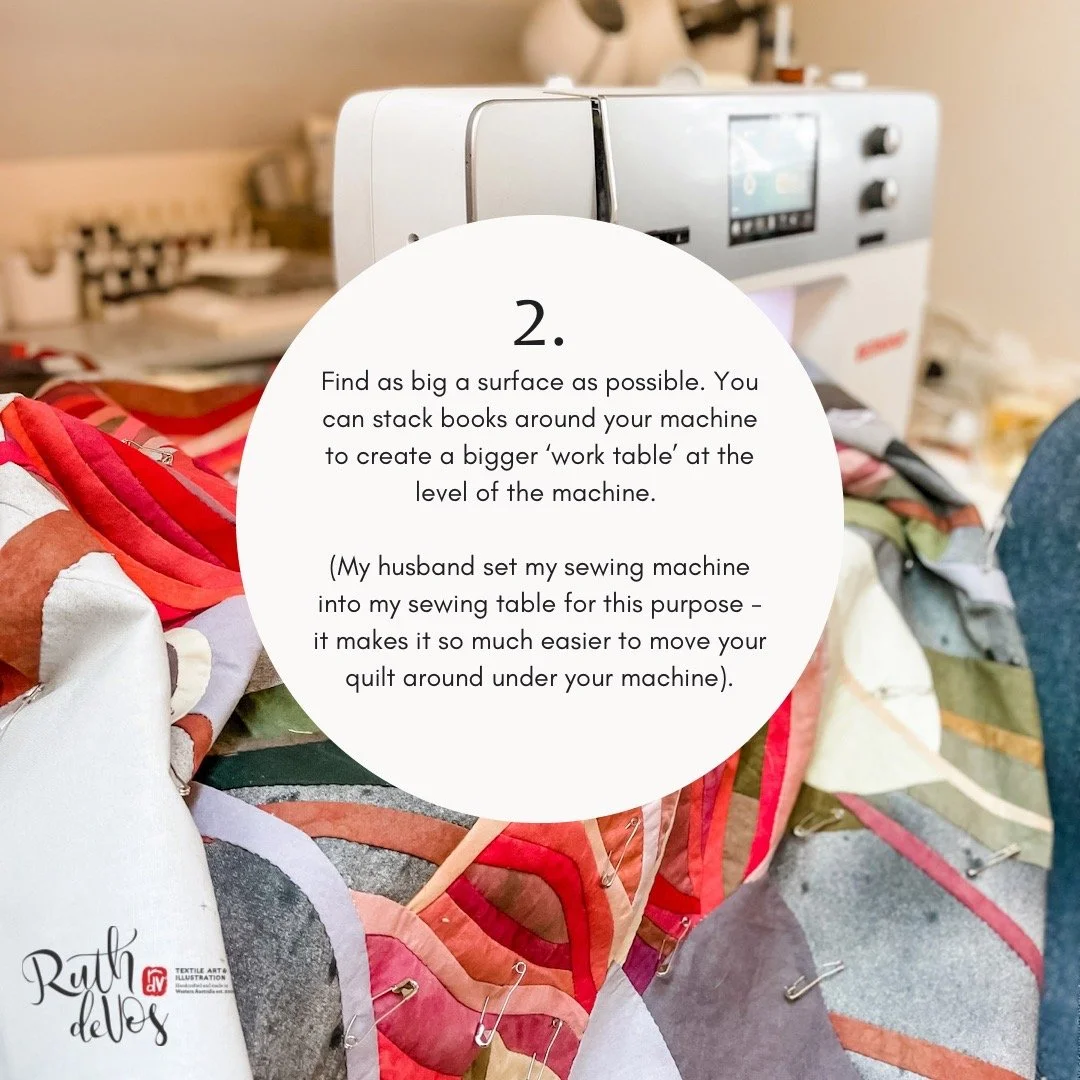
Find as big a surface as possible. You can stack books around your machine to create a bigger ‘work table’ at the level of the machine. (My husband set my sewing machine into my sewing table for this purpose - it makes it so much easier to move your quilt around under your machine.
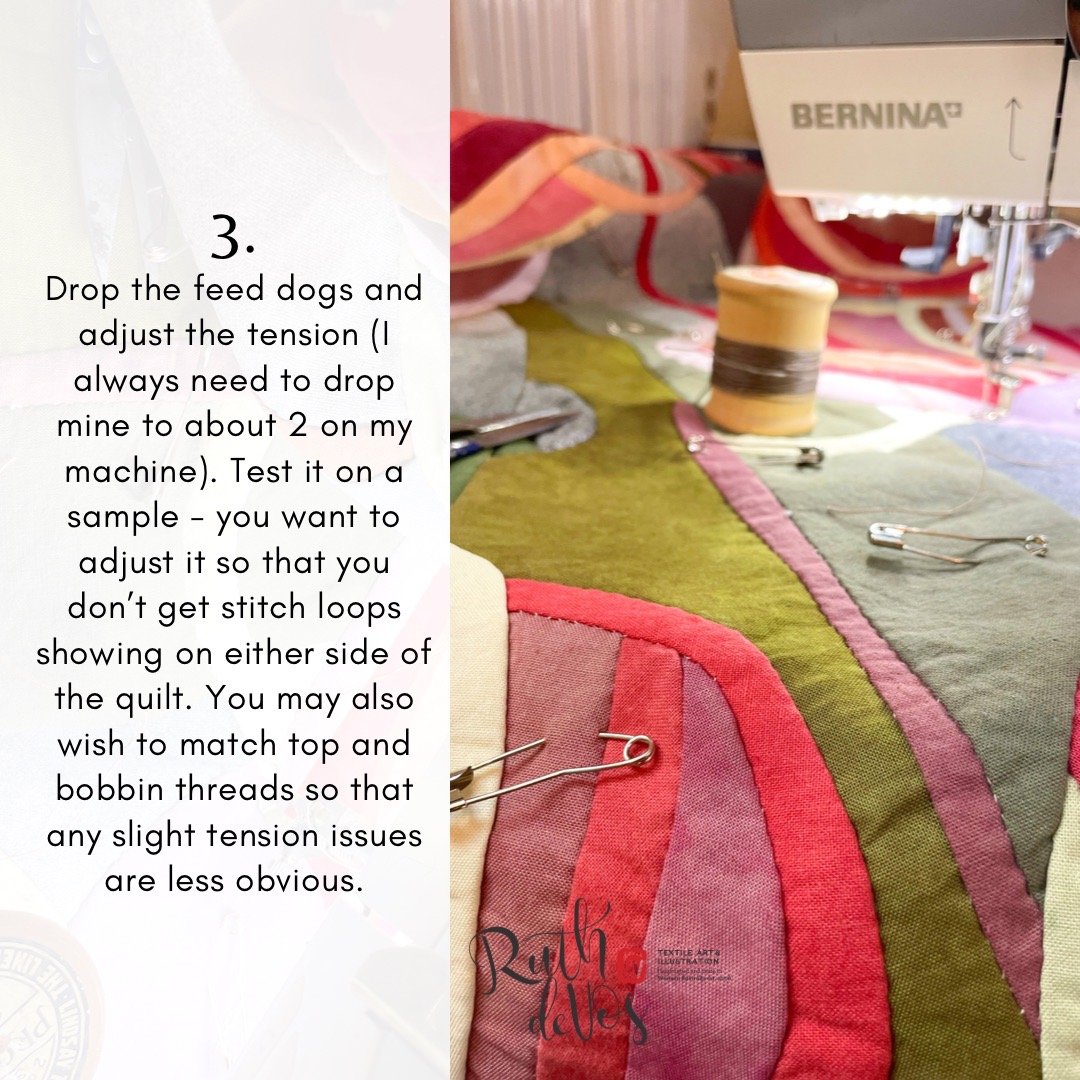
Drop the feed dogs and adjust the tension (I always need to drop mine to about 2 on my machine). Test it on a sample - you want to adjust it so that you don’t get stitch loops showing on either side of the quilt. You may also wish to match top and bobbin threads so that any slight tension issues are less obvious.
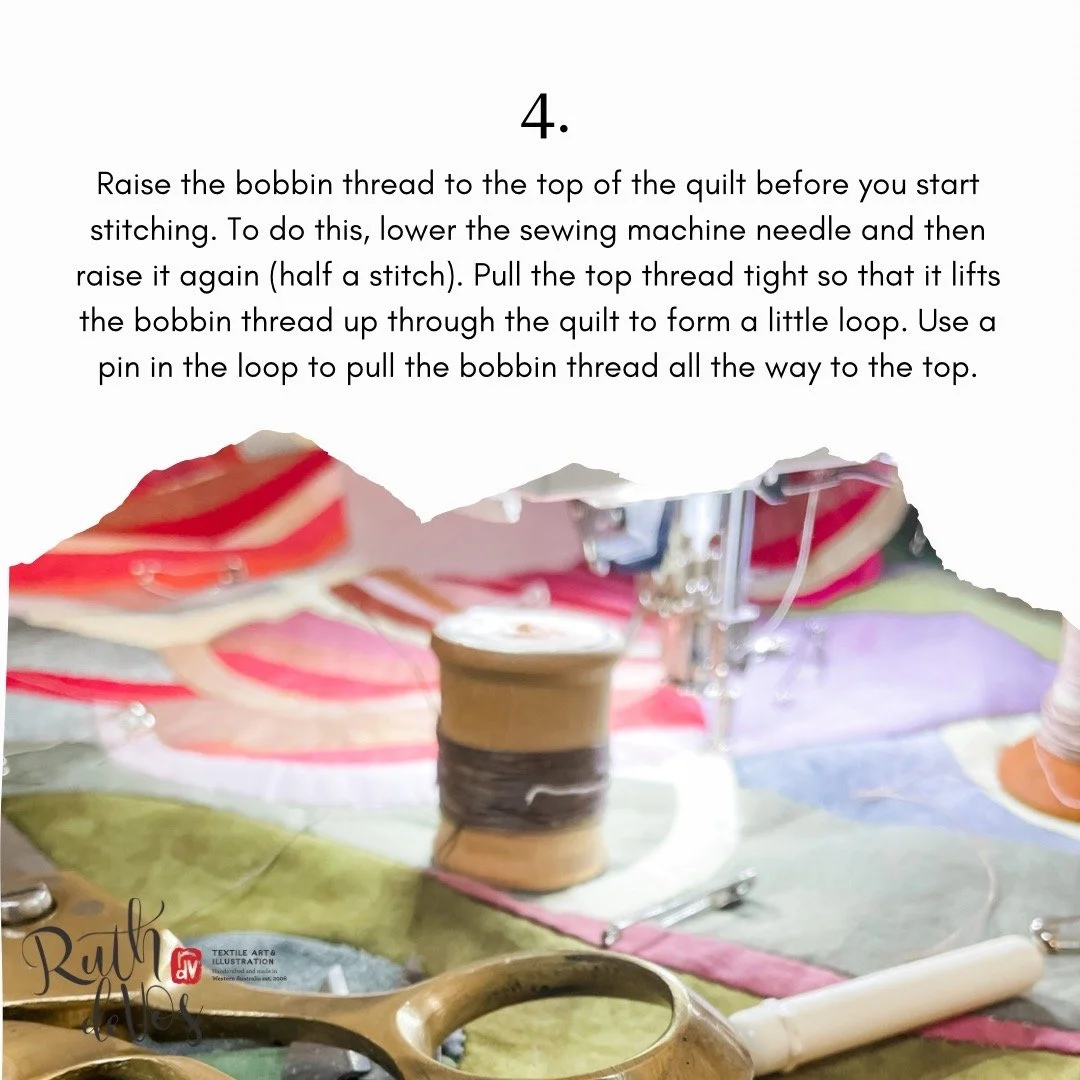
Raise the bobbin thread to the top of the quilt before you start stitching. To do this, lower the sewing machine needle and then raise it again (half a stitch). Pull the top thread tight so that it lifts the bobbin thread up through the quilt to form a little loop. Use a pin in the loop to pull the bobbin thread all the way to the top.
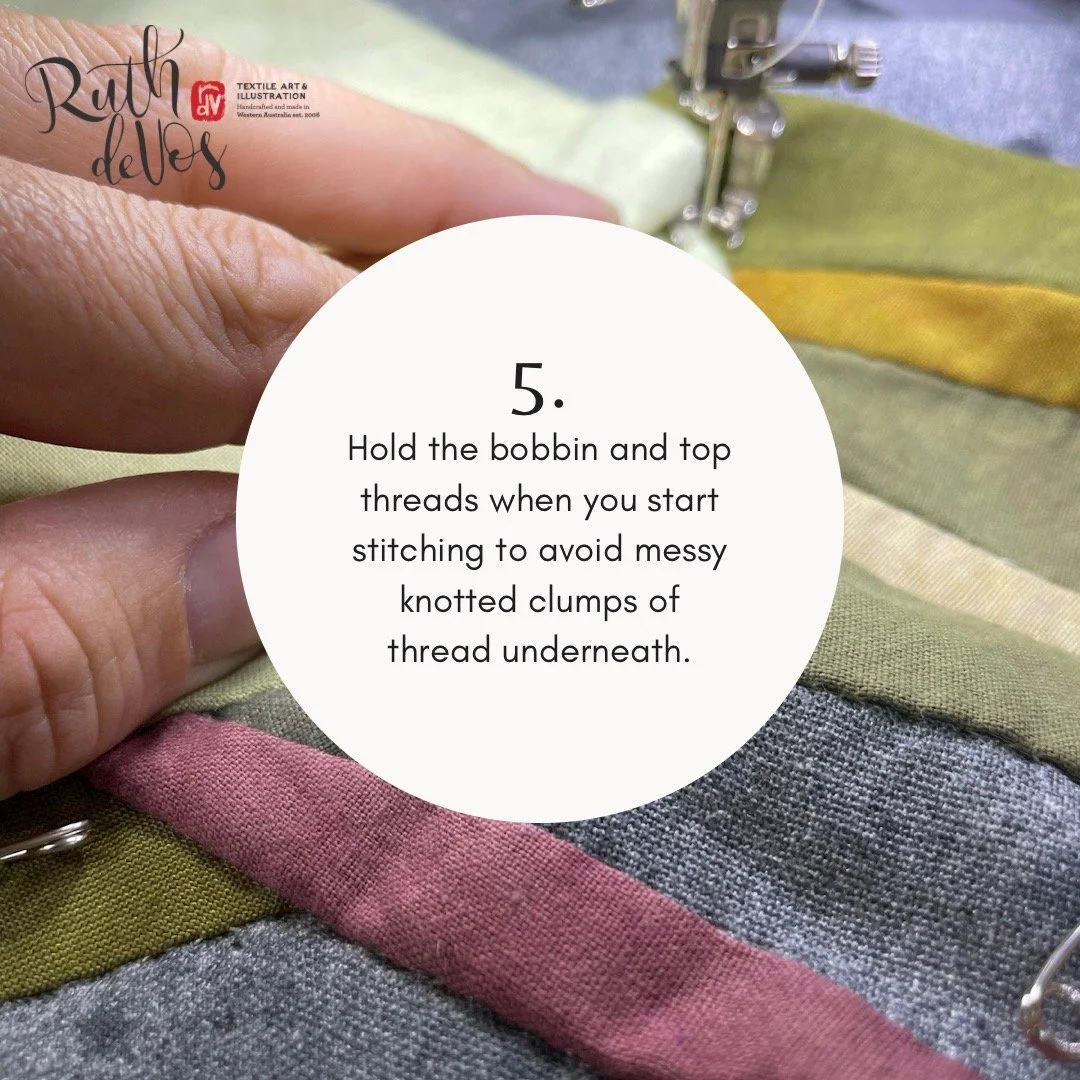
Hold the bobbin and top threads when you start stitching to avoid messy knotted clumps of thread underneath.
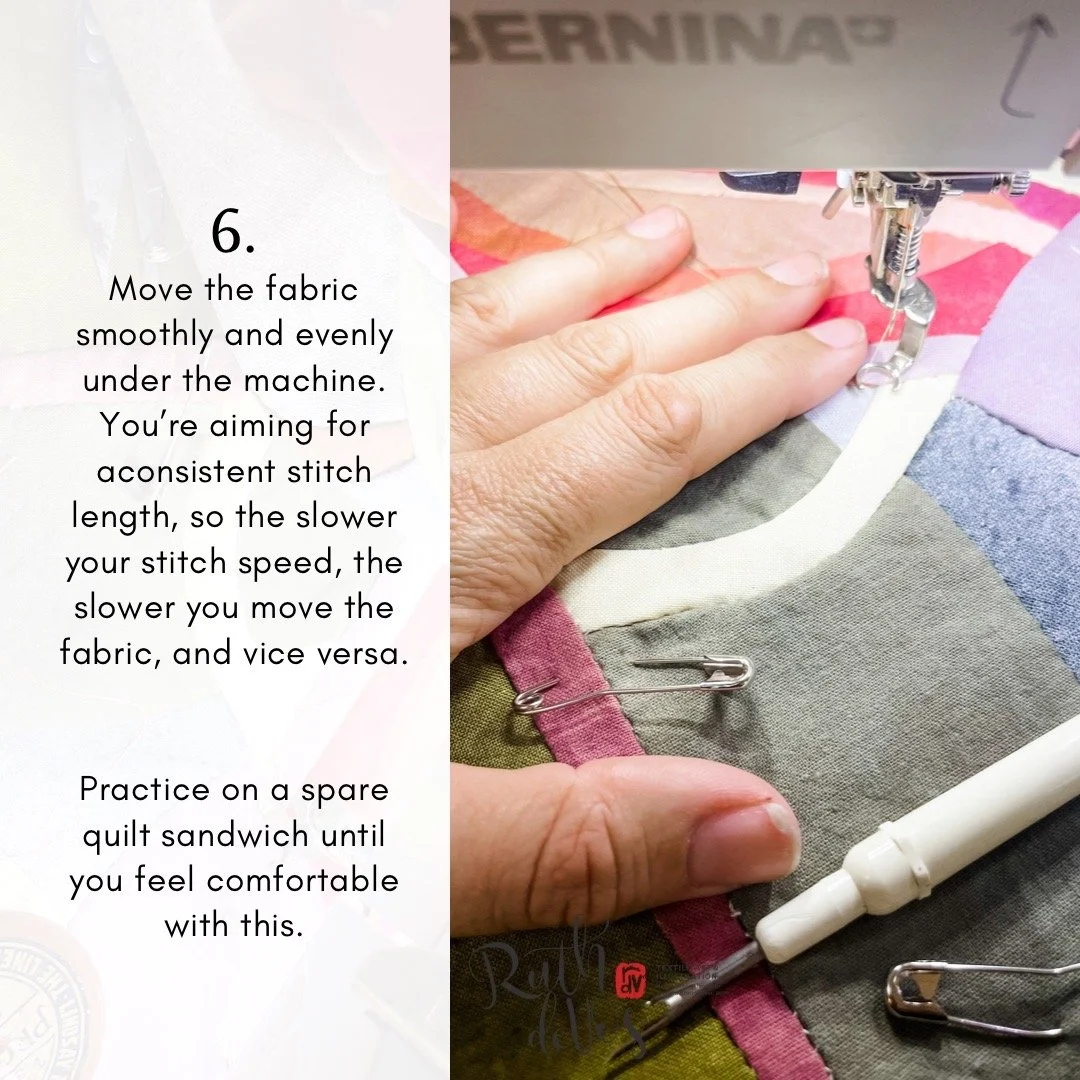
Move the fabric smoothly and evenly under the machine. You’re aiming for aconsistent stitch length, so the slower your stitch speed, the slower you move the fabric, and vice versa. Practice on a spare quilt sandwich until you feel comfortable with this.
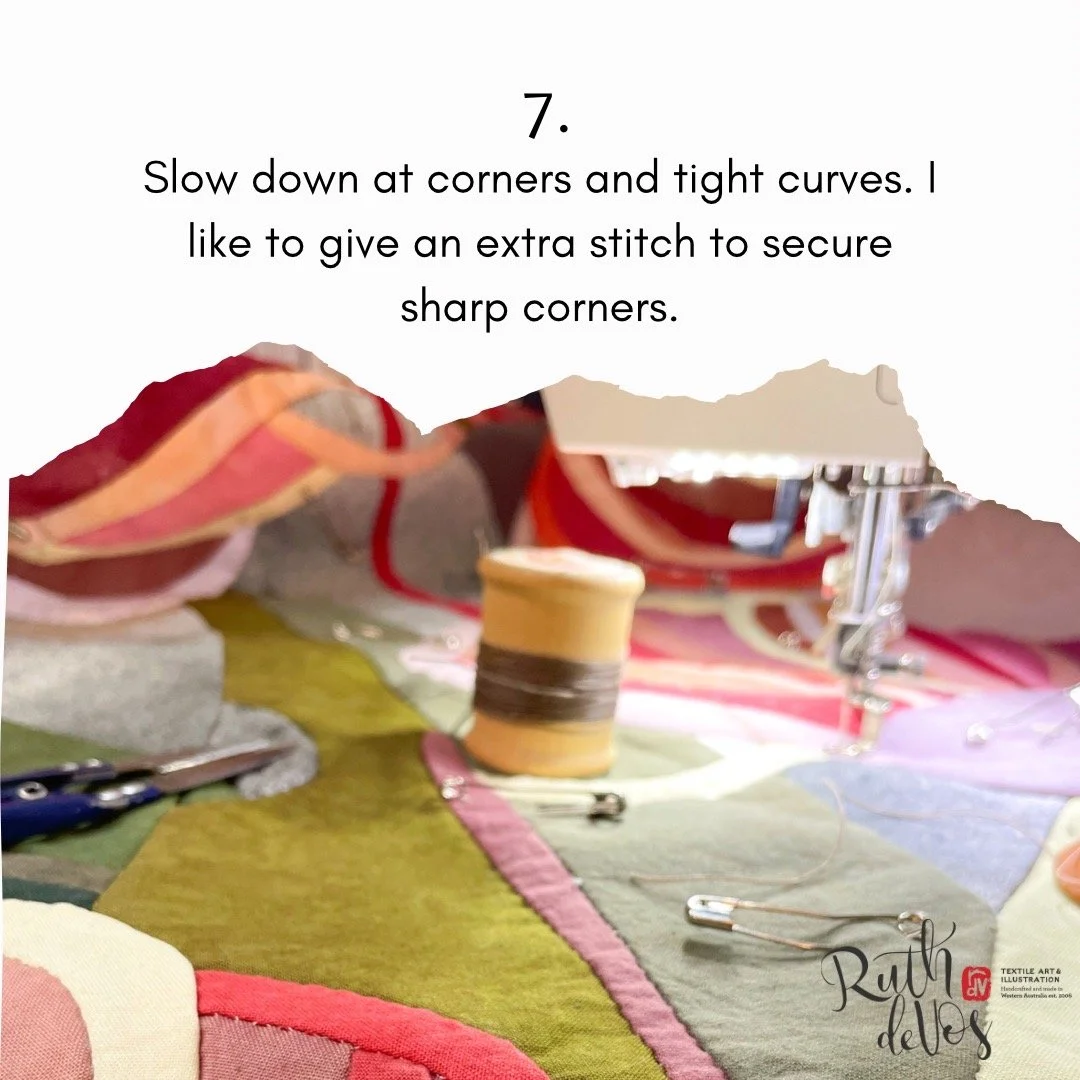
Slow down at corners and tight curves. I like to give an extra stitch to secure sharp corners.
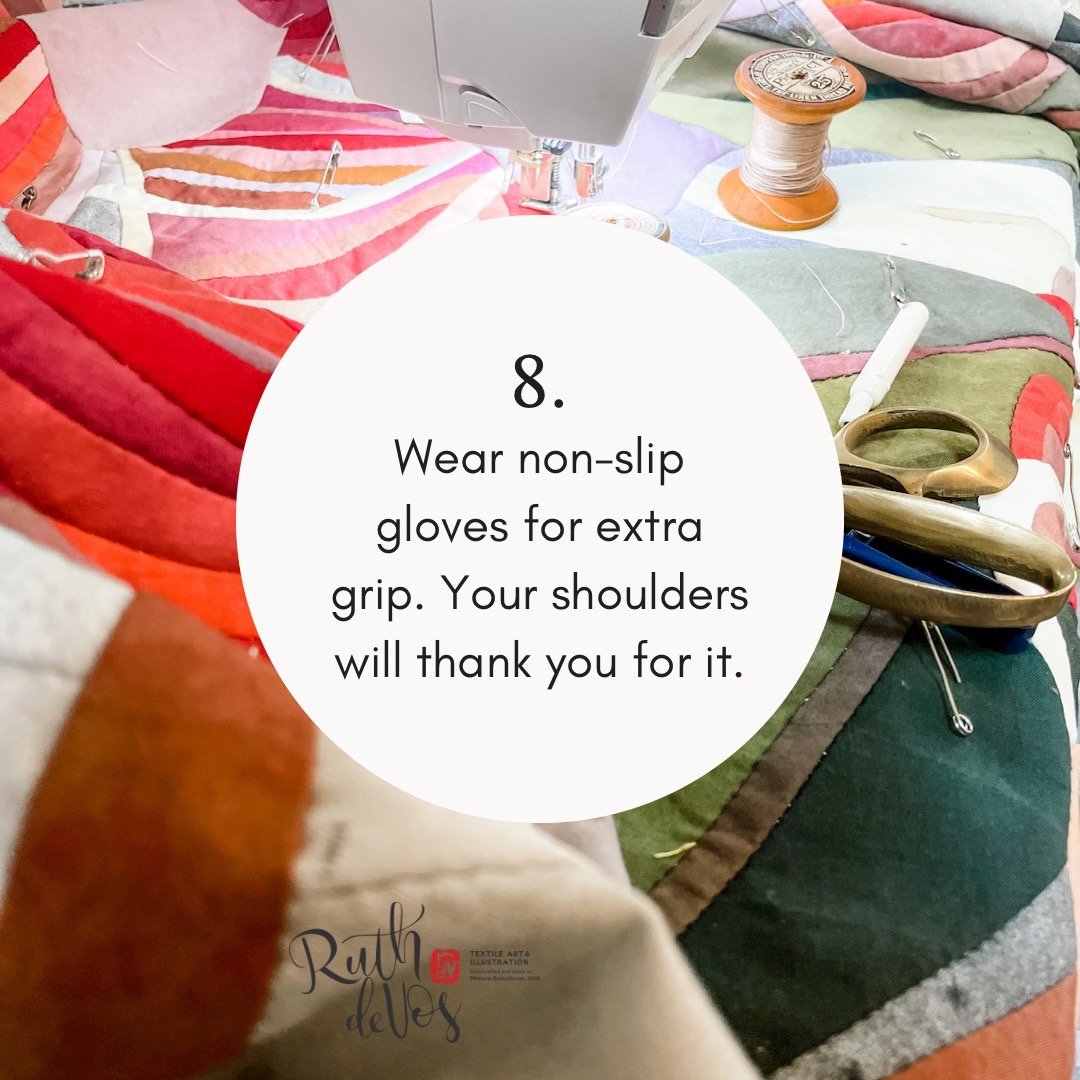
Wear non-slip gloves for extra grip. Your shoulders will thank you for it.
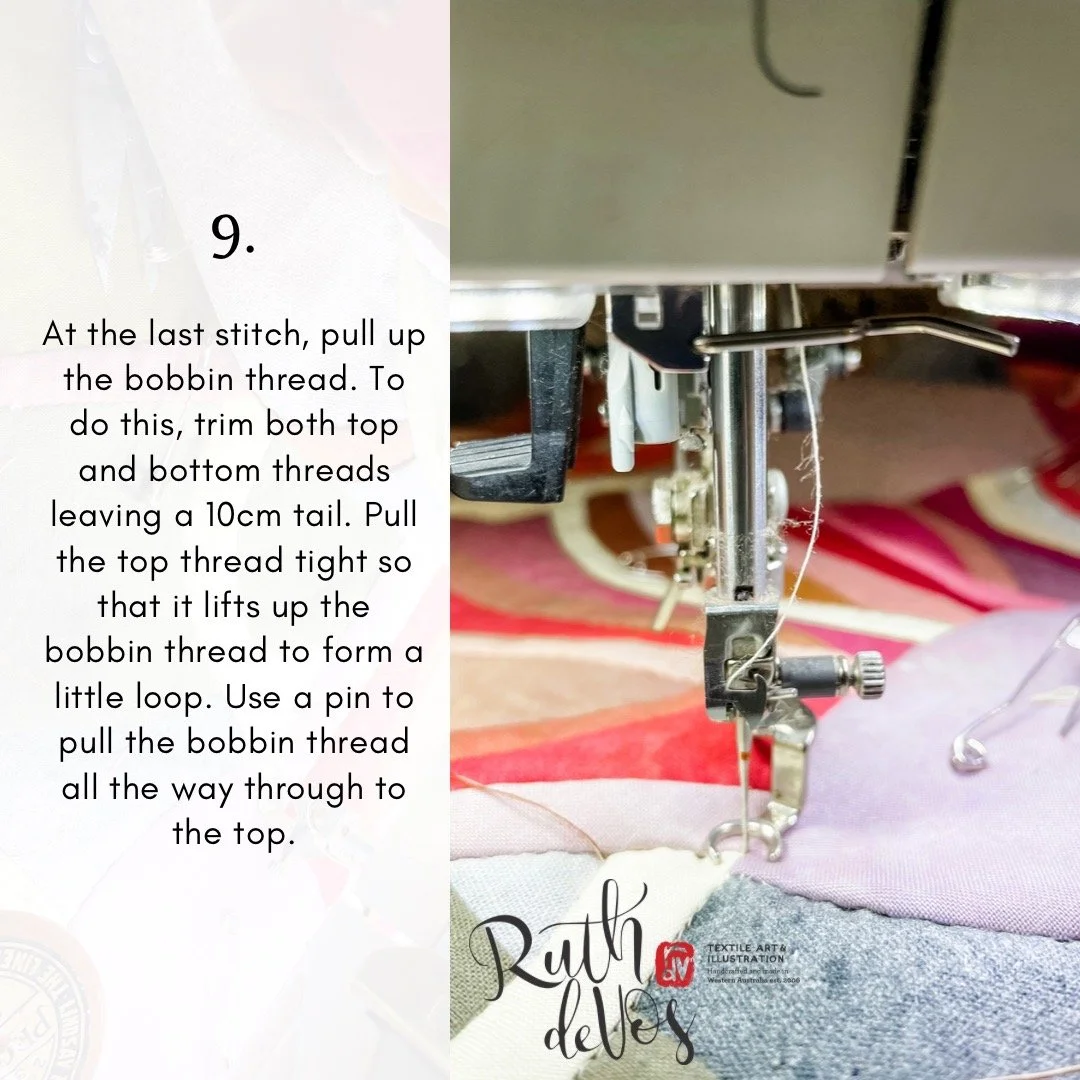
At the last stitch, pull up the bobbin thread. To do this, trim both top and bottom threads leaving a 10cm tail. Pull the top thread tight so that it lifts up the bobbin thread to form a little loop. Use a pin to pull the bobbin thread all the way through to the top.
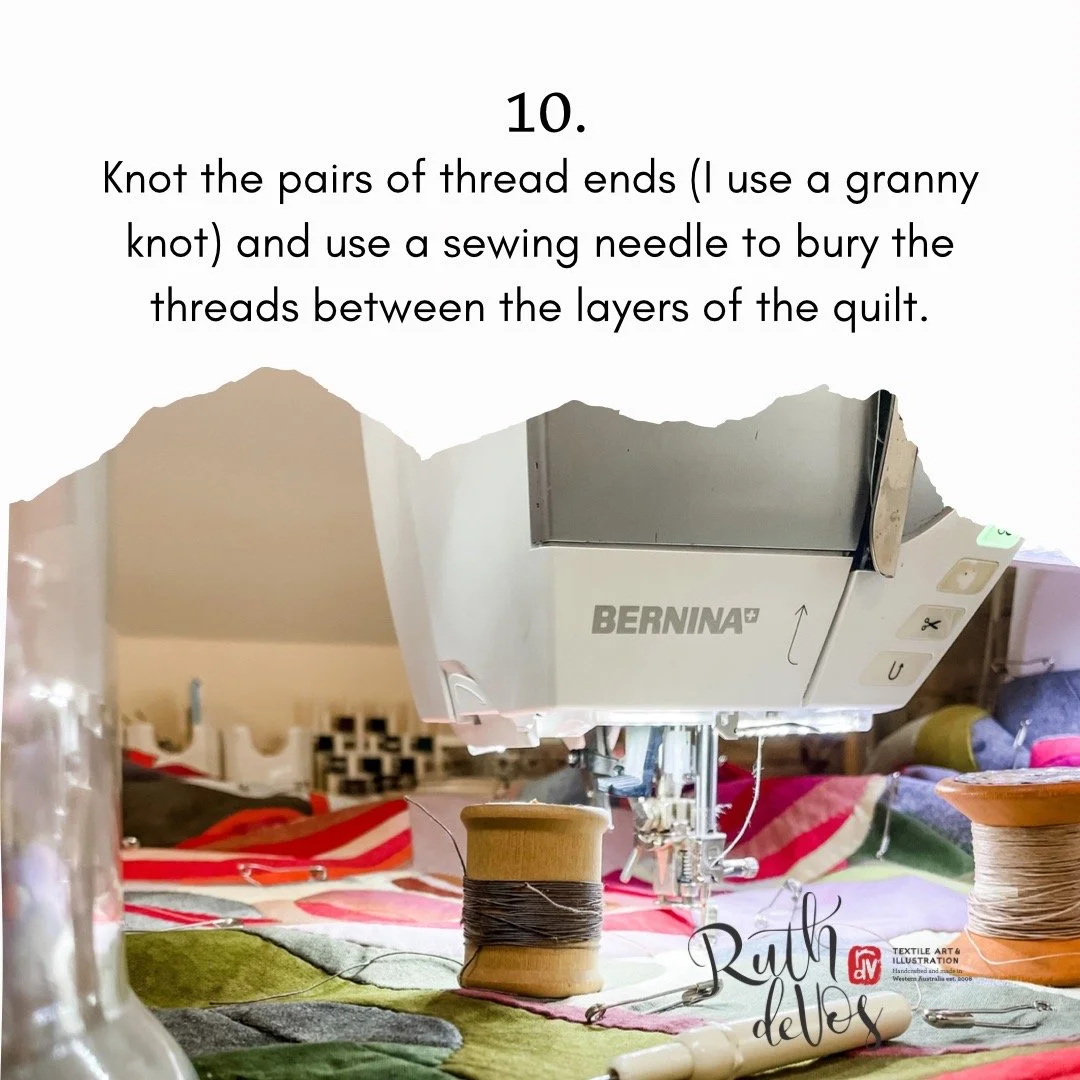
Knot the pairs of thread ends (I use a granny knot) and use a sewing needle to bury the threads between the layers of the quilt.