10 Simple Steps to a Piecework Quilt


Start with a full size pattern
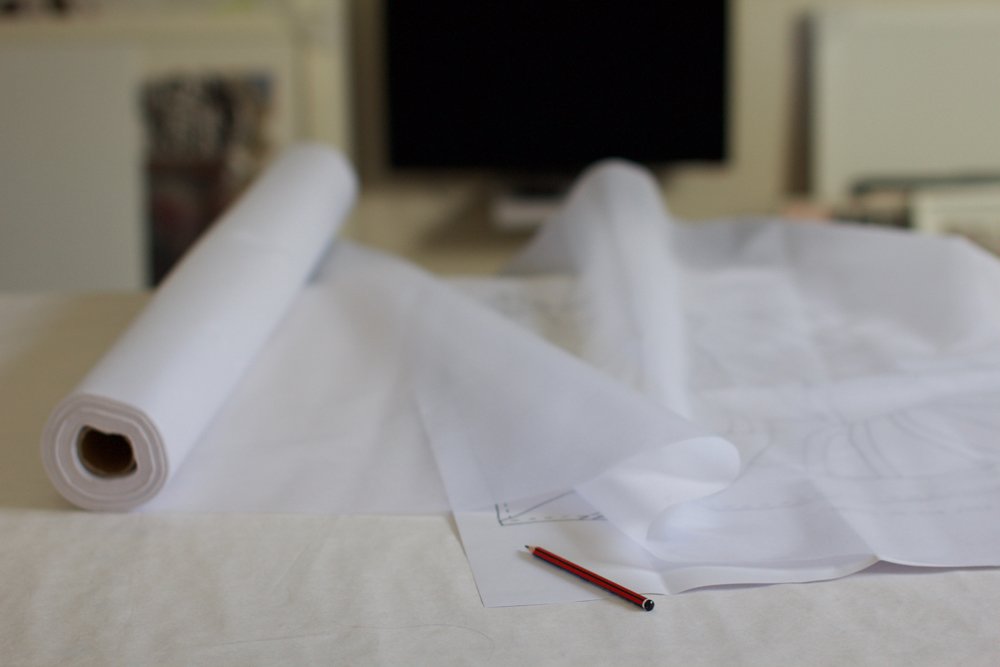
Draw, or purchase, print and assemble.
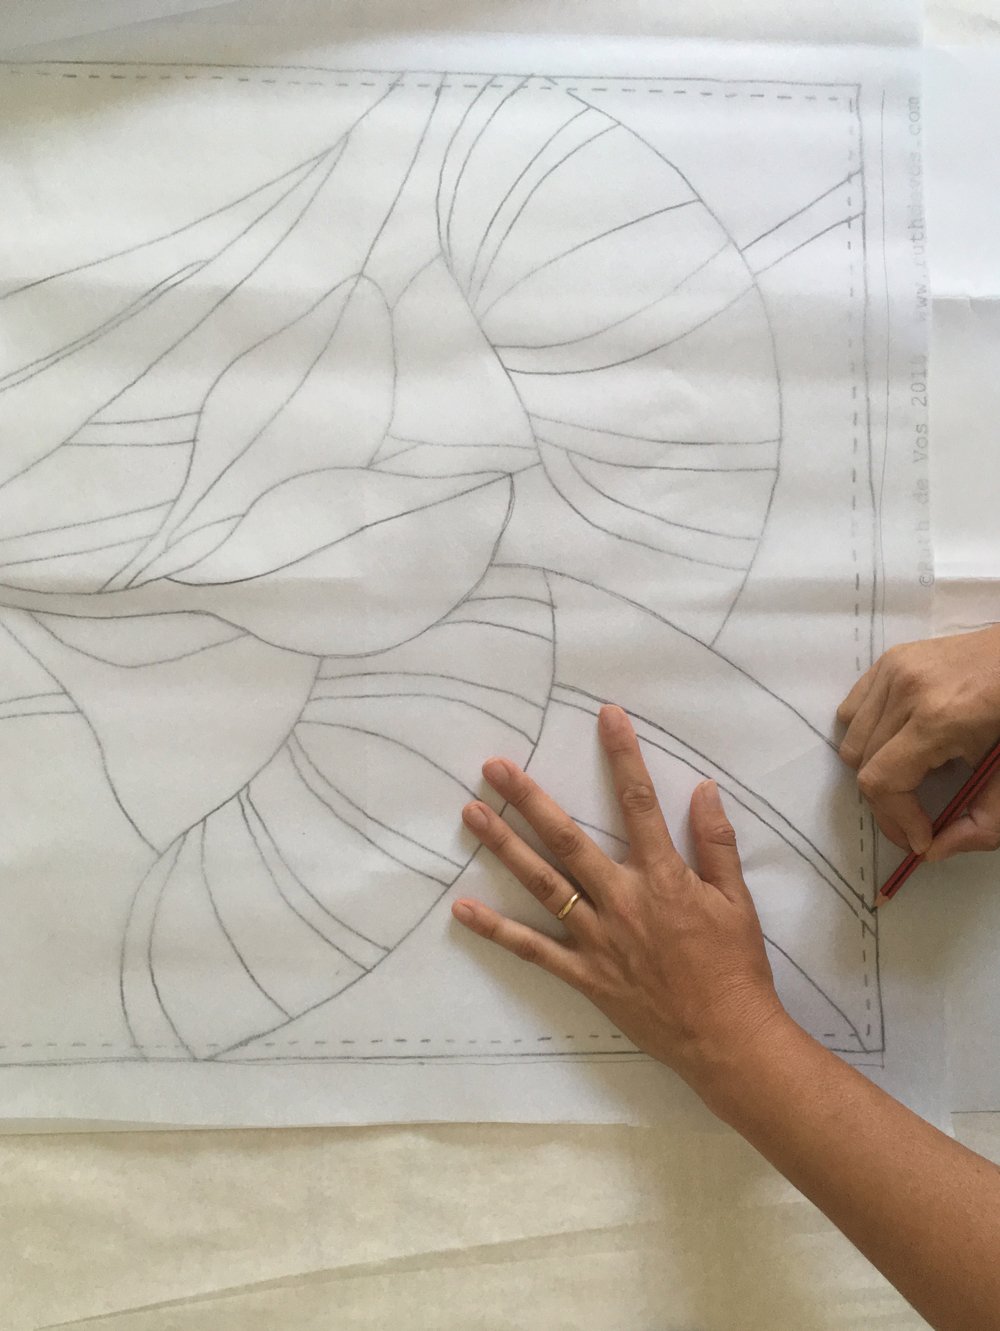
2. Trace onto iron-on interfacing.
For larger quilts, you may need to stitch two panels of interfacing together, to create a large enough sheet of interfacing. Place the interfacing sticky-side down on the pattern. Pin in place if necessary. Use a 2B or 4B pencil to trace the pattern onto the interfacing.


3. Add notches and numbers
Add notches to all seam lines. They should be closer together on tighter curves, but can be further apart on more gentle or straight seams. If your pattern has numbers for each quilt piece, write these on your interfacing too.

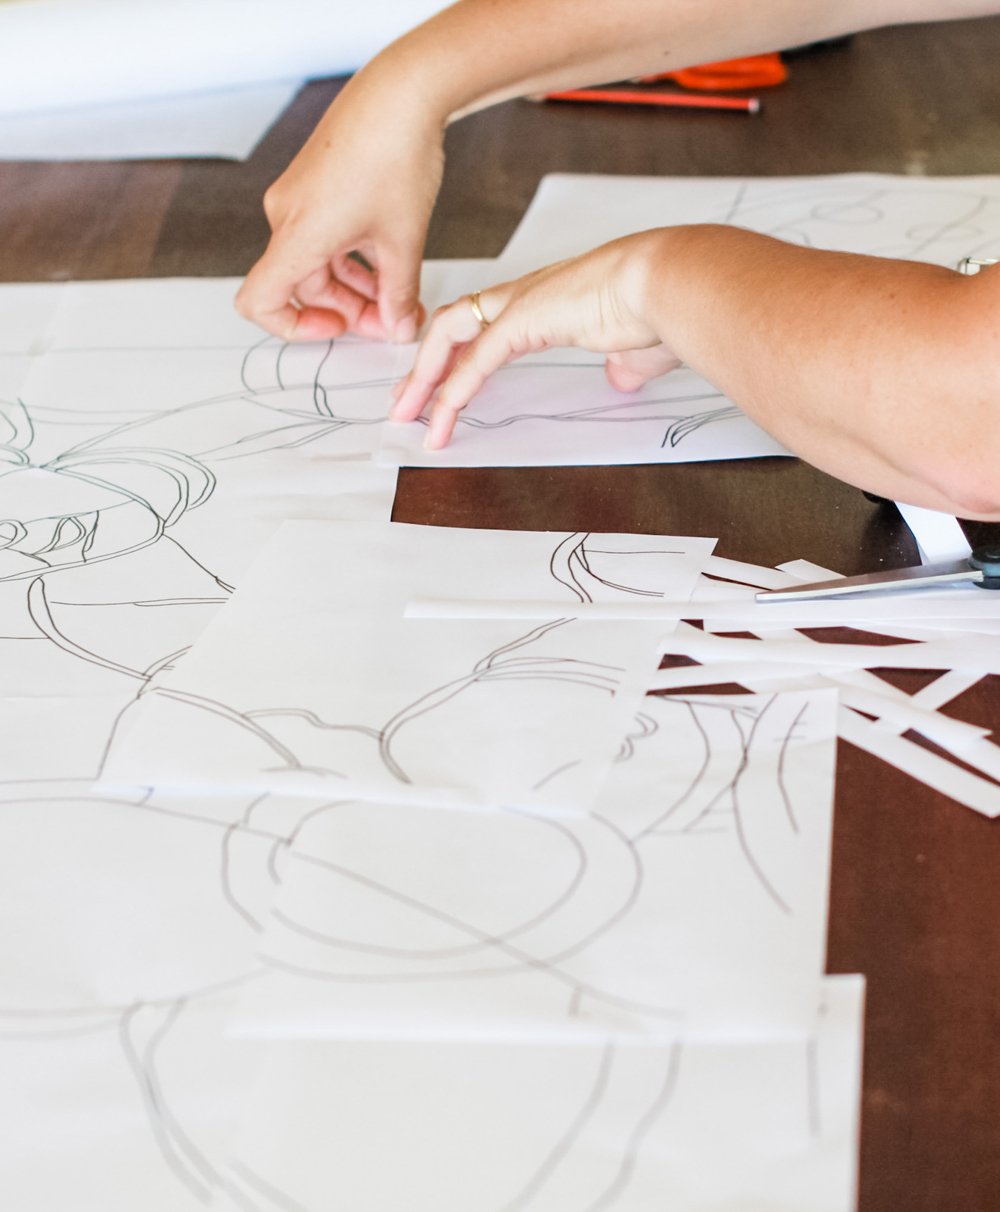
4. Cut up interfacing
Cut along the traced seam lines, to form your separate quilt pattern pieces.


5. Iron onto fabric
Place the piece of interfacing sticky side down onto the correct colour fabric. Leave enough room on all sides to add a seam allowance (roughly 1/4 inch). To avoid chewing up the interfacing with your iron, place a sheet of baking paper between the interfacing and the iron. Press until the interfacing has adhered to the fabric. Sometimes the interfacing detaches from the fabric during the sewing process - if that happens, you can give it a little press to stick it back down.
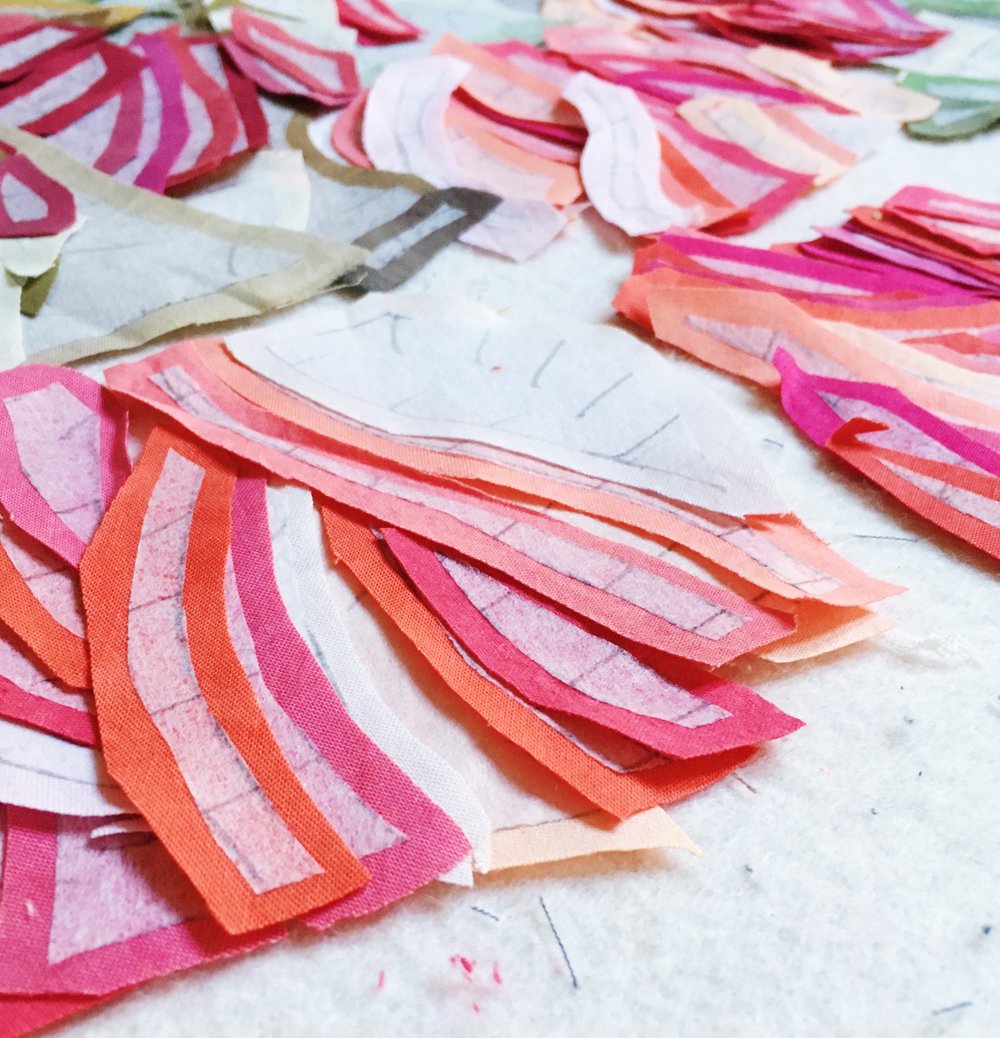
6. Cut out with added seam allowance
Cut the quilt piece by cutting the fabric 1/4 inch away from the edge of the interfacing (this is a rough size; the seam allowance doesn’t need to be exactly perfect).


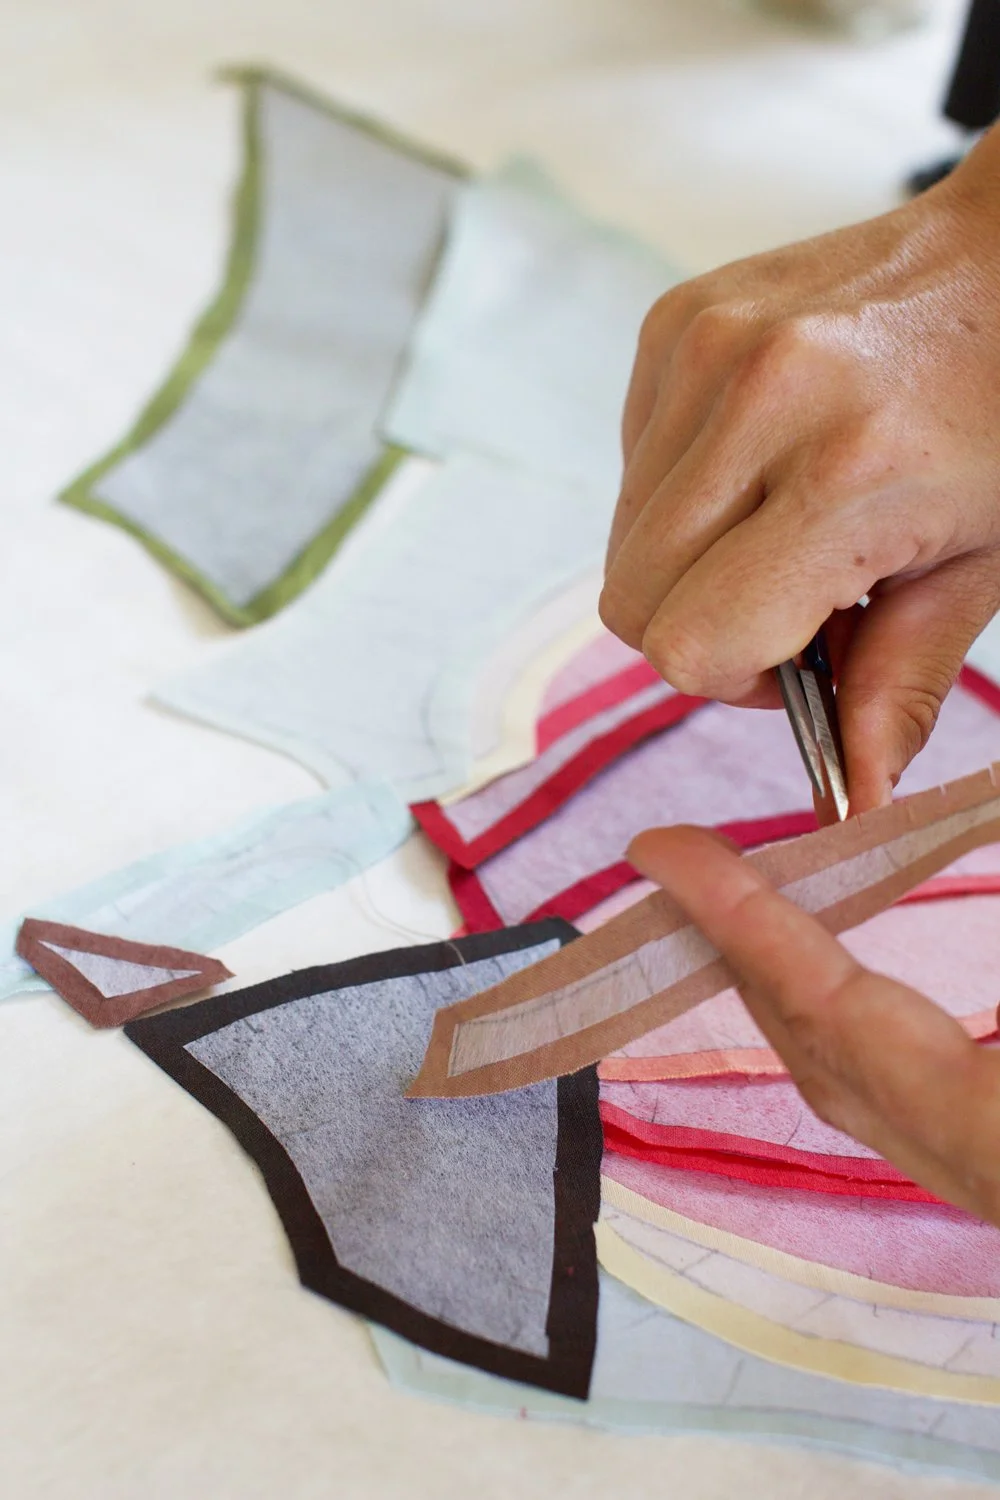

7. Snip concave seams
Every concave seam allowance needs to be snipped as shown in the pictures - perpendicular to the edge of the fabric, stopping just short of the interfacing. Make enough snips that the fabric can be eased onto it’s matching quilt piece without causing tucks and buckles in the fabric.
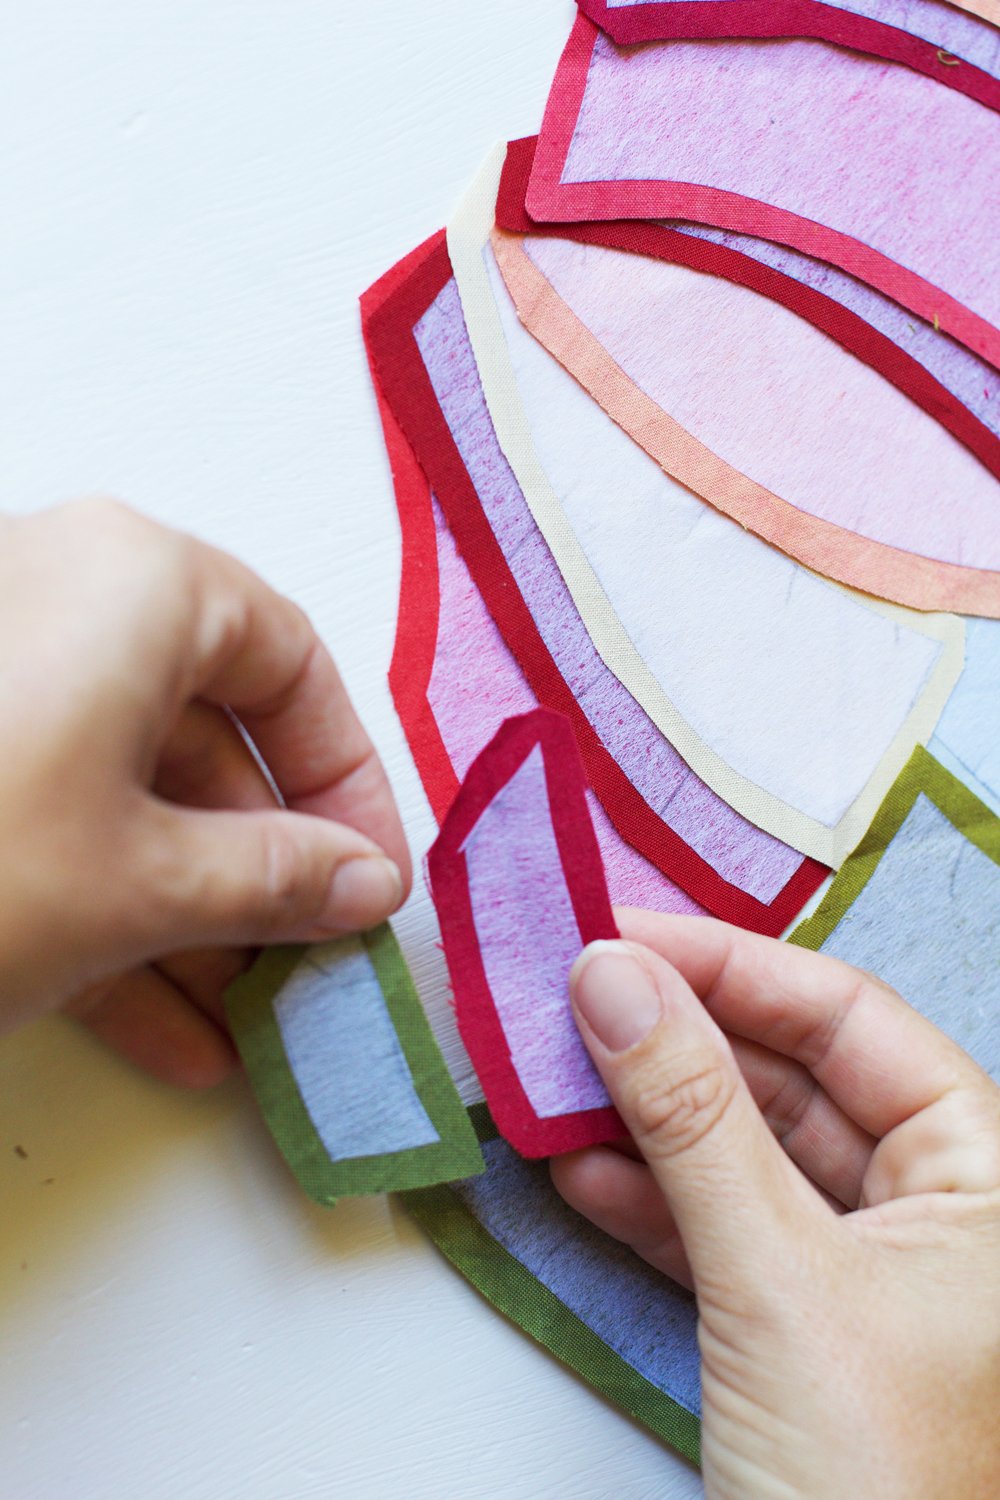


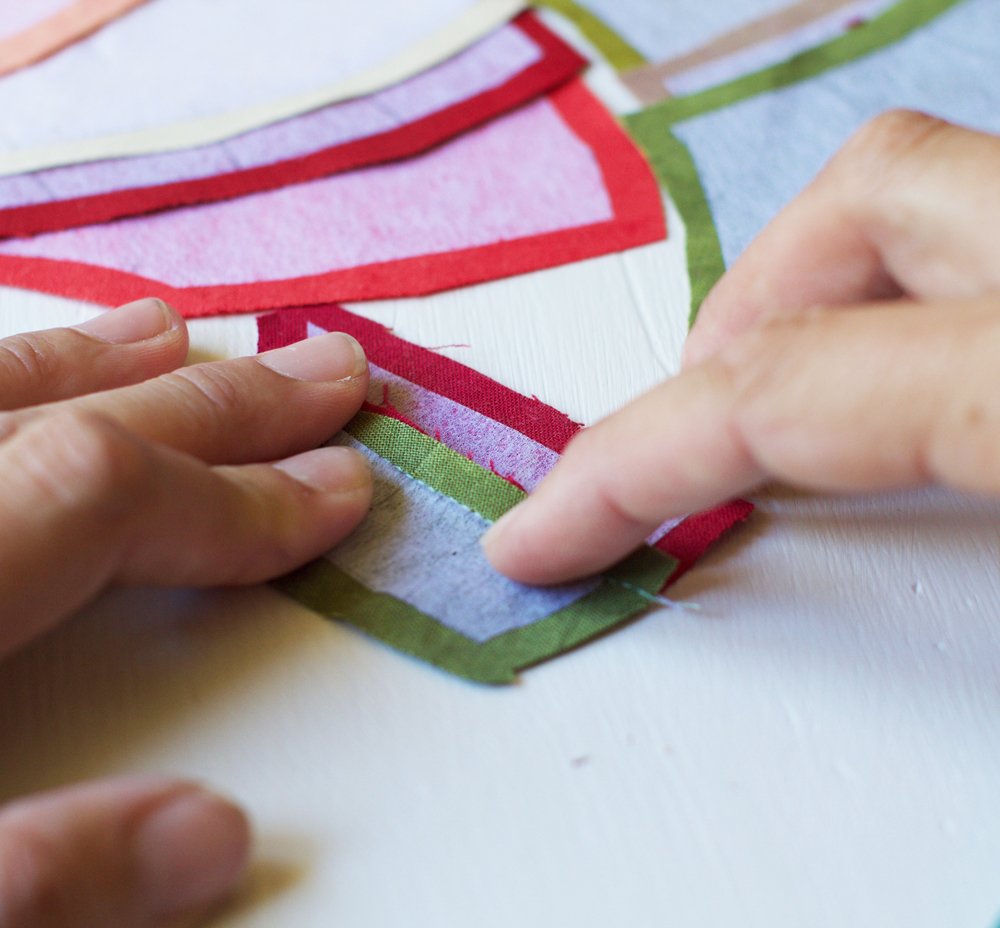
8. Pin right sides together
Referring to your quilt pattern or quilt instructions, pin adjacent quilt pieces together right sides together (interfacing on the outside). To do this, I insert the pin into the junction of the edge of the interfacing with the notch marking of the top piece of fabric, and push it through the matching junction on the bottom piece of fabric. I then secure the pin by bringing it back through to the top of the fabric. Placing the pins perpendicular to the seam allows you to leave them in place as long as possible.
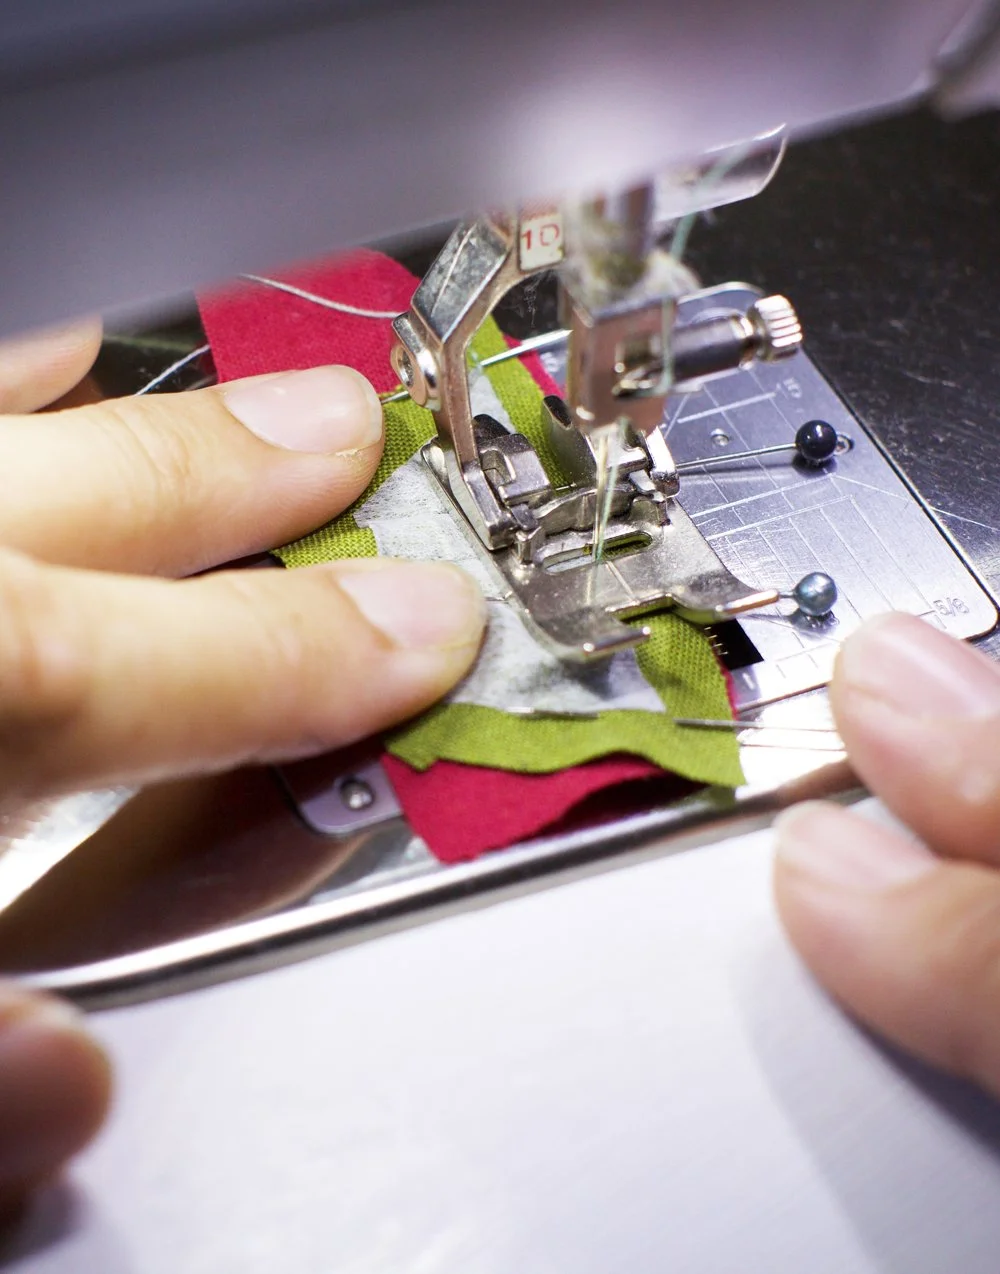
9. Stitch
Stitch the seam by stitching as close to the edge of the interfacing as possible. I start my seams right on the edge of the fabric, and continue all the way through to the next edge. No need to back stitch at the beginning and end of seams.